Statement of Intent:
What is my chosen theme?
My chosen theme for my GCSE main project is going to be around Texture and I am going to look at different types of textures, such as mountains, buildings, trees, lakes and maybe even structures around my local area. I have chosen to do this theme because I have an interest in Texture and gives me a variety of creativity and images surrounding me which will allow me to take photos outside of my comfort zone.
My chosen theme for my GCSE main project is going to be around Texture and I am going to look at different types of textures, such as mountains, buildings, trees, lakes and maybe even structures around my local area. I have chosen to do this theme because I have an interest in Texture and gives me a variety of creativity and images surrounding me which will allow me to take photos outside of my comfort zone.
To attain good and high quality final images, I will carry out research along my journey to help me progress and improve my images throughout. I intend to look at multiple artists and photographs, I will also try and visit different areas and cities to take different styles of images, some cities such as Yorkshire, Salford, Manchester etc. In doing so I hope to see all of the variety of images/places that I can. Furthermore I will be flicking back and skimming over my previous work to try and follow the same lines.
I intend to do multiple photoshoots of different textures/structures in many different cities throughout my chosen topic. Structures could include bridges/buildings/towers etc. These images will be taken all around and inspired by different artists that I will research and I hope to have different unique styles in my photos along with similar styles to the artists.
I intent to visit different areas and parks in order to capture my chosen theme of Texture, in those parks I will successfully be able to capture different types of textures, some artists I may be inspired by are; Justin Gaffrey, Vincent Van Gogh, AAron Siskind, Marcia Gygli King. These famous artists will influence me and improve my work style which will help me build and expand my theme of "Textures"
Throughout this project, minimal photoshop will be used as the theme doesn't require photoshop as much as other themes, I will use different ISO's and Aperture's to mix up the style of my photos and I will possibly use filters via Snapseed which could improve my final outcome, however photoshop is not a main factor in this theme.
Whilst doing this project I hope to learn more about nature and how to use my camera effectively outside, I will also develop my skills when taking pictures and not rely on photoshop as much as the quality of my image will be clear from the start. I also hope to improve my photography skills as a whole which could possibly push me further in the photographic career and I could study it for my A-Levels,
I see my final format as being 10-20 crystal clear images of the wilderness and natural texture such as trees, rocks etc. These will be the best photos out of all that I will take throughout this project which will make "Textures" complete as a whole.
Martin Lawrence:
Context:
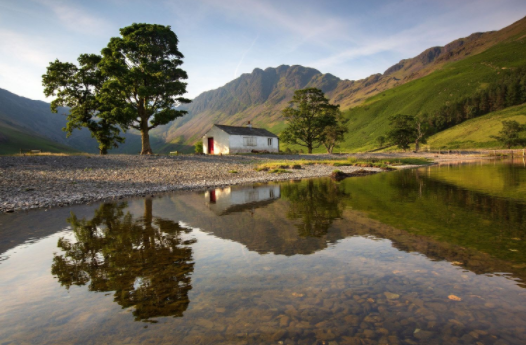
Martin is one of the UK's leading photographers specialising in landscape photography and wildlife images of the English Lake District and Scotland. He has worked as a professional photographer since 2005 and is well known for his images and articles, which appear widely both on-line and in books, magazines, calendars and the UK photography press.
Composition:
Different sections of the image give a different effect. The first third with smooth water without ripples, the second third with the rocky landscape and finally the third with the trees/house. The reflection in the water has a bold line in the middle which splits the image in half, also the trees are in the rule of thirds as the big tree is on the left, the medium sized tree in the middle and the small tree on the right. The reflection in the water has a bold line in the middle which splits the image in half, also the trees are in the rule of thirds as the big tree is on the left, the medium sized tree in the middle and the small tree on the right. The entire image reflects back on itself as the water splits it off, although it isn’t completely symmetrical, it gives off a nice effect. I reckon the picture was taken early in the morning as the lighting isn’t hard and bright, it’s more delicate and soft which is perfect for this image, the sun also reflects in the water with the trees and background which refines the image further. It looks like it could be Summer as the trees are nice and filled with green colouring, and the sun is out in the picture. Also there’s no ripples in the water which shows there is no wind meaning it’s likely that it’s Summer. Vanishing point is the small white house with the red door as it sort of fades out the background along with the fog and mist in the mountains. The image was probably taken with a telescopic lens as everything is in sharp focus with a deep depth of field (f36) Also there are no blurred out spots before the vanishing point, all of it in the one frame is clear. The eye level image lets us imagine the picture better, makes us feel as though we are IN the image standing in the water. Also let’s people imagine the image and feel it better.
3 thirds of the trees. There is one big tree, one medium, and one small in a row. I like this image because it's soothing and makes me feel calm.
Connection:
I simply believe that Martin's images are unique and he does an excellent job with them, the detail is amazingly desirable and that is what he was going for, he wanted a the 'Rule of Thirds' to take a big part in this image, you can very clearly see the 3 split lines within the image. As I am doing textures for my selected GCSE Topic, his work is much more extraordinary compared to mine however I aspire for my work to look like his in the future.
STR: The amazing use of Rule of Thirds is what separates this image from many others, the fact that little to none photo manipulation was used and this image is still perfect is what amazes me.
EBI: I personally believe Lawrence would have received a much better outcome by taking the image in a spot slightly to the right of where he is currently standing in the image, a picture straight on the house/background would have given an breathtaking effect.
Inspiration:
I will attempt to recreate the work of Martin as it is so spectacular, however as Martin and I work on different chosen subjects, that will unfortunately not be the case at this moment in time. In the future I will most definitely take Lawrence's work into account and work based off of it as it inspires me a lot. Also his work is something that has not been seen before, it is very unique as he goes out himself to these certain areas and takes different angles using a variety of techniques to get these perfect-like final outcomes.
Mock Exam
Context:
Daniel Coyle Photography was founded by leading head photographer Daniel Coyle over 8 years ago. Within that time Daniel Coyle Photography has become one of the most talked about wedding photographers by brides in New York City, the tri-state area and at destinations all over the world. Setting itself apart from other New York City wedding photographers, Daniel Coyle Photography has pioneered and developed its own style of wedding photography combining all the best aspects of photojournalism, editorial, and lifestyle photography.
Sourced from https://www.photoreflect.com/store/StoreAbout.aspx?p=34090
Composition:
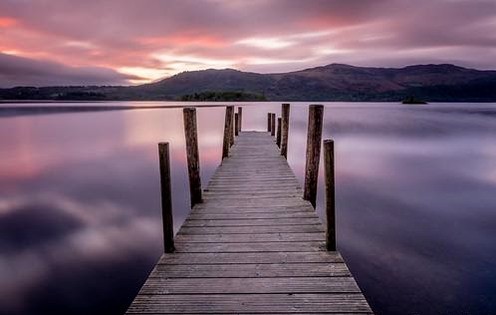
In the foreground, you can see a long pathway that stretches as a third through the middle of the image. The middle-ground is just the ocean and its reflections along with the bridge in the middle. And the background is mountains, in a way it goes upwards in height from left-right. The strong leading lines are the pathway/bridge, the ocean line and the mountains, this gives a rule of thirds effect is some way, the sweet spot in my opinion is the top of the bridge, right in the centre however others may argue that its the top of the mountain as that would also be applicable. The photo is taken at eye level and I believe they have used a deep depth of field as nearly everything is in focus, (F20+) I think the white balance “Fluorescent” was used and the ISO was set to AUTO. The image is not over-exposed in my opinion, I quite like the effect it gives off and I personally believe it is correctly exposed, not over or under exposed. Although this picture could’ve been taken without a tripod, I have a strong feeling that it was taken WITH a tripod as it’s perfectly centered and to hold a camera that high up and keep it still would be a difficult task. Yes, the water’s reflection has blatantly been photoshopped however it gives a nice effect, you could say they “Smoothed” it out in a way, the only tool that comes to mind about what Daniel must’ve used is just the blur, went over the water reflection with a hardness of around 30. The main colour change is from the mountains to the sky as the sun is just rising and the sky is filled with beautiful colours whereas the mountains are dull. The bridge isn’t really classed as a pattern however if there was to be one, then it would be that as it has lines going from top-centre. The image is cropped perfectly so the ratio of the bridge aligns with the sides of the image/mountains.
Connection:
I just think Coyle’s photos are unique and he does a good job with them, the detail isn’t amazingly good but that isn’t what Daniel was going for, he wanted a pretty bland look over a nice deck and sunrise. As I am doing textures for my chosen GCSE Topic, his work is much more different to mine however I aspire for my work to look like his in the future.
STR: Good use of Rule of Thirds via the bridge and mountains, photo manipulation via Photoshop is very subtle but has a drastic impact on the water within the image./
EBI: Daniel could have used some more details within this image, for example the clouds and mountains could have been brought out to become more appealing.
Inspiration:
I will try to use my photo manipulative skills to try and recreate Daniels work in the future however, I can’t do so at this moment in time as my topic is Textures, which will not correlate with one another. I hope to attempt to accomplish this great level of photography in order to make my photos up to a decent standard like Daniel has done so, I may even magpie certain aspects to make my work comparative perhaps even indistinguishable as Coyle's photos are just so motivating. Daniels way of strengthening his picture making and bold lines within them is very innovative which inspires me deeply.
Daniel Coyle Photography was founded by leading head photographer Daniel Coyle over 8 years ago. Within that time Daniel Coyle Photography has become one of the most talked about wedding photographers by brides in New York City, the tri-state area and at destinations all over the world. Setting itself apart from other New York City wedding photographers, Daniel Coyle Photography has pioneered and developed its own style of wedding photography combining all the best aspects of photojournalism, editorial, and lifestyle photography.
Sourced from https://www.photoreflect.com/store/StoreAbout.aspx?p=34090
Composition:
In the foreground, you can see a long pathway that stretches as a third through the middle of the image. The middle-ground is just the ocean and its reflections along with the bridge in the middle. And the background is mountains, in a way it goes upwards in height from left-right. The strong leading lines are the pathway/bridge, the ocean line and the mountains, this gives a rule of thirds effect is some way, the sweet spot in my opinion is the top of the bridge, right in the centre however others may argue that its the top of the mountain as that would also be applicable. The photo is taken at eye level and I believe they have used a deep depth of field as nearly everything is in focus, (F20+) I think the white balance “Fluorescent” was used and the ISO was set to AUTO. The image is not over-exposed in my opinion, I quite like the effect it gives off and I personally believe it is correctly exposed, not over or under exposed. Although this picture could’ve been taken without a tripod, I have a strong feeling that it was taken WITH a tripod as it’s perfectly centered and to hold a camera that high up and keep it still would be a difficult task. Yes, the water’s reflection has blatantly been photoshopped however it gives a nice effect, you could say they “Smoothed” it out in a way, the only tool that comes to mind about what Daniel must’ve used is just the blur, went over the water reflection with a hardness of around 30. The main colour change is from the mountains to the sky as the sun is just rising and the sky is filled with beautiful colours whereas the mountains are dull. The bridge isn’t really classed as a pattern however if there was to be one, then it would be that as it has lines going from top-centre. The image is cropped perfectly so the ratio of the bridge aligns with the sides of the image/mountains.
Connection:
I just think Coyle’s photos are unique and he does a good job with them, the detail isn’t amazingly good but that isn’t what Daniel was going for, he wanted a pretty bland look over a nice deck and sunrise. As I am doing textures for my chosen GCSE Topic, his work is much more different to mine however I aspire for my work to look like his in the future.
STR: Good use of Rule of Thirds via the bridge and mountains, photo manipulation via Photoshop is very subtle but has a drastic impact on the water within the image./
EBI: Daniel could have used some more details within this image, for example the clouds and mountains could have been brought out to become more appealing.
Inspiration:
I will try to use my photo manipulative skills to try and recreate Daniels work in the future however, I can’t do so at this moment in time as my topic is Textures, which will not correlate with one another. I hope to attempt to accomplish this great level of photography in order to make my photos up to a decent standard like Daniel has done so, I may even magpie certain aspects to make my work comparative perhaps even indistinguishable as Coyle's photos are just so motivating. Daniels way of strengthening his picture making and bold lines within them is very innovative which inspires me deeply.
Mind Map:

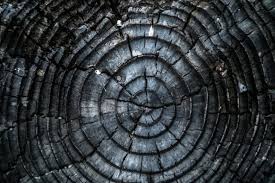
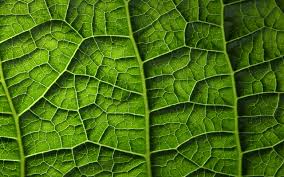
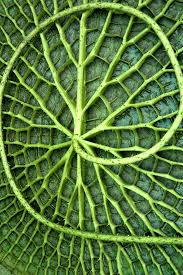
Mood Board:
Man Made:

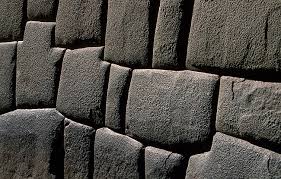
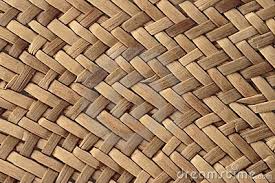
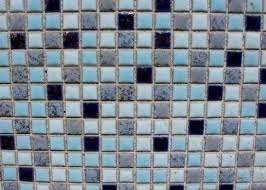
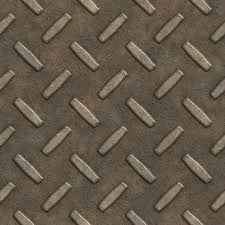
Natural:


Aaron Siskind
Context:
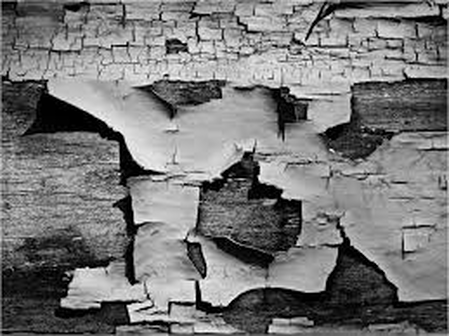
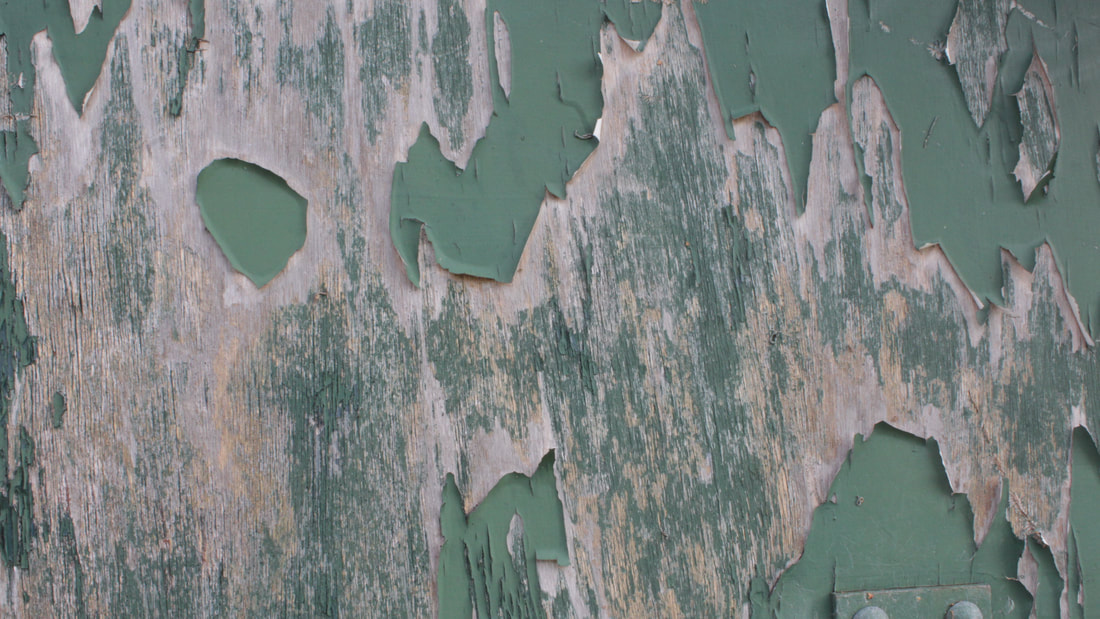
The photographer is Aaron Siskind and he comes from New York, United States. He takes his photos in America. He was born on the 4th of December, 1903 and died in 1991, February the 8th, he was known for his texture photography. Aaron began taking photos on close-up walls, peeling paint, cracked walls etc. He was a influential American teacher, editor, and photographer who was best known for his innovations in abstract photography.
Composition:
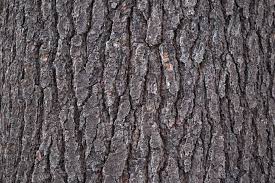
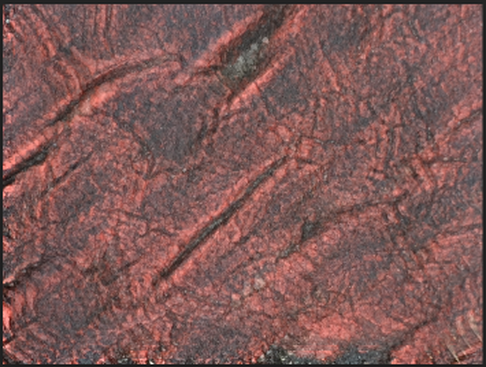
Rule of thirds is in fact used in this image, the first third from the top is different to the other 2 thirds of the image which brings the image out, making the photo alive. The photo is most likely on a shallow depth of field and is probably taken on a tripod. An F5 Depth of Field was probably used on the camera, the camera was also close up to the tree as Siskind needed the texture, no background which further improved the quality of the image which makes his work so unique and famous. Aaron uses the black and white filter effectively in order to portray a sort of emotion and personify the tree as if it were "breaking" and "peeling" away. This effect shows a deeper meaning within the photo. Siskind has most likely went into a forest area and perhaps taken a texture themed image based on it. The extreme peels from the tree suggests that the trunk is aging and becoming 'expired' in some way, however you could interpret that as it starting a new beginning, shedding its old skin for a new life.
Connections:
I like his work as it is unique which inspires me as I’ve never seen a similar style, I aspire to have my photos look similar to his. Aaron uses the black & white filter consistently to bring out the detail in his texture images but I will not be using any filters apart from Tungsten Light. Also I will in fact be using minimal photoshop to perfect my images, and I will try collaging different images onto my own image in unique shapes.
Inspiration:
I will try to achieve this high level of photography to make my images upto a good standard like his, I would like my outcomes to be similar if not identical to his as his pictures are so inspiring. However, I won't be using the black and white filter as I believe the images would look better with colour. Aaron Siskind also identified with the ideas and styles of the Abstract Expressionist artists in New York in the 1940s. In these later photographs he continued to emphasize the modernist concern with the flatness of the picture plane, but intensified his approach to picture making with close up framing, as well as emphasis on texture, line, and visual rhymes creating abstract images of the real world.
IMAGES
Natural
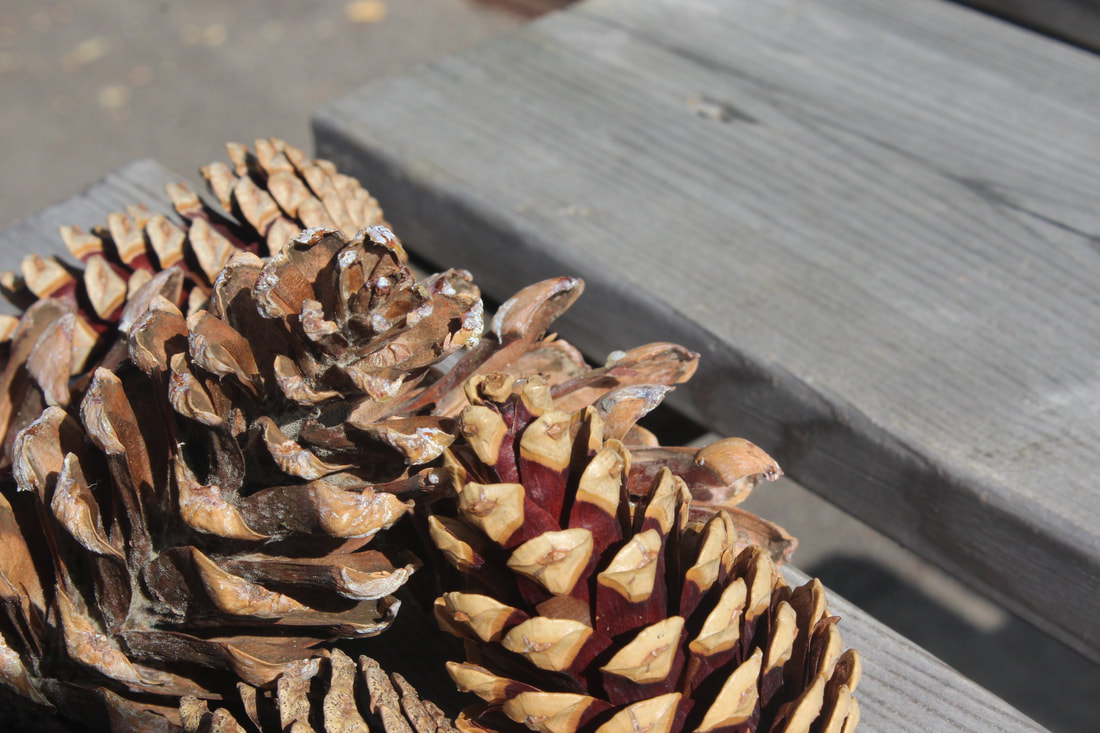
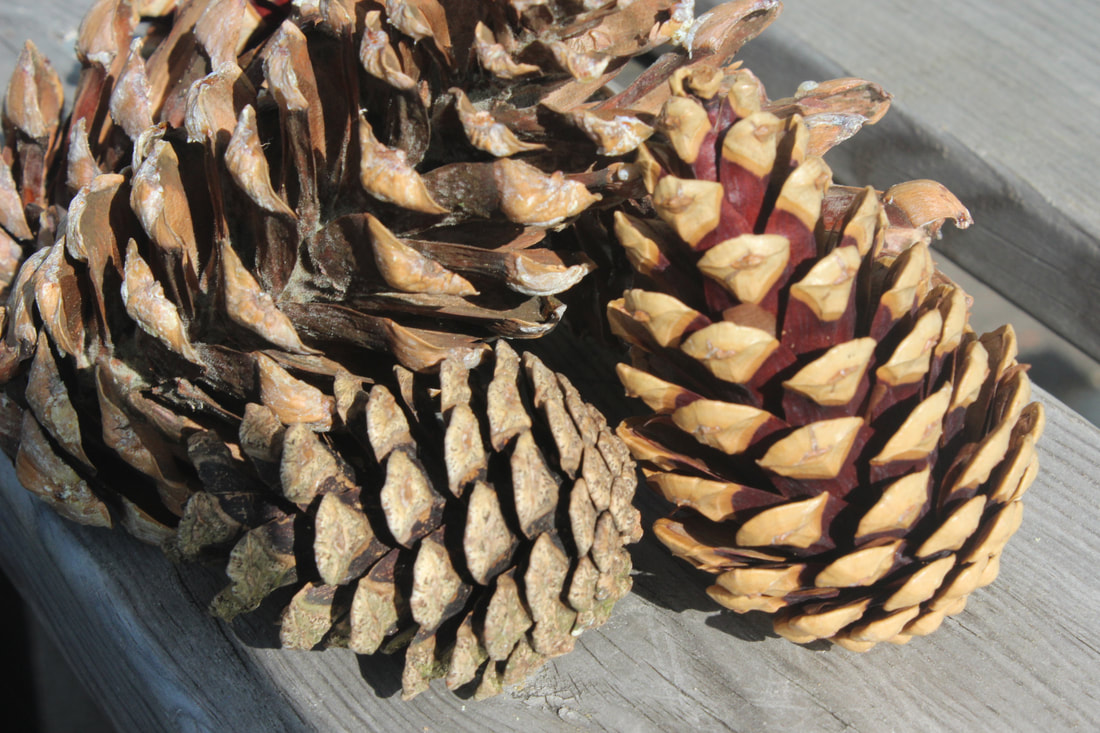
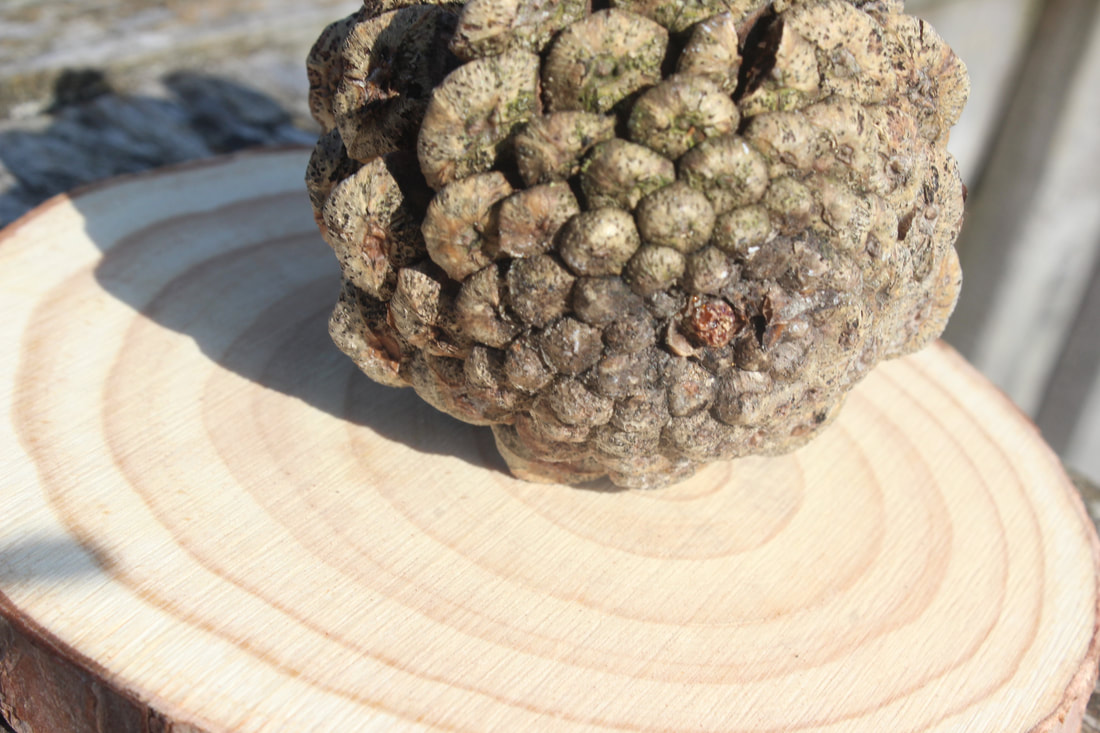
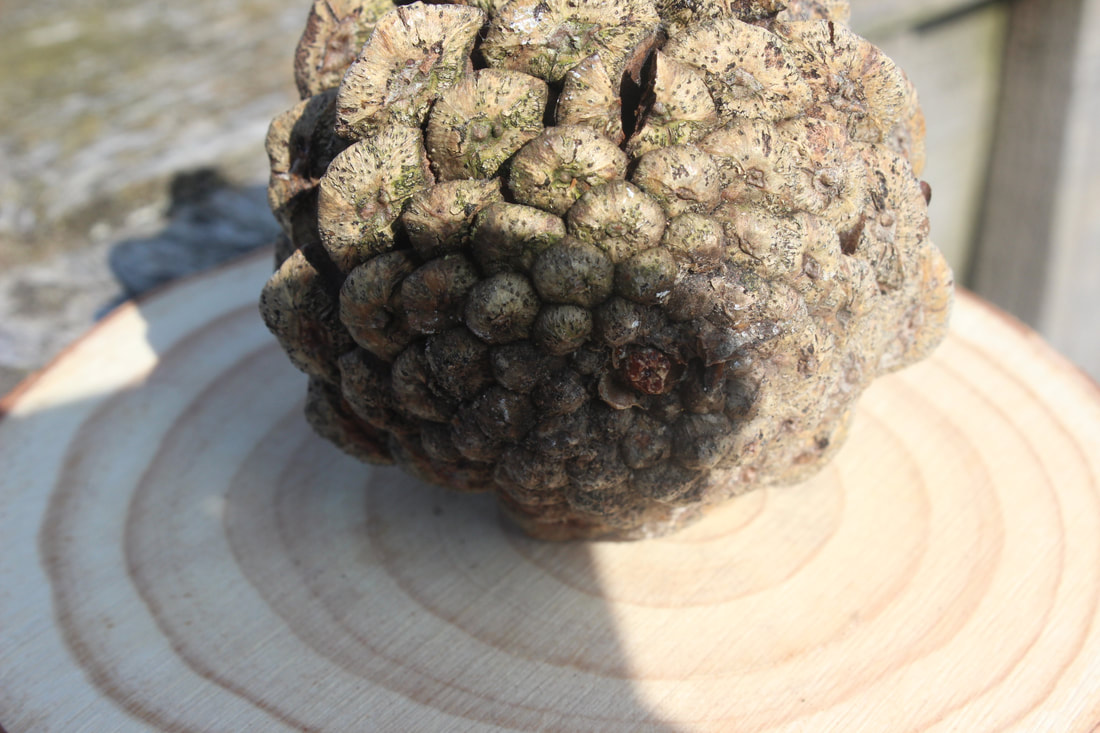
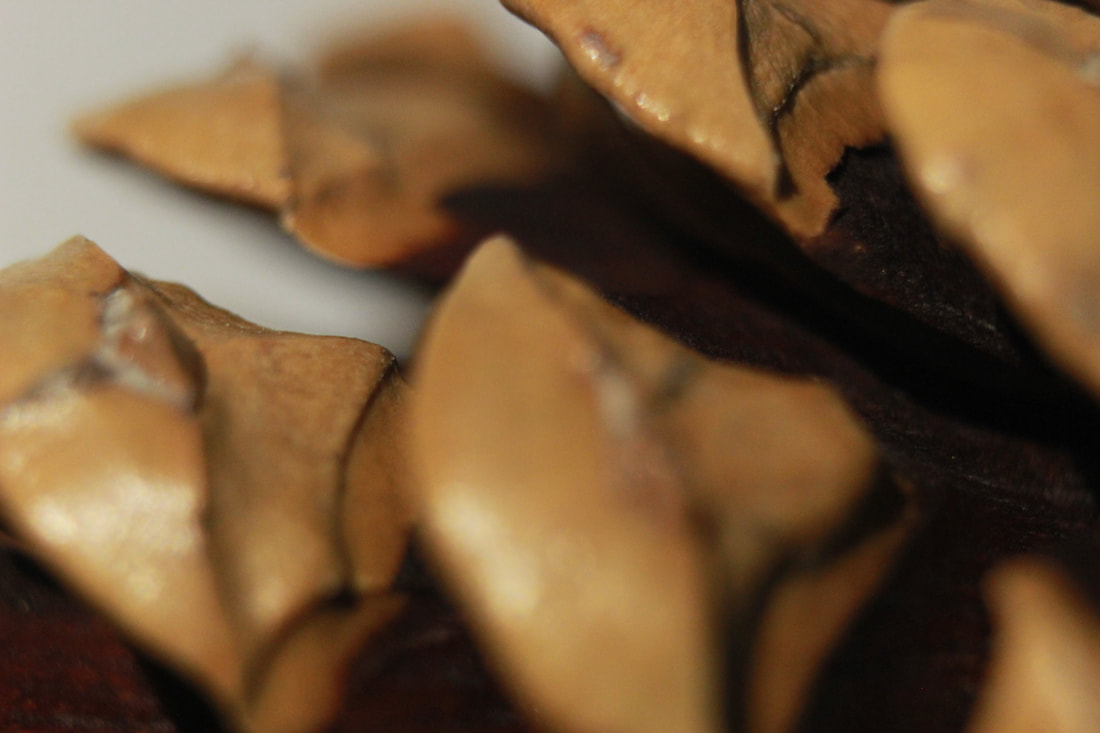
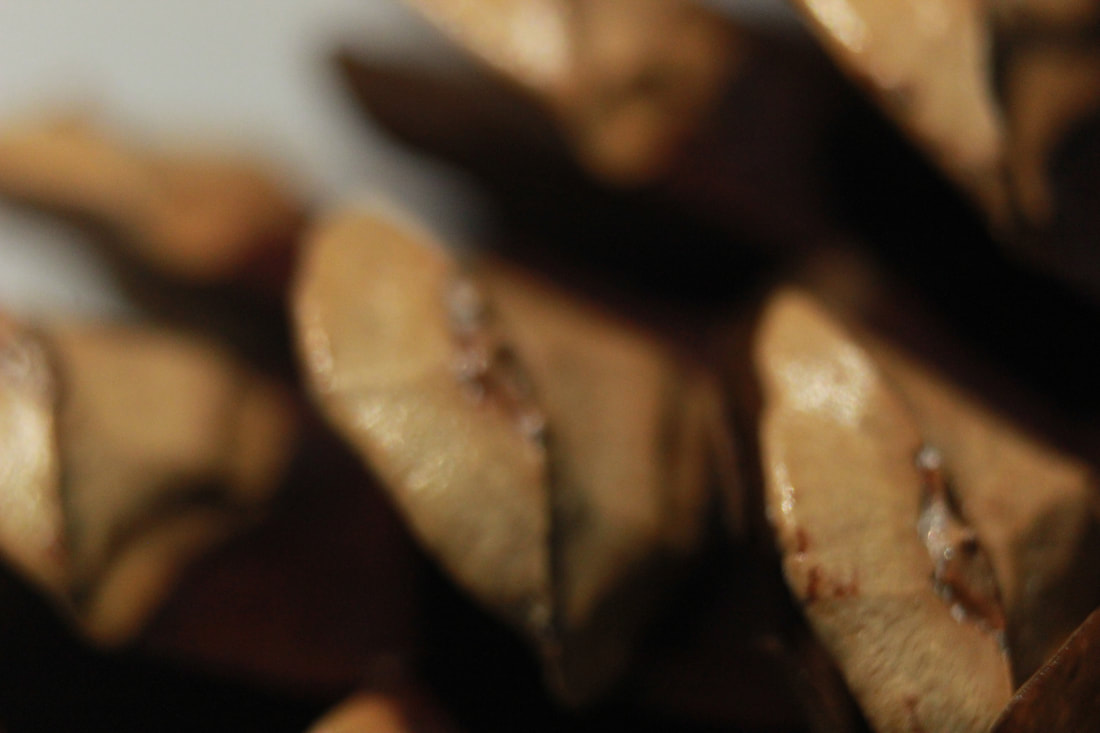
Cones:


Best: |
Worst: |
|

|
The image on the left is the best as it captures most of the texture, as I was new to this topic in general I didn't really have a good understanding of it so both pictures could be improved massively. But the one on the right is taken in portrait.
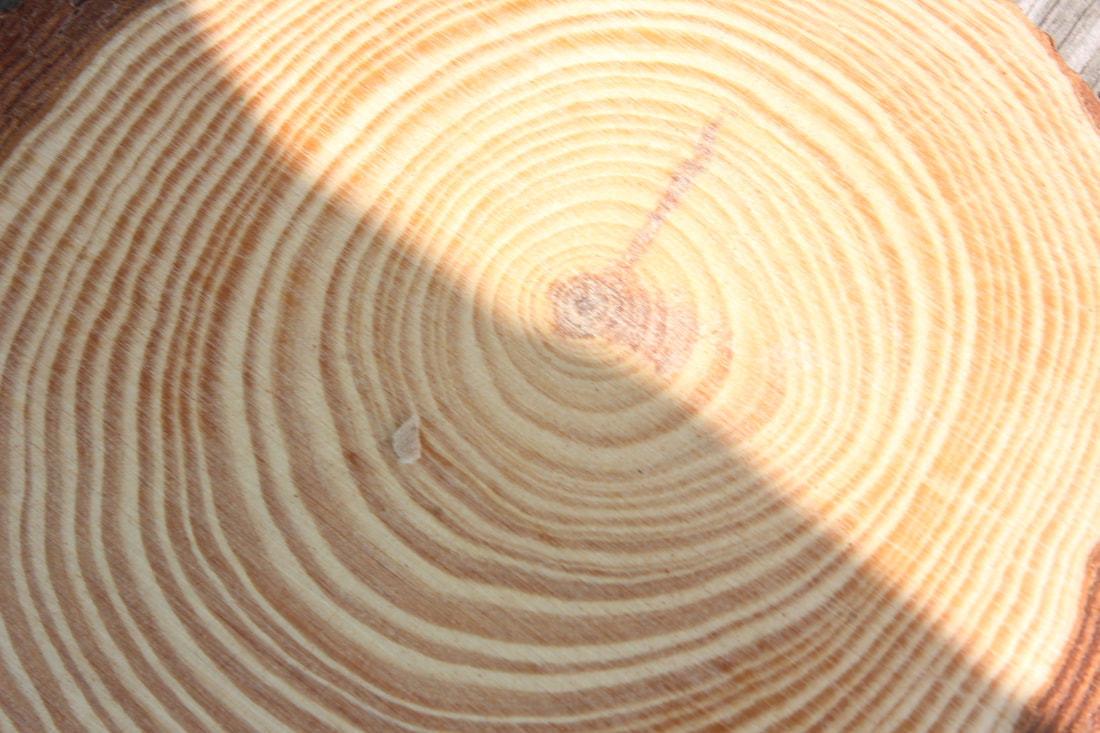
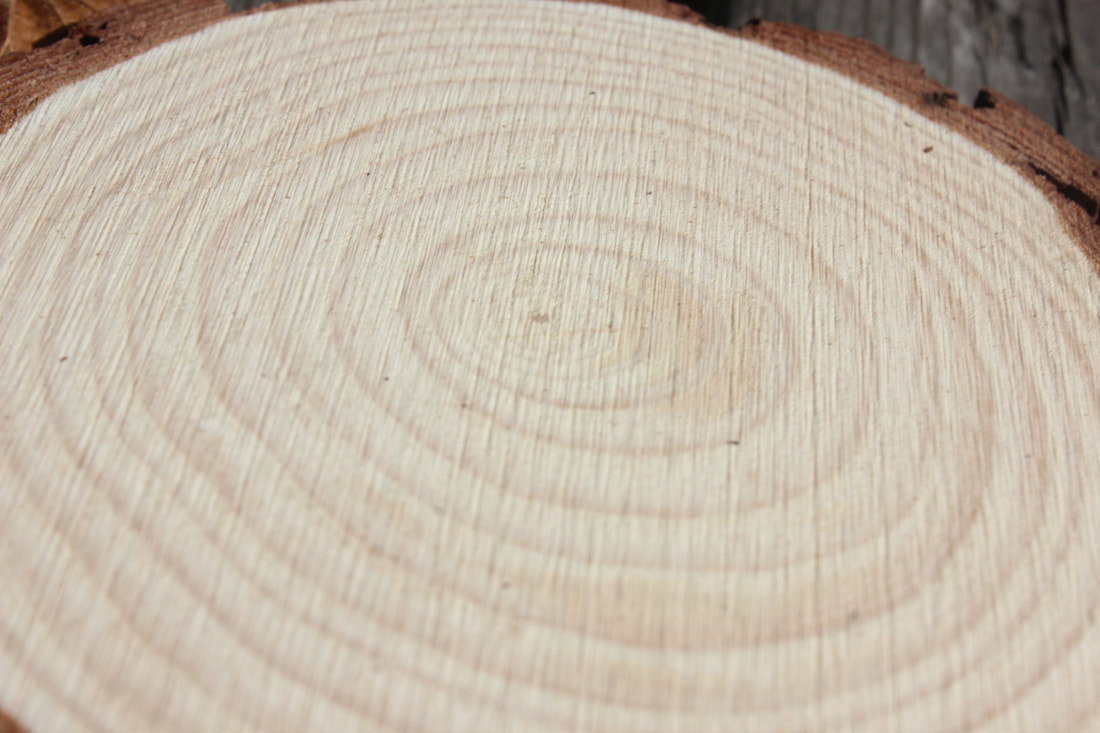
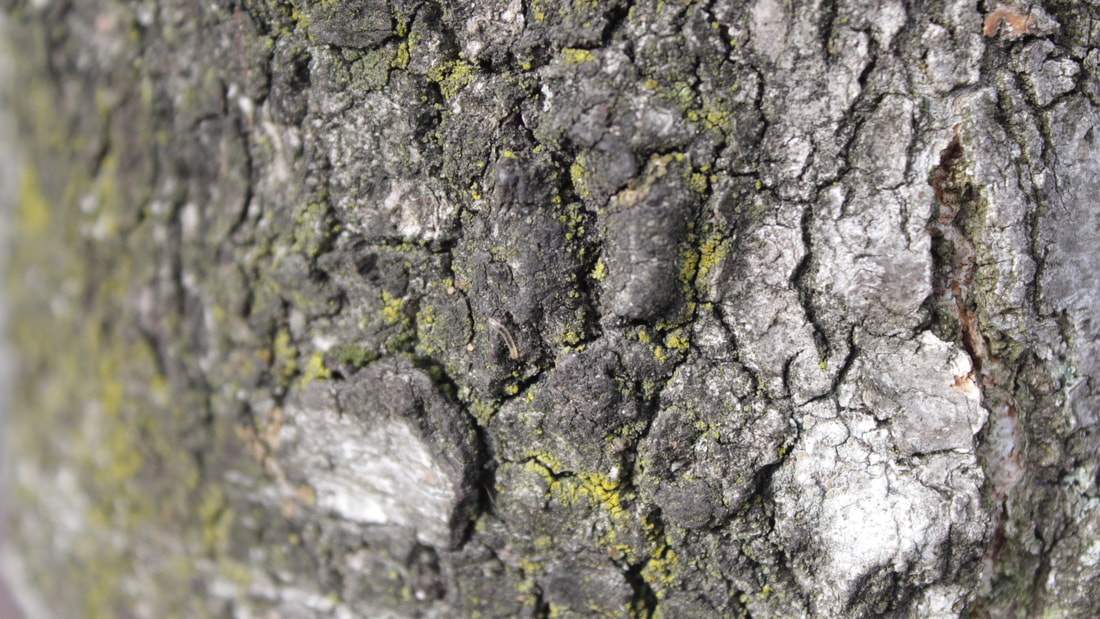
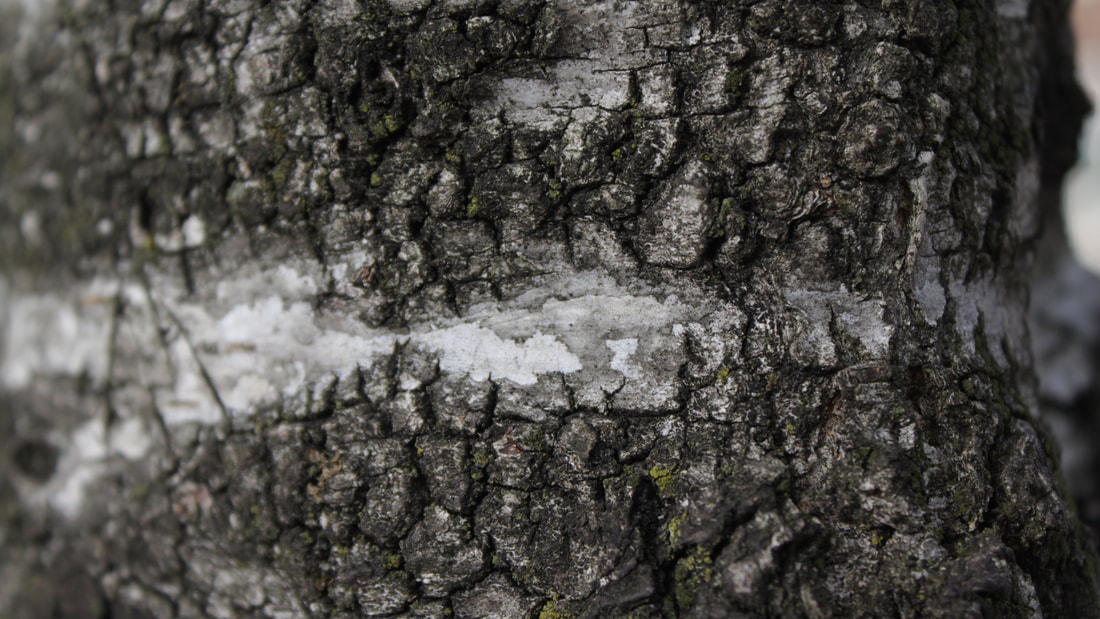
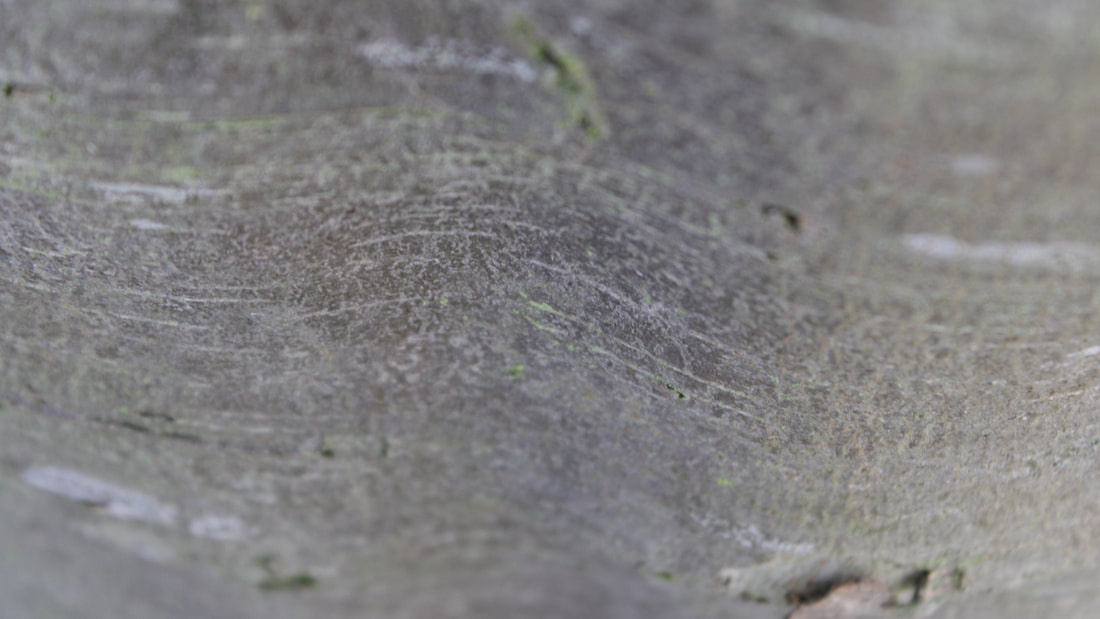
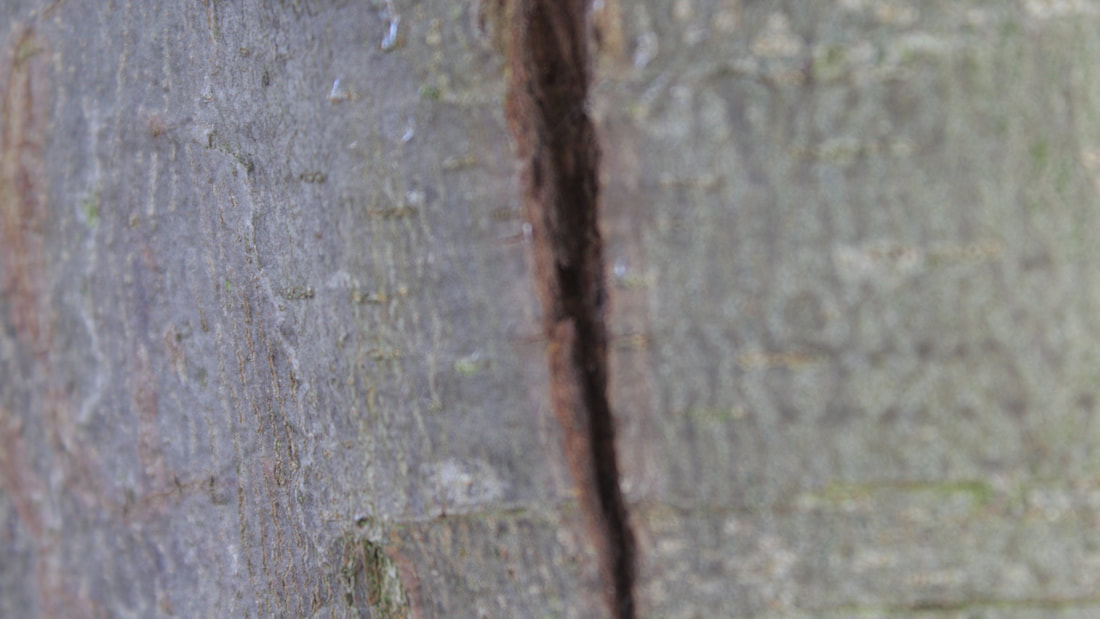
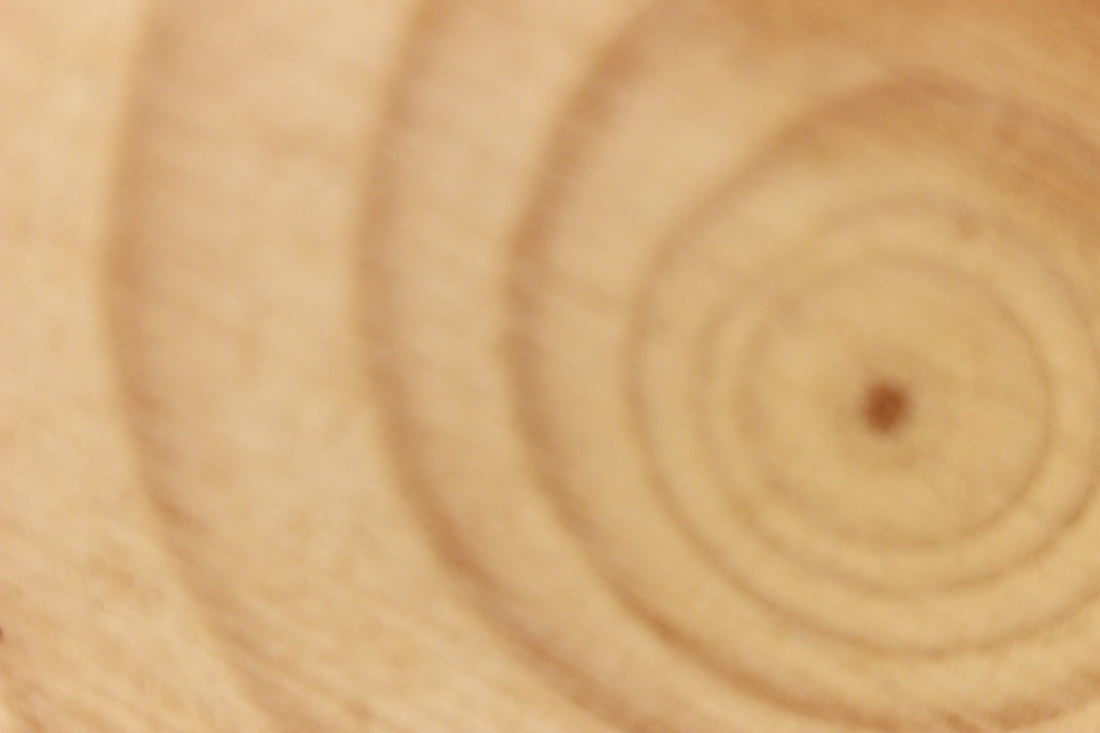
Wood:
Best: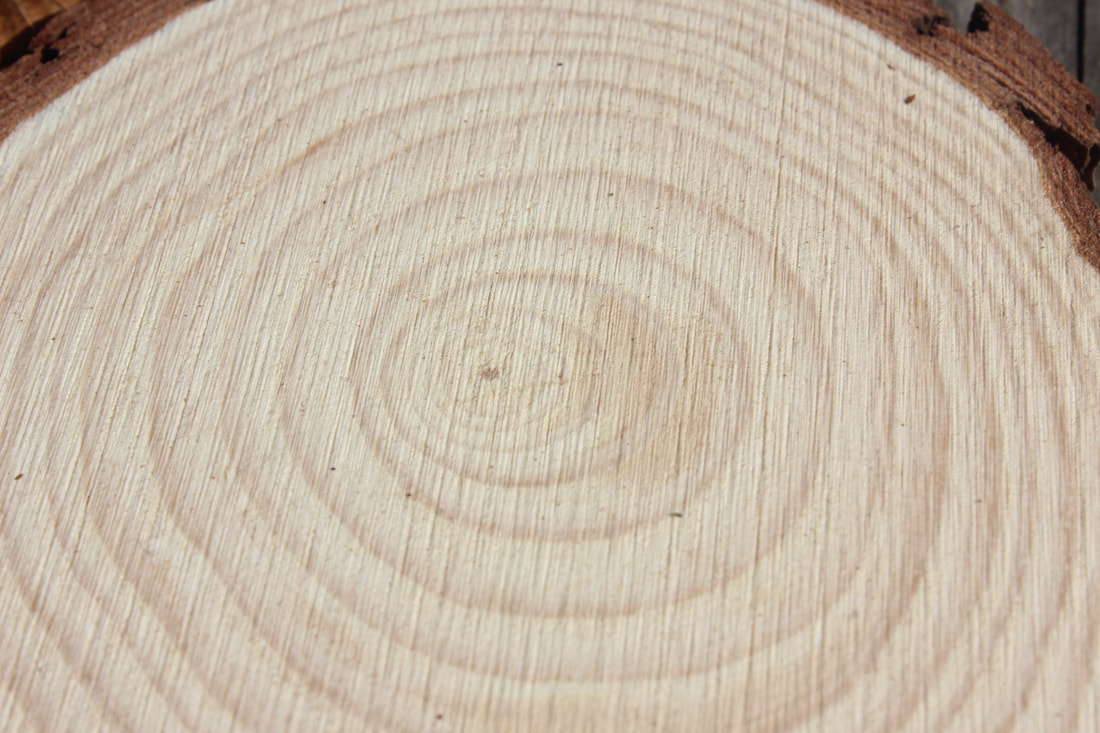
|
Worst: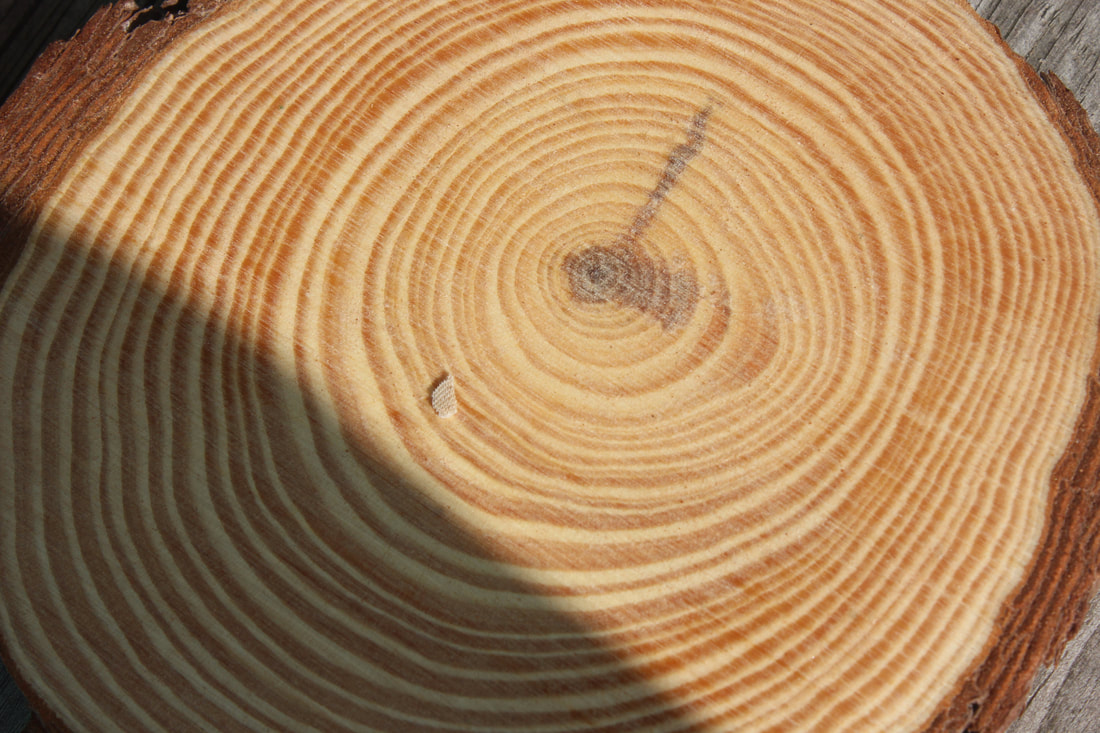
|
The image on the left is better as it is all in one shade, although the trunk on the right is much more outstanding and flashy, the shadow ruins it.
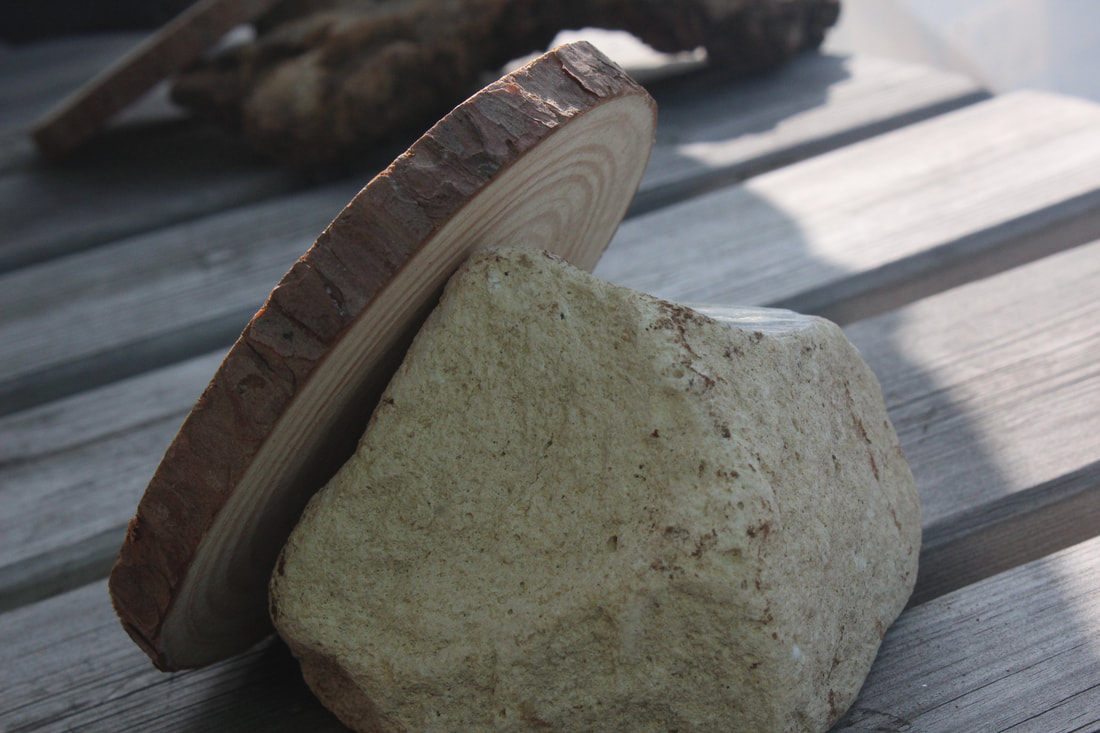
Wood n' stone:
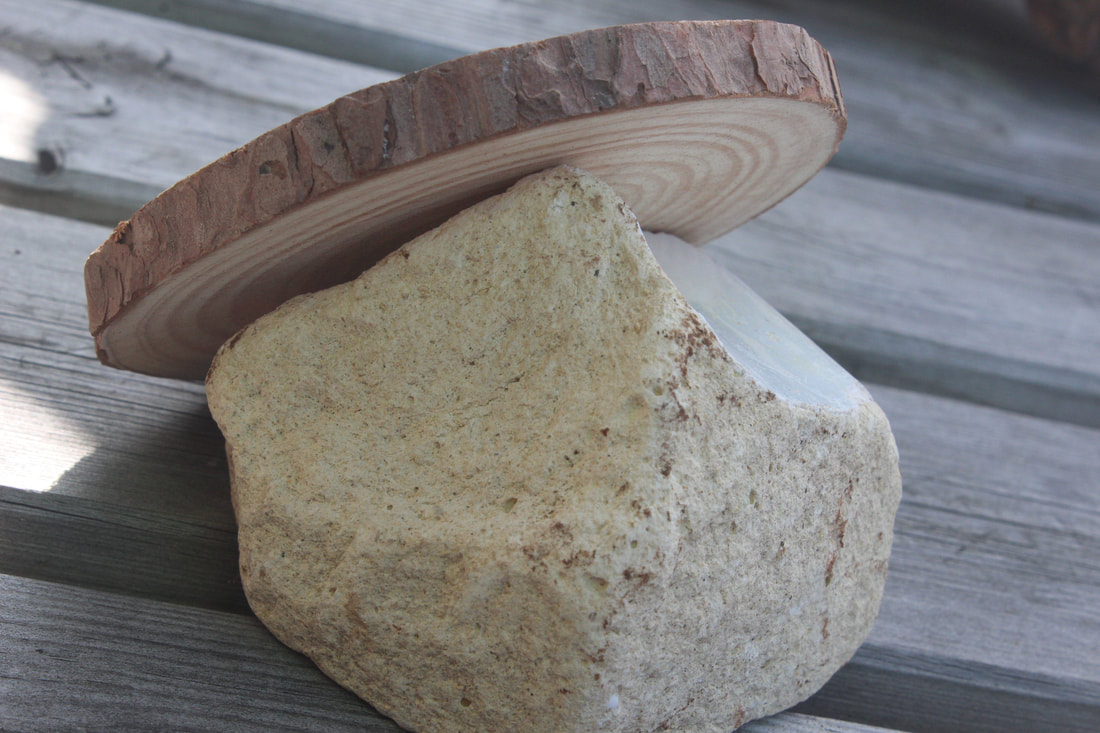
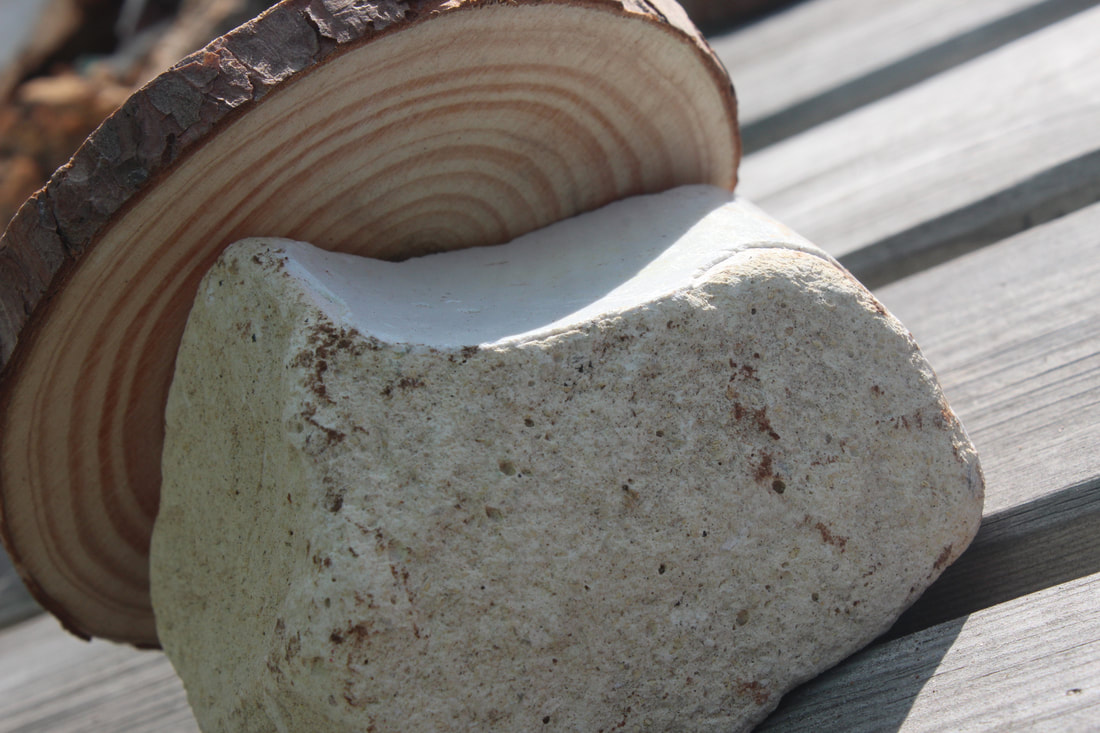
Best:
|
Worst: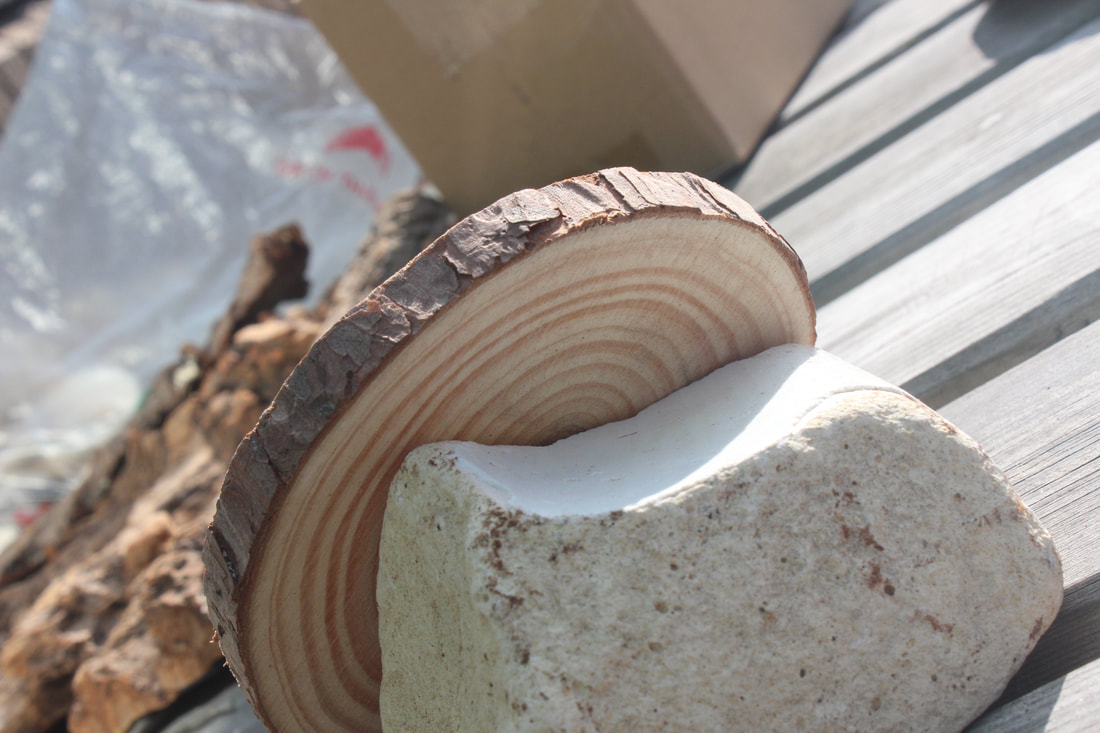
|
The image on the left is much more effective as it is mainly has the textures in focus whereas the image on the right has the background and a plastic bag which ruins it entirely.
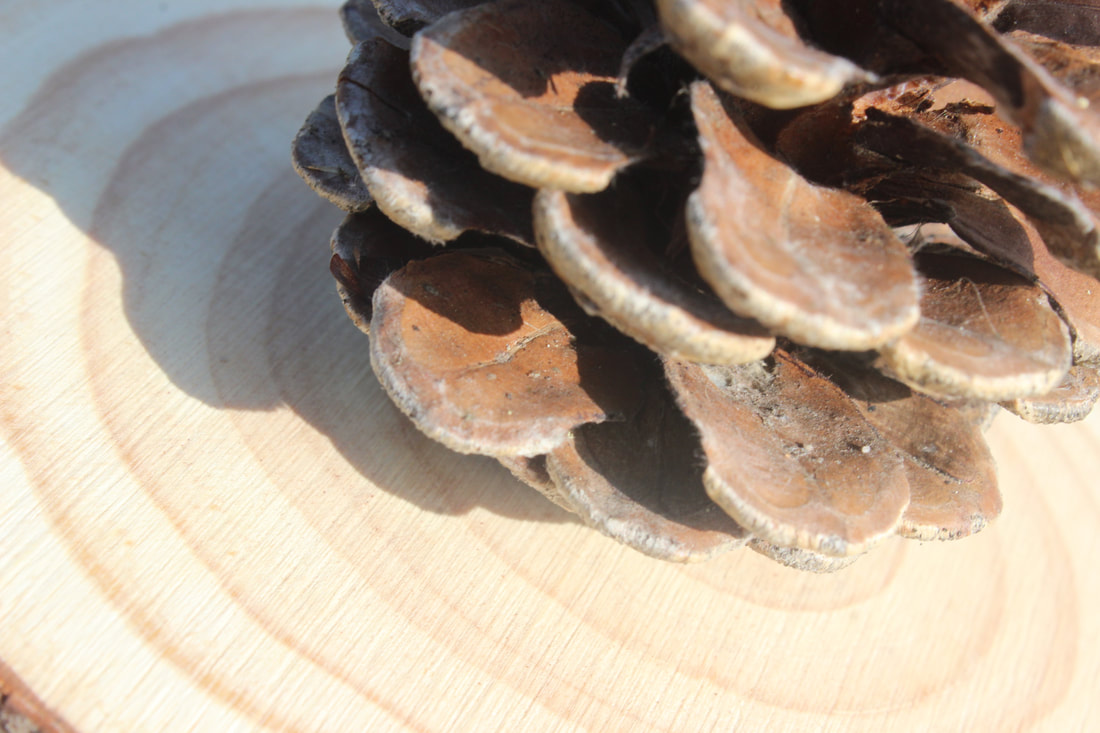
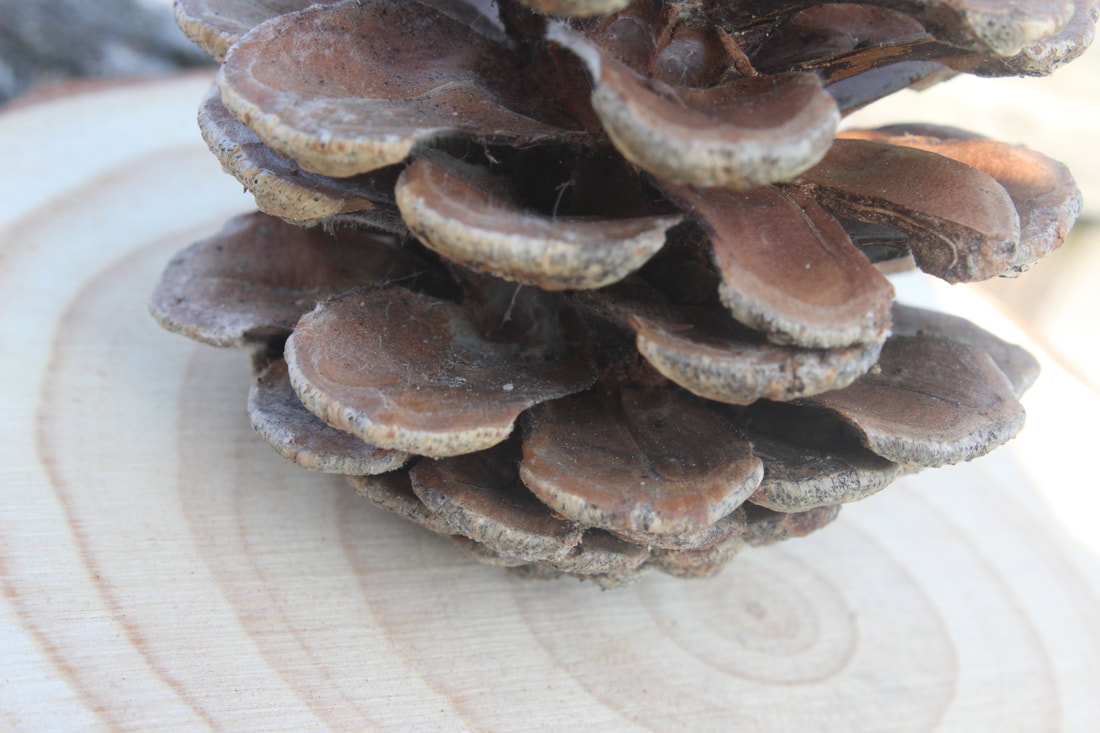
Cones:
Best: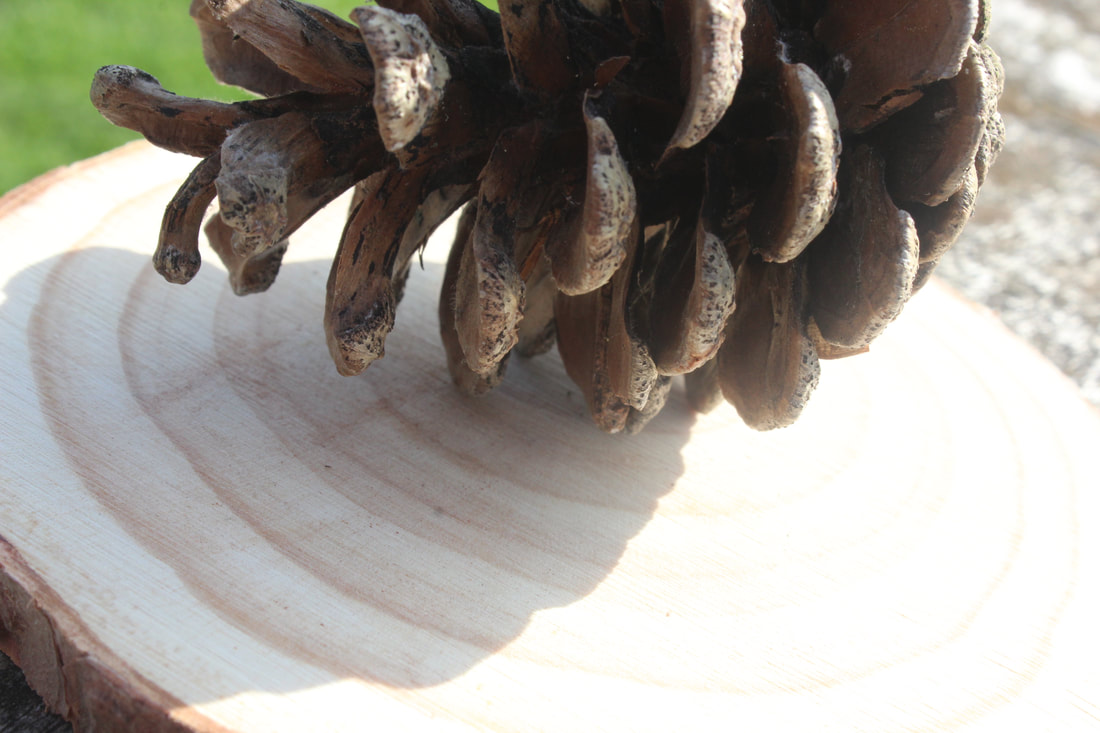
|
Worst: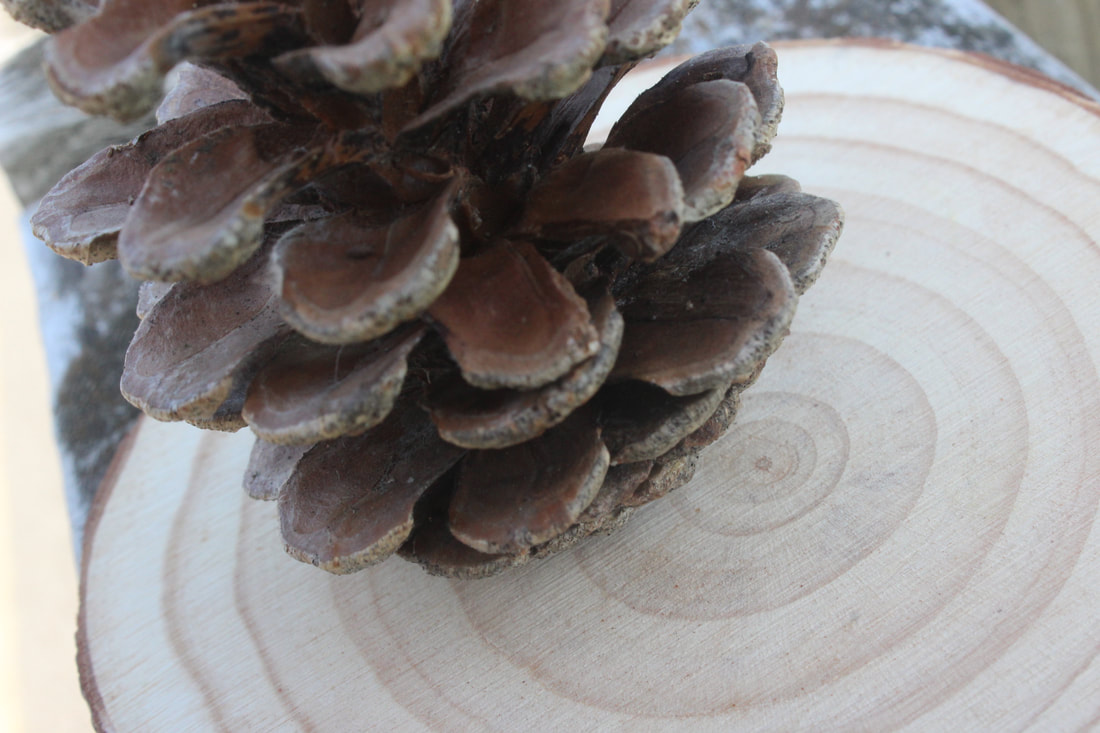
|
On the left, the sun is in the right spot and the picture is taken in the correct angle as the shadow casts down upon the tree trunk, however on the right, minimal light is captured making the image dark and hard to see.
Ivy Tree:
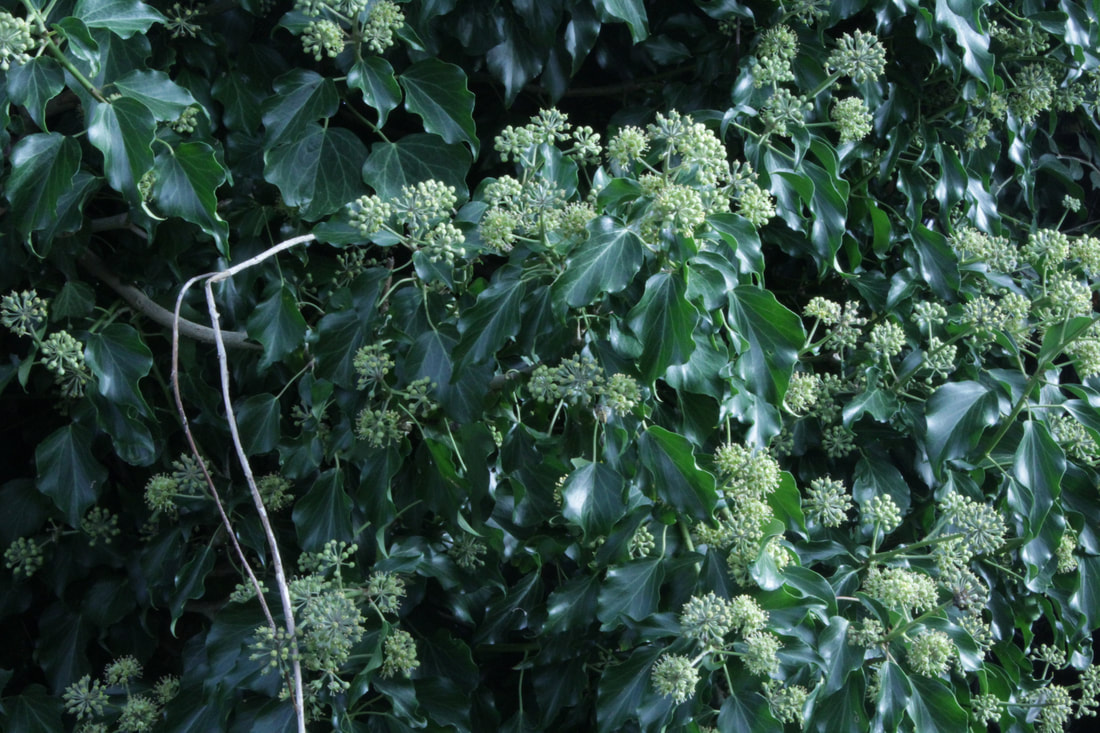
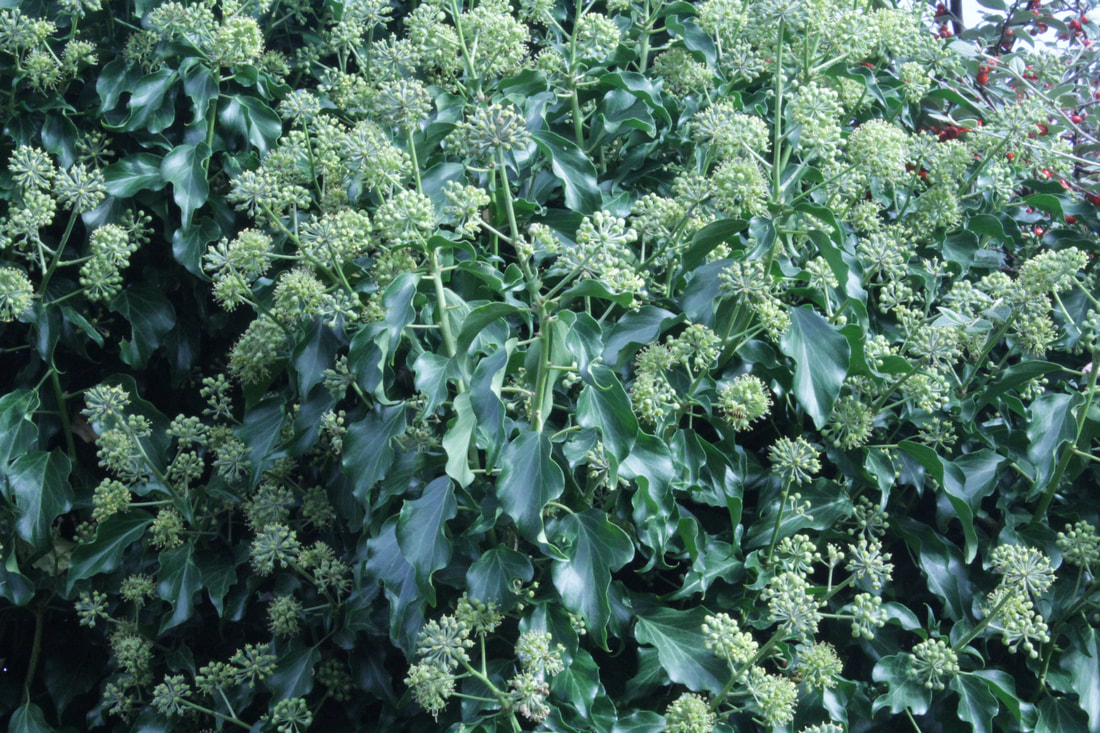

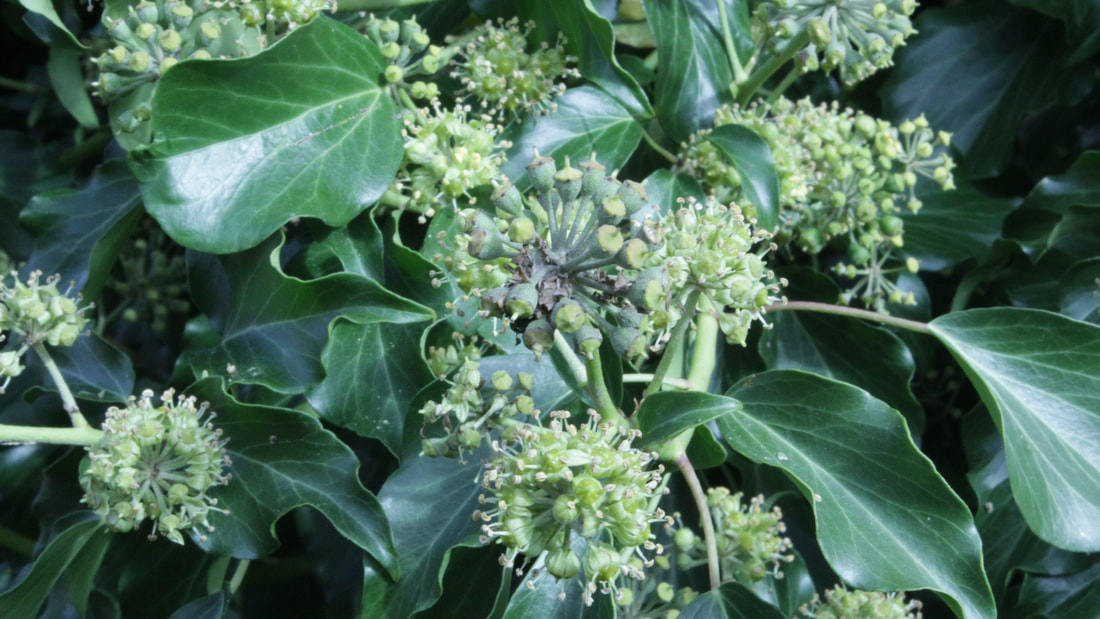
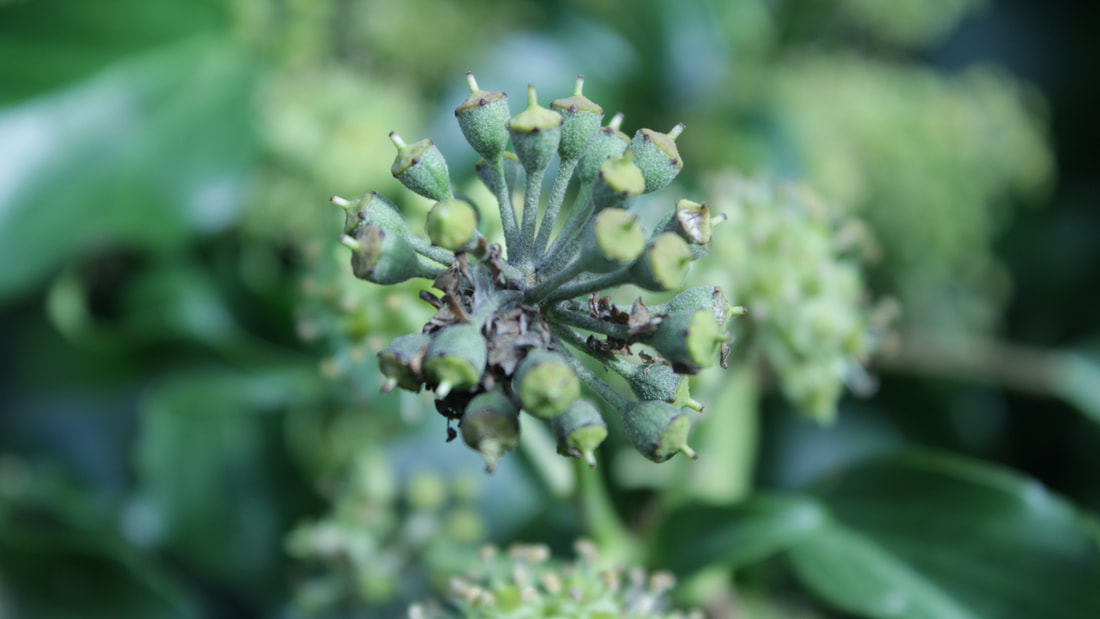
Best: |
Worst: |
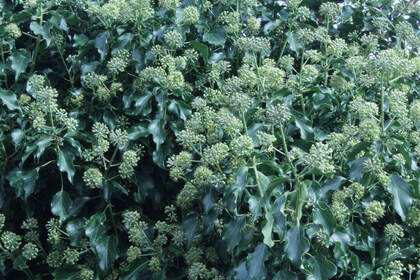
|
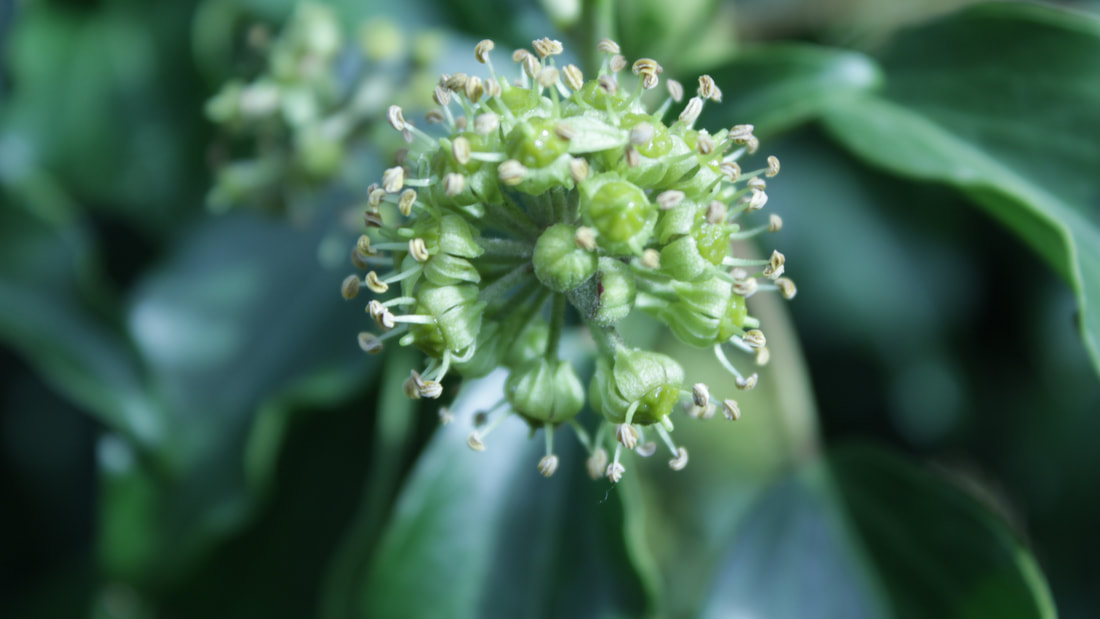
|
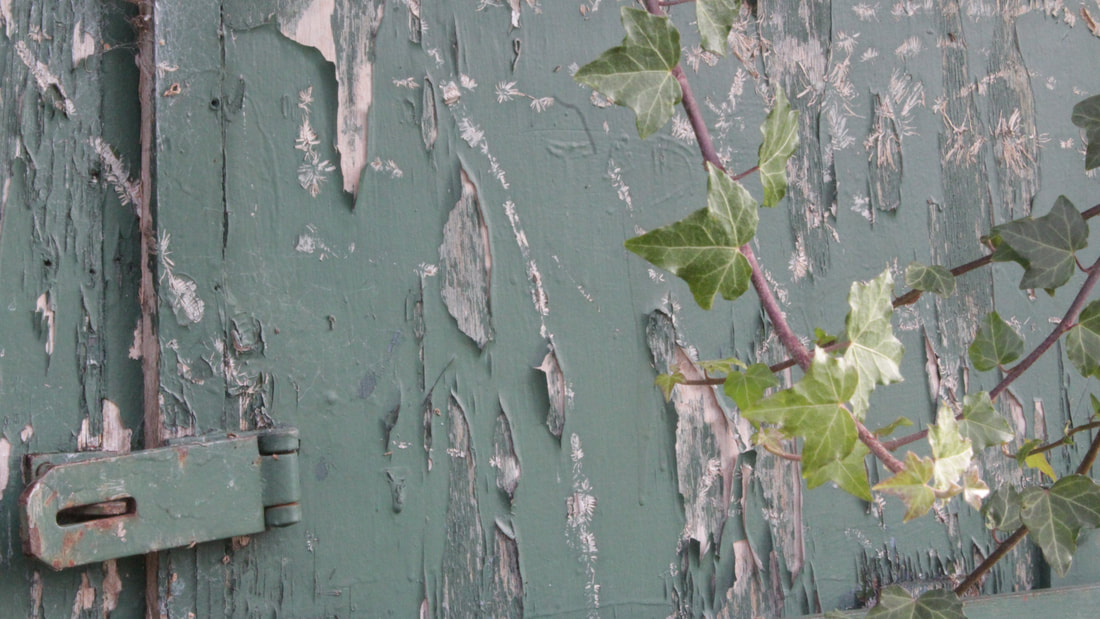
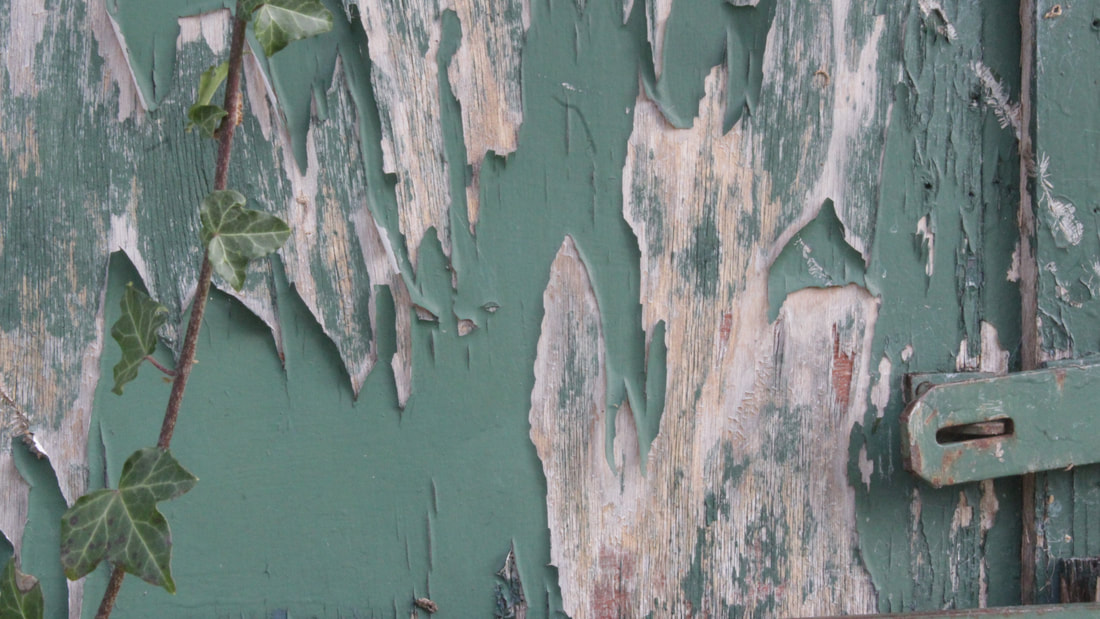
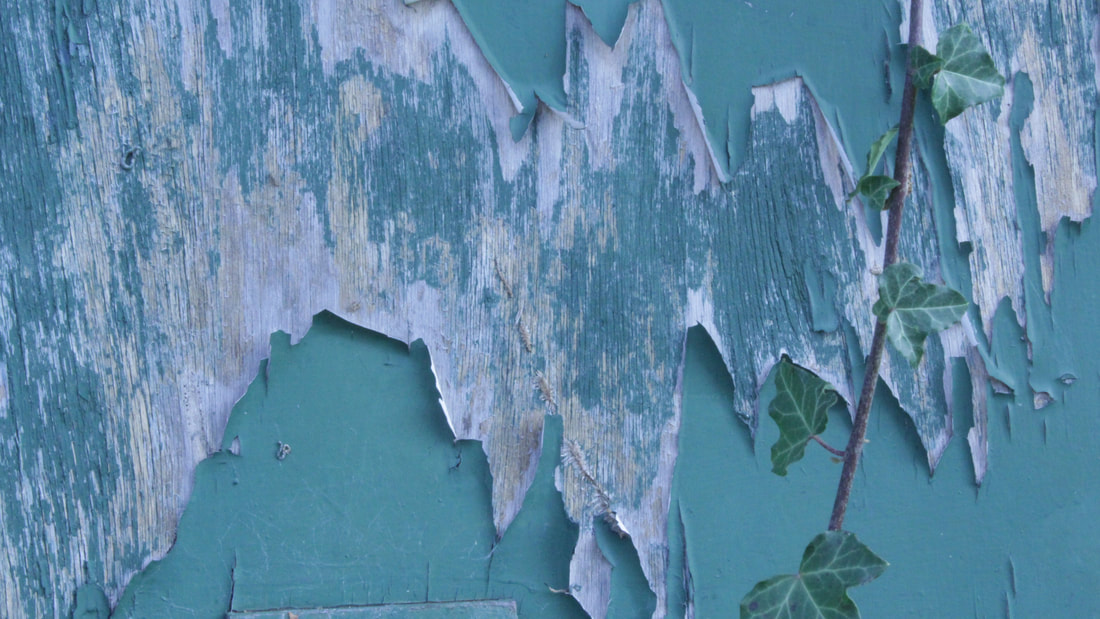
For the image on the right, although it looks amazing as the F-Stop used made it look good, however it wasn't linked with my chosen topic "Textures" and the one on the left did.
Spooky Themed Tree:
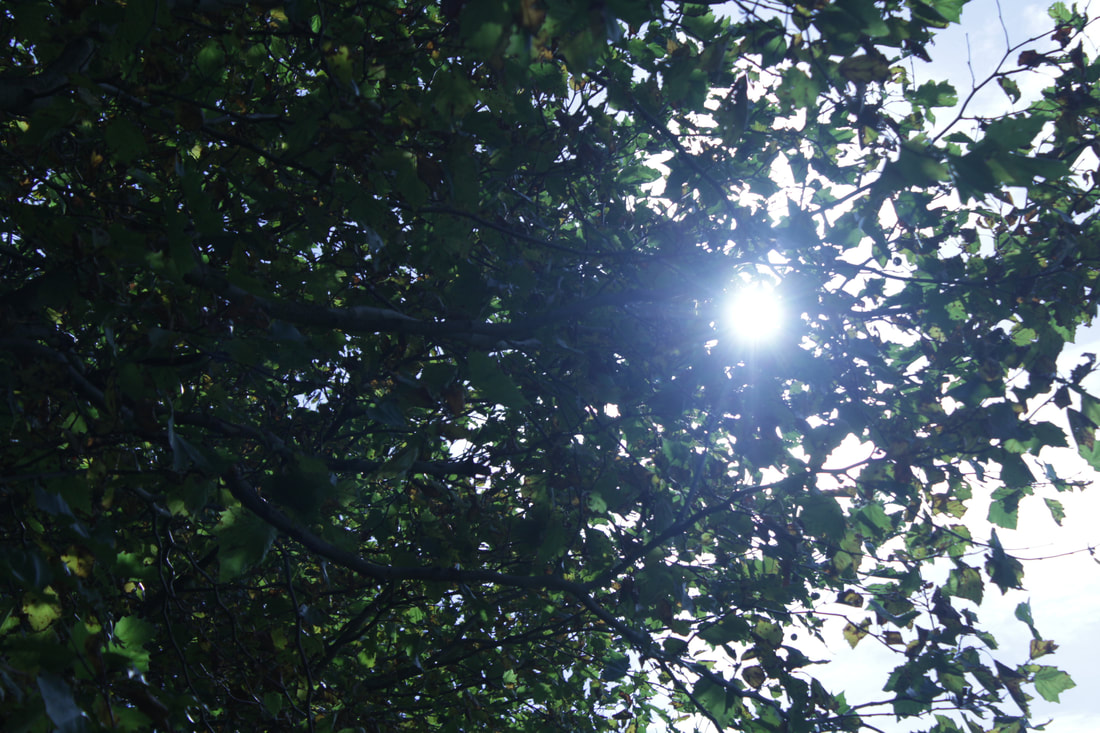
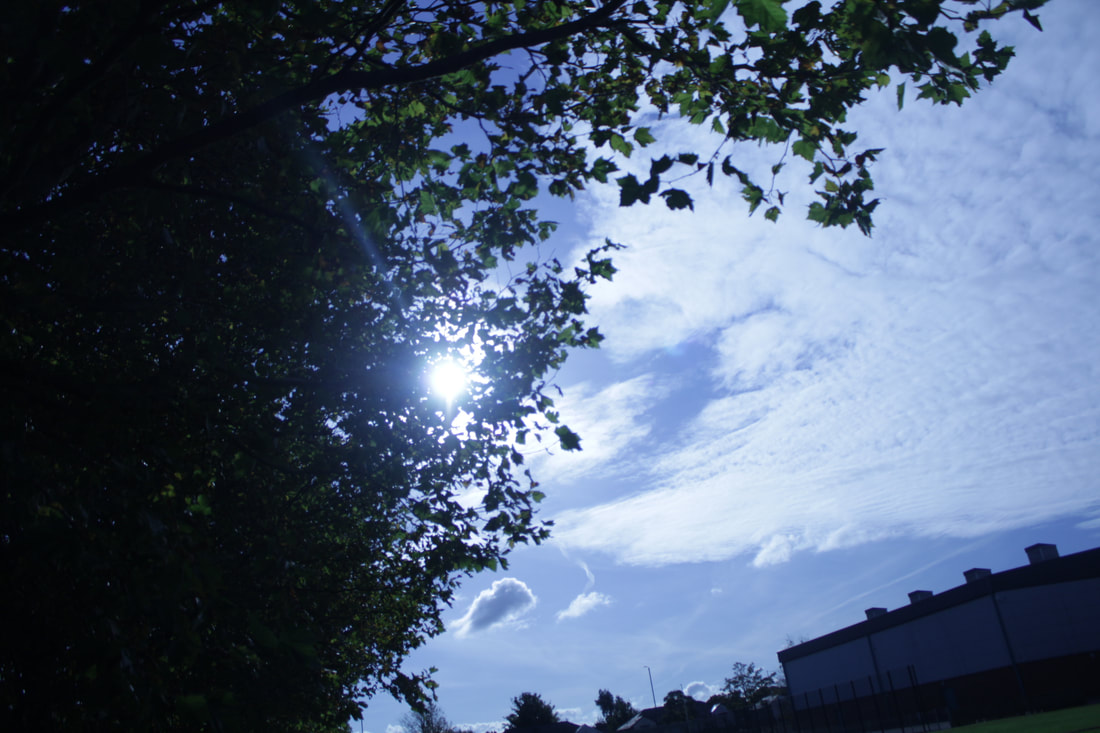


Best:
|
Worst: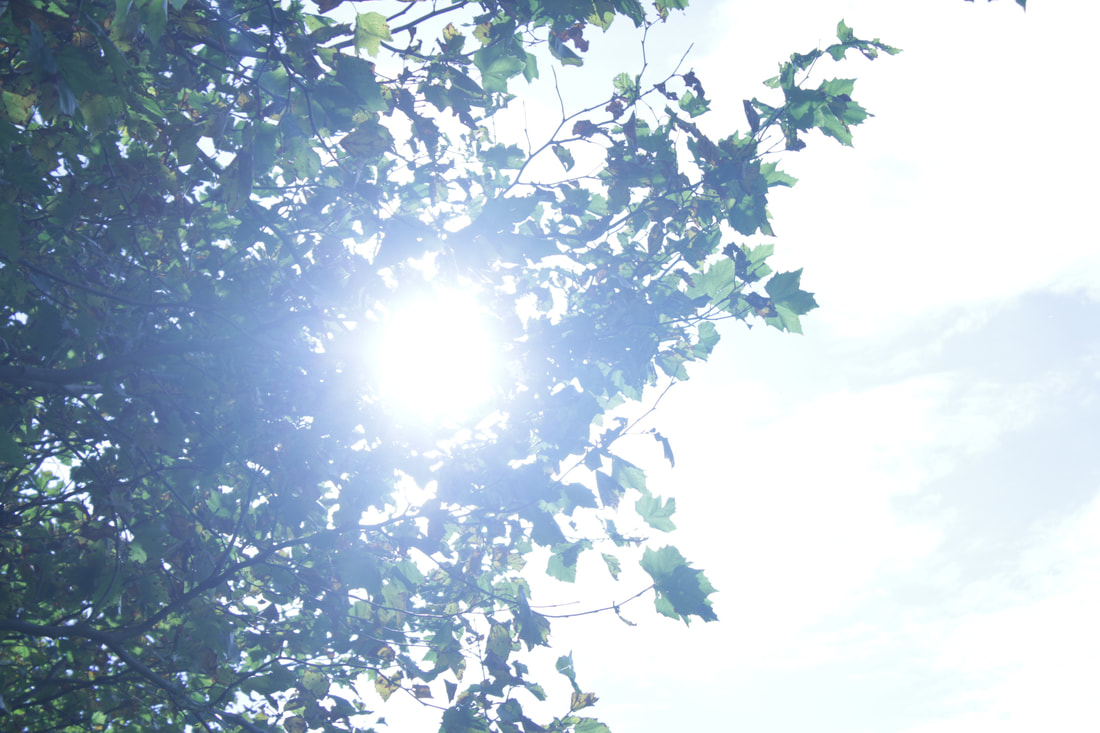
|
The best image on the left has a satisfactory eerie effect which gives off a spooky theme, however the image on the right captures too much light which has a blinding effect on the rest of the image which is not what I was going for.
Trees:
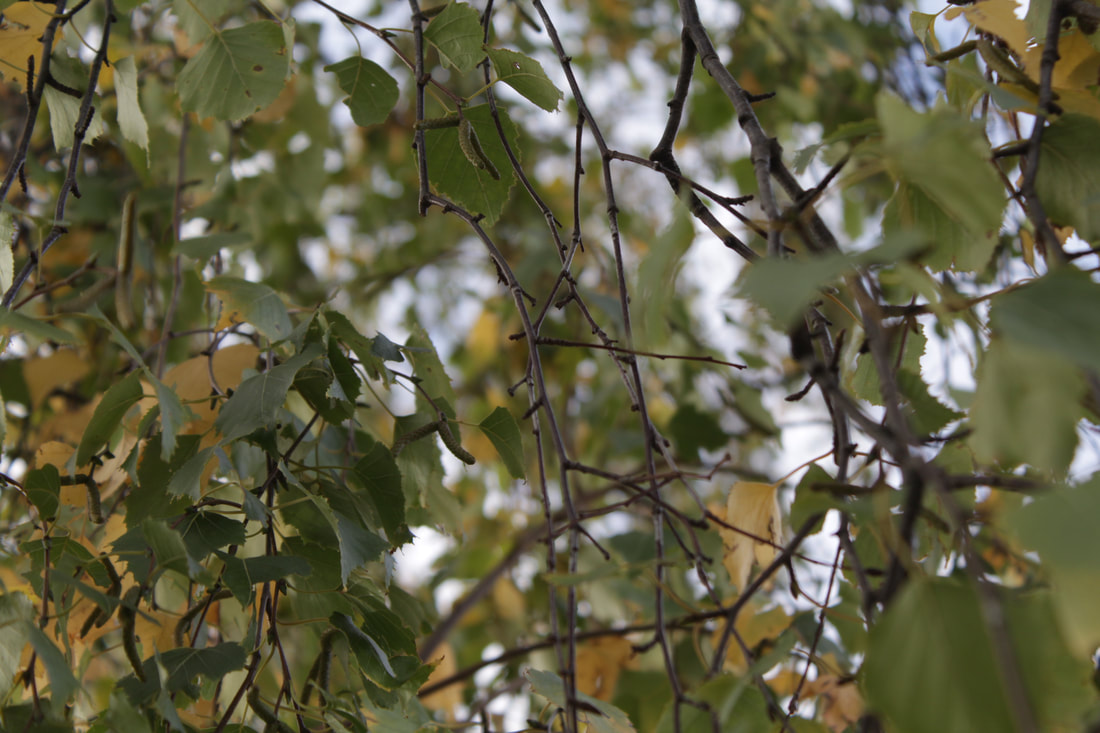
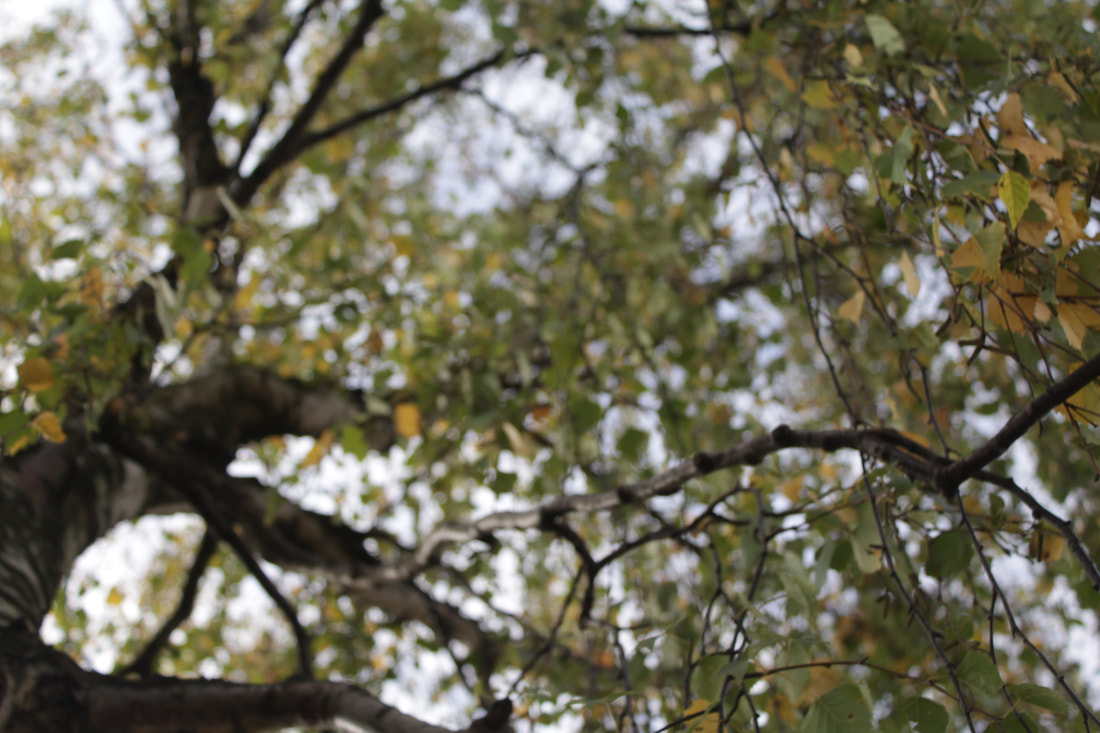

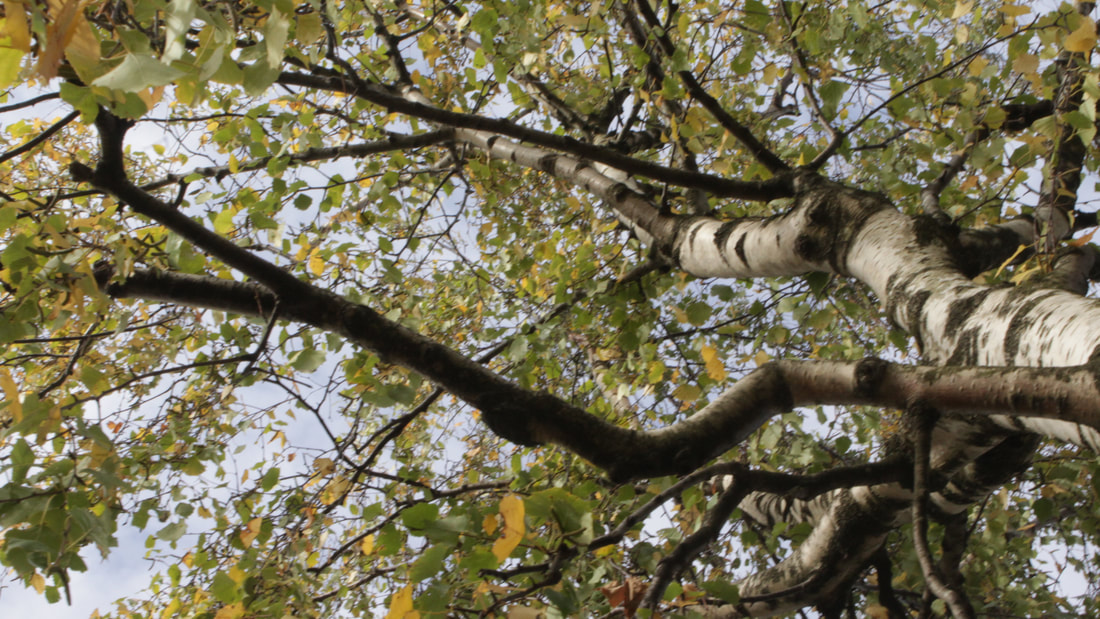
Best: |
Worst: |
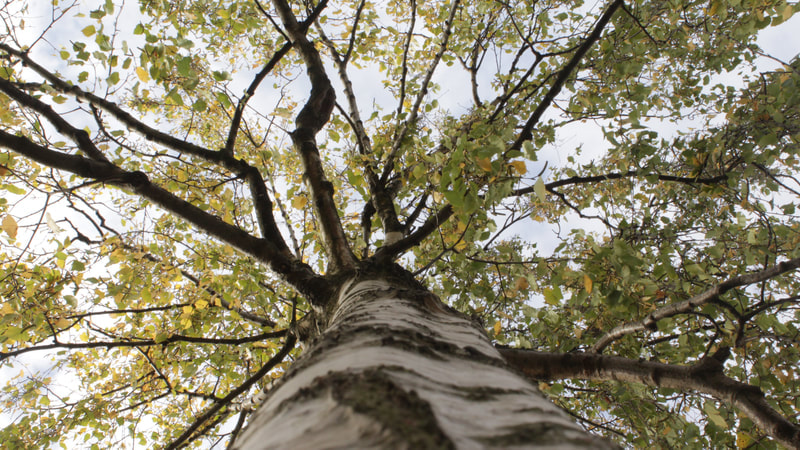
|
|
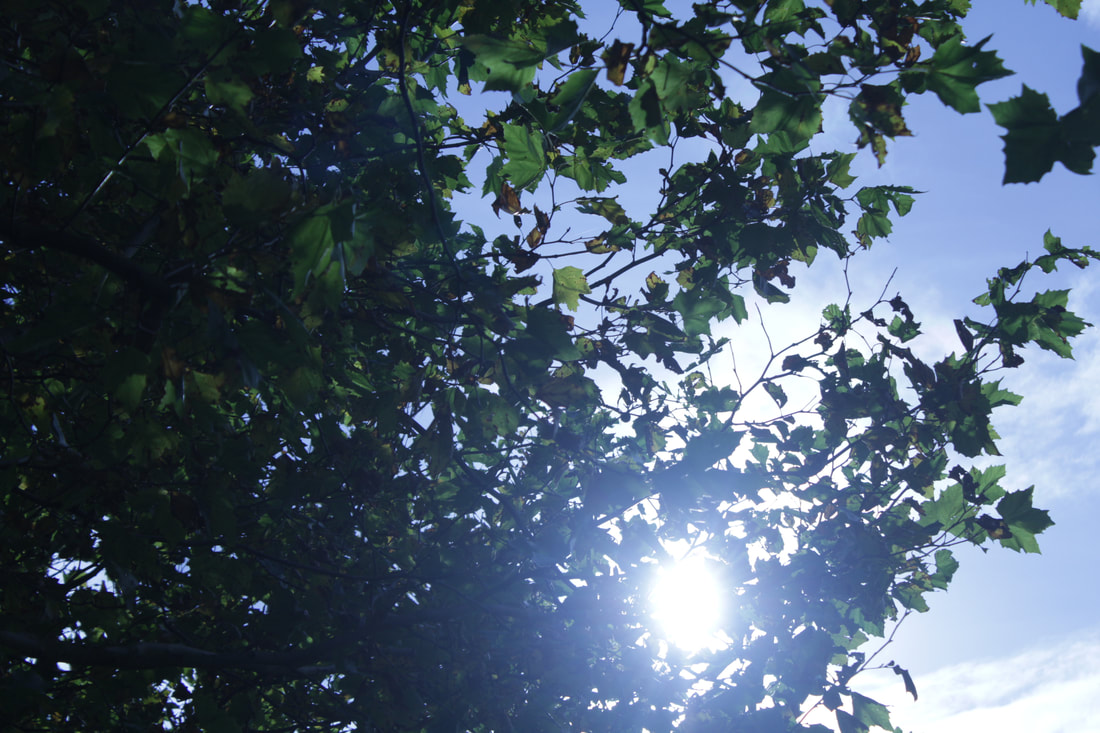
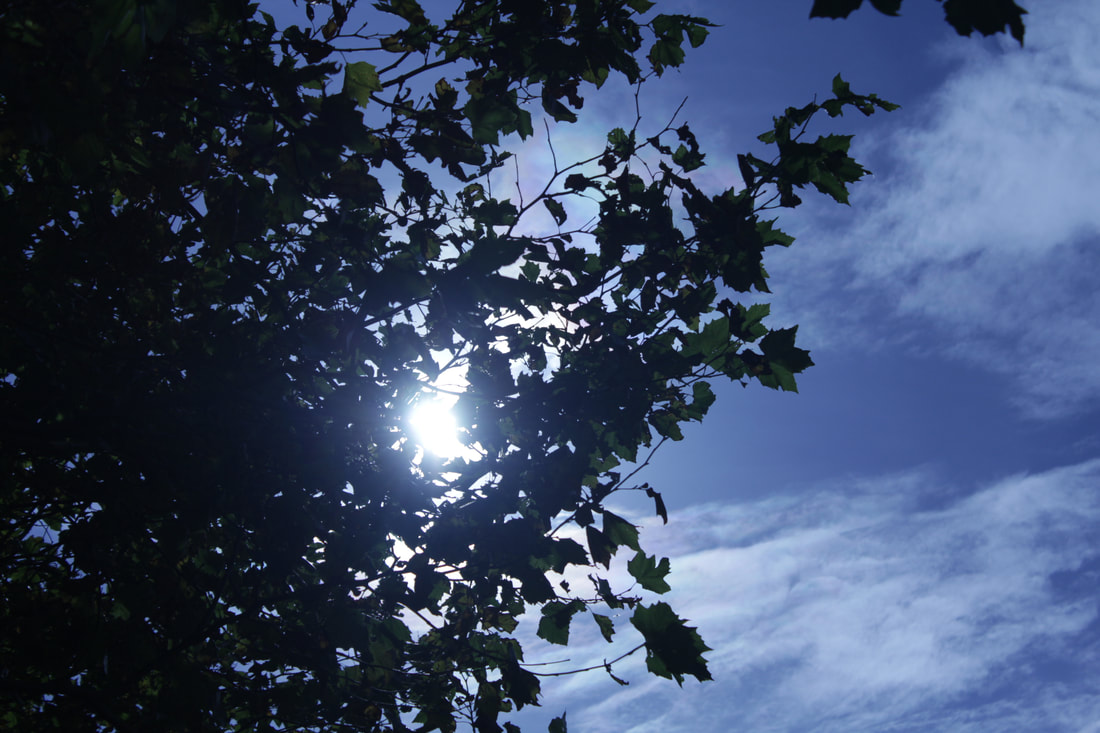
The image on the left has a good effect as it was taken by me from looking UP at the tree, however the image on the right is random.
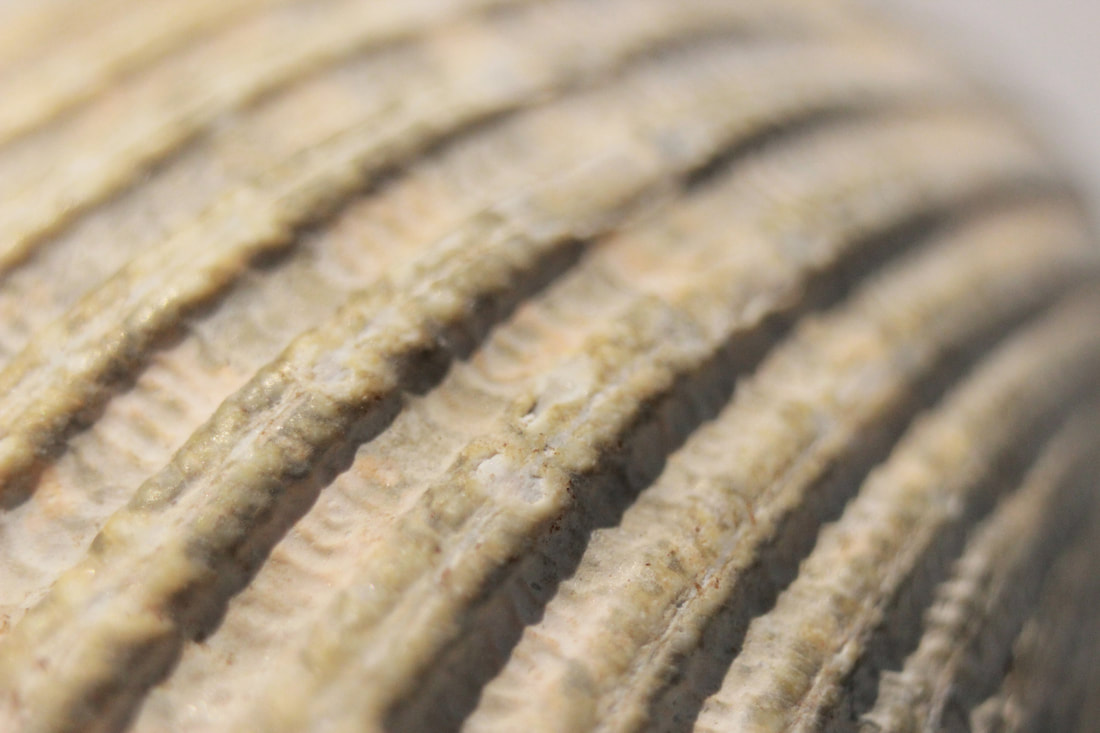
Shells:
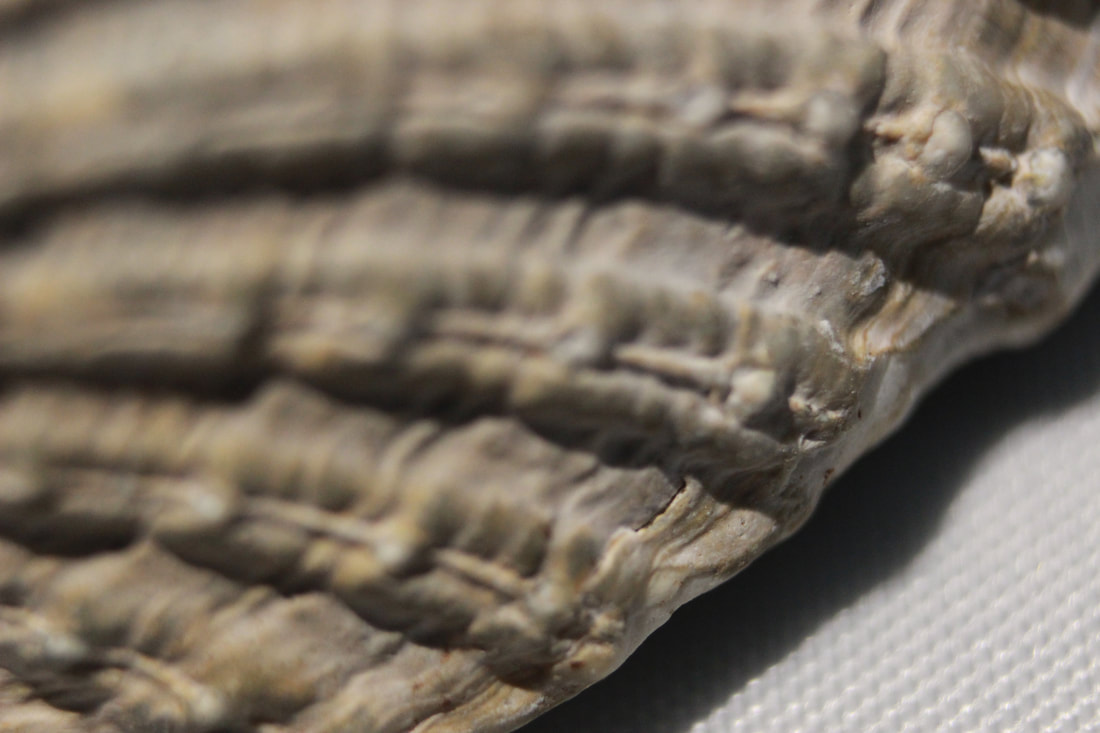
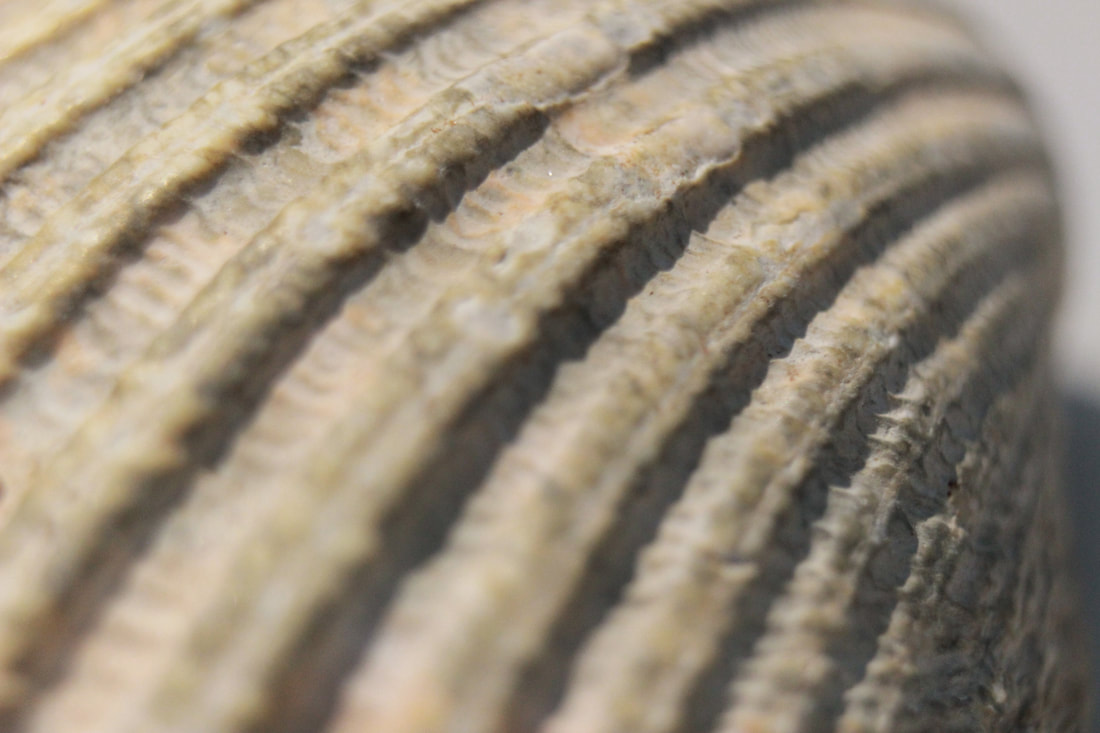
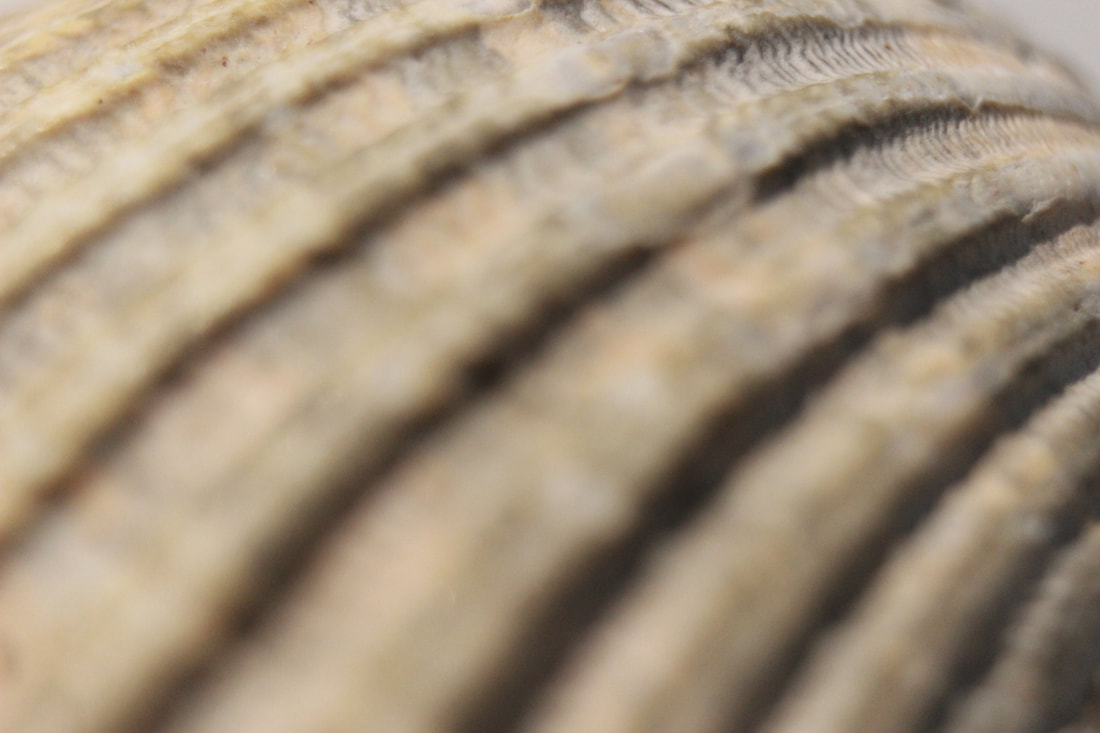
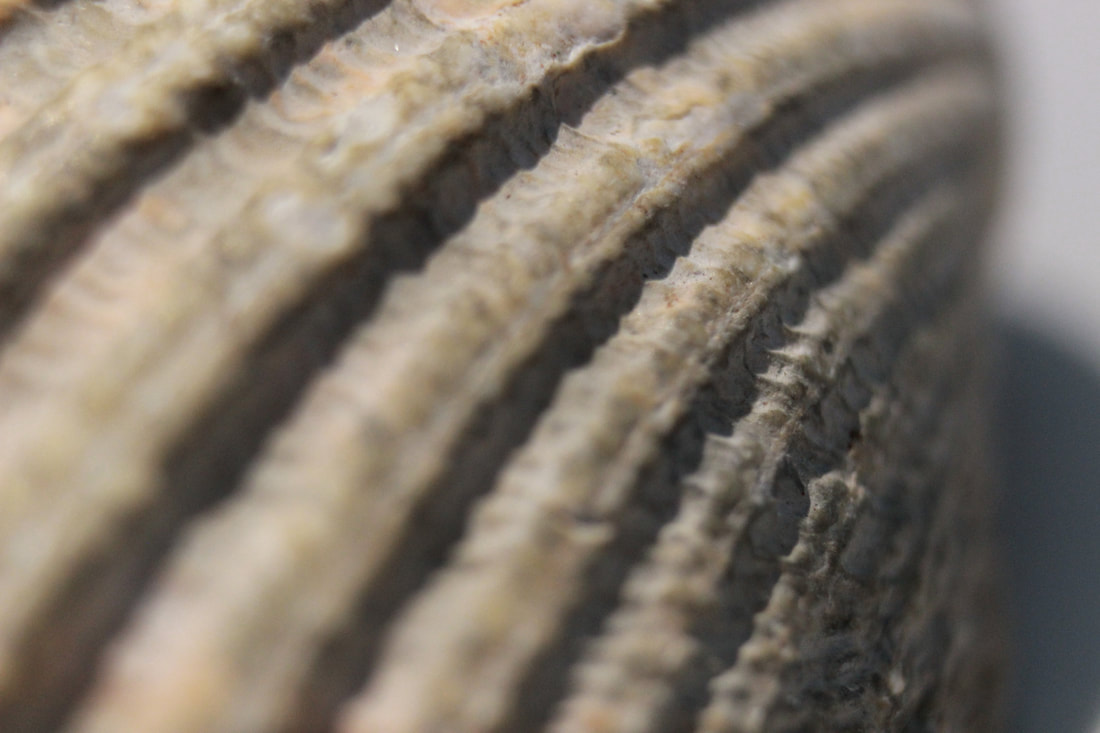
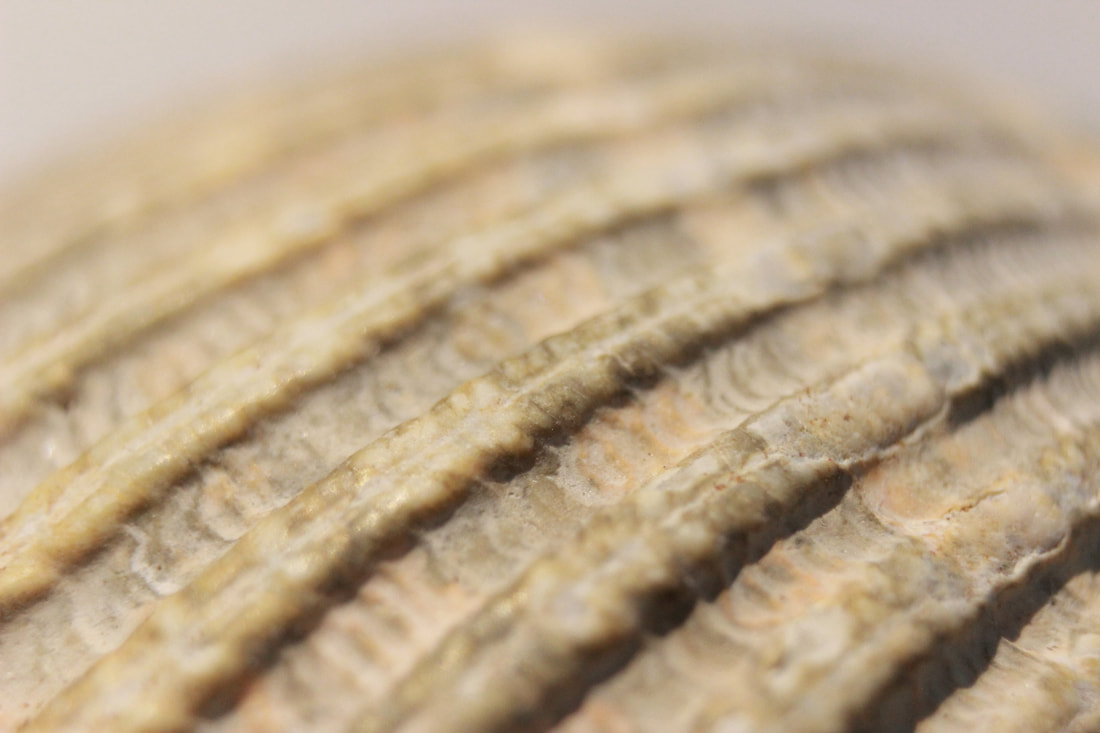
Best: |
Worst: |

|

|
These images were taken with a micro-lens, unfortunately the image on the right is blurred and doesn't look adequate.
Pinecone:
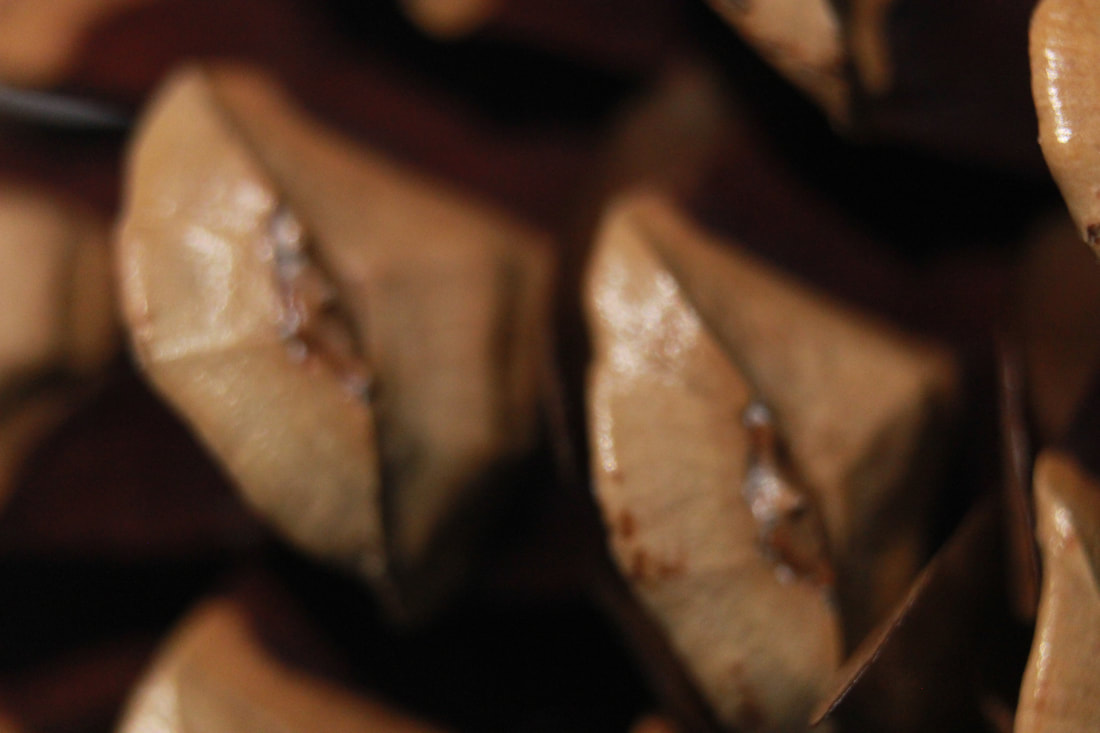
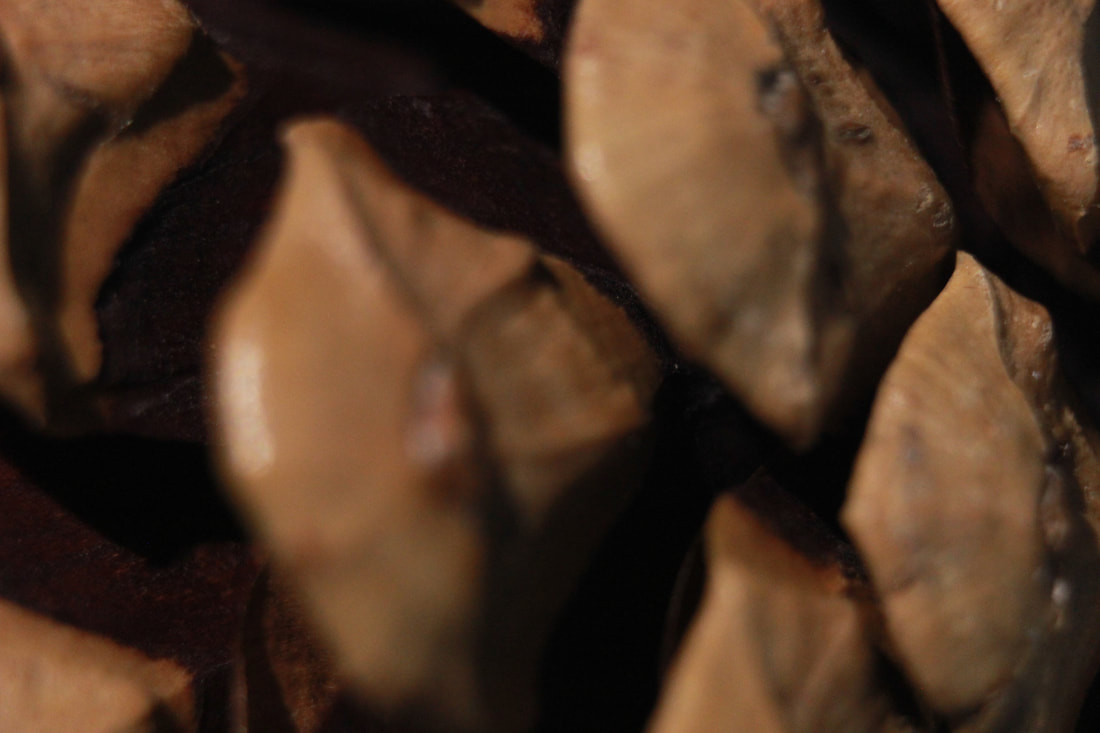
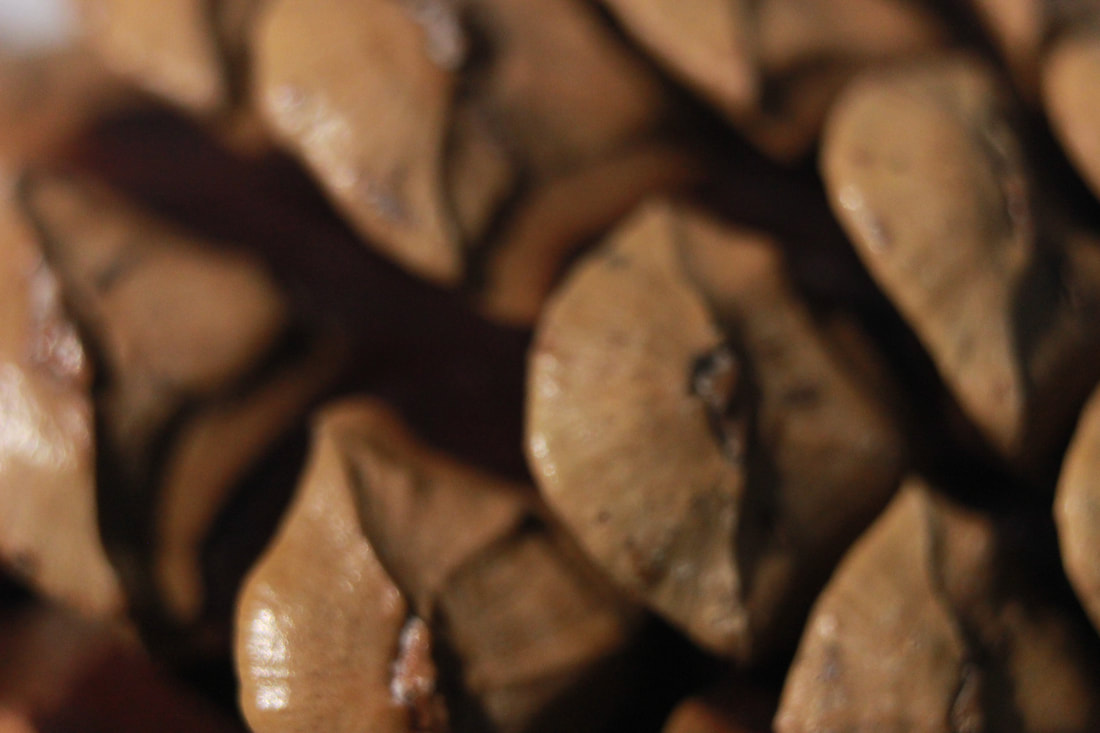
Best: |
Worst: |
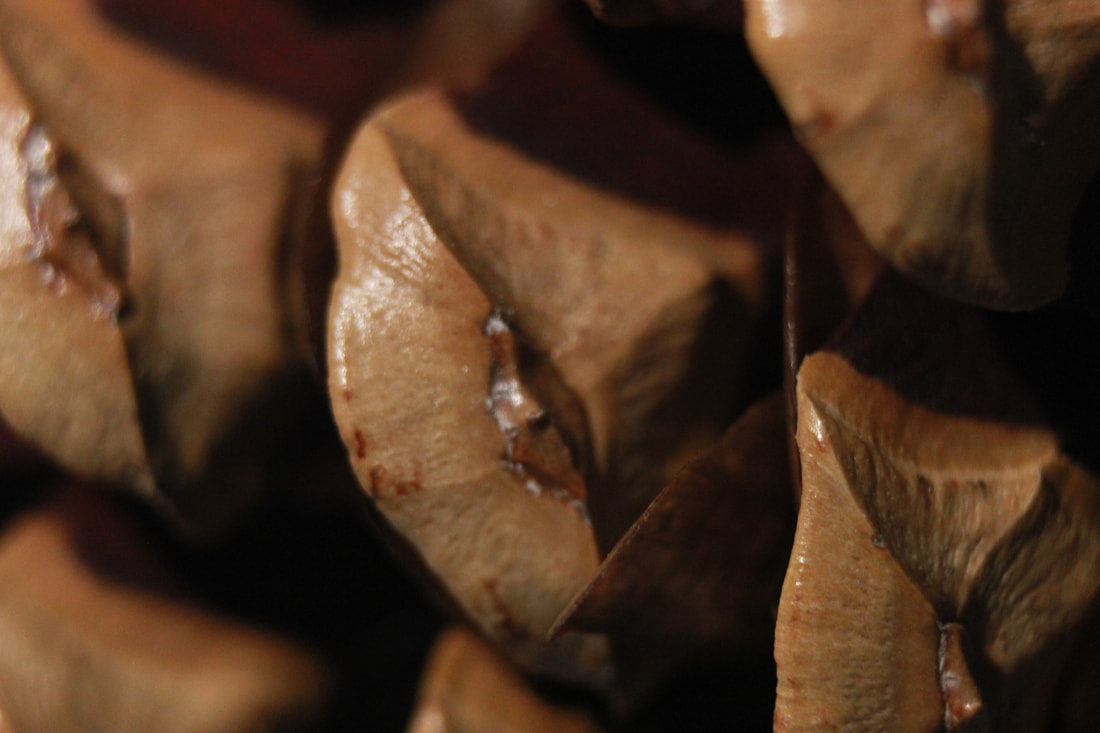
|
|
Similar to the one above, these were also taken with a macro-lens, and the one on the right got slightly blurred.
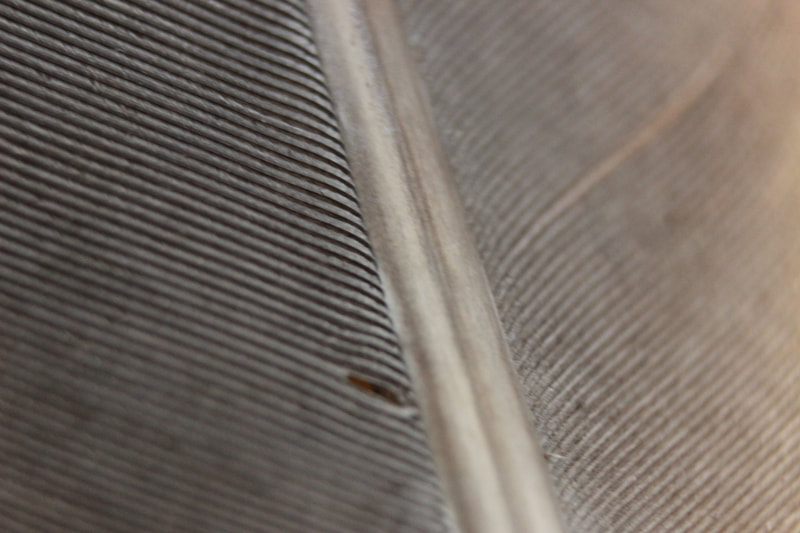
Feathers:
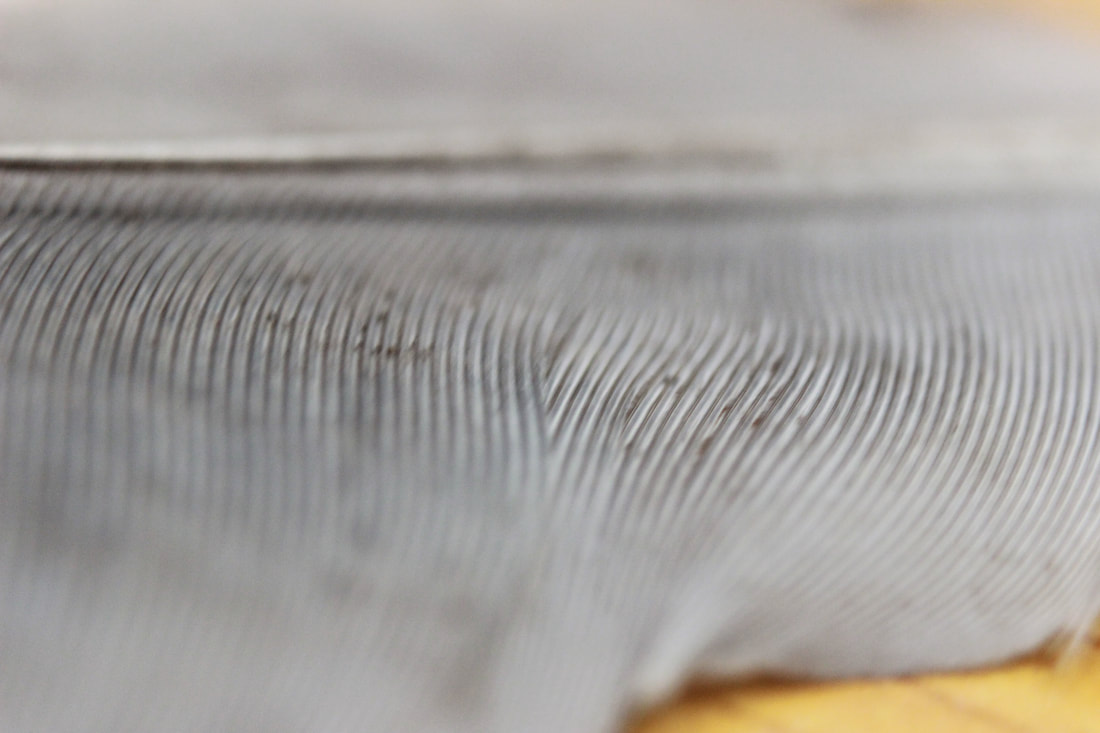
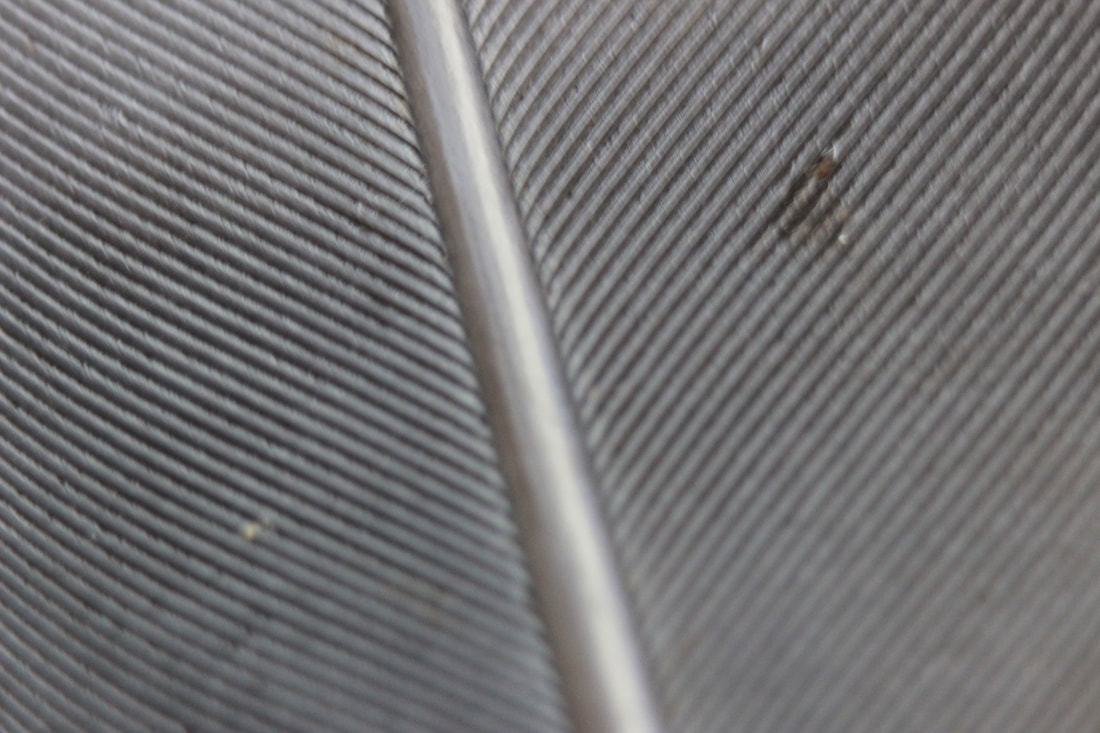
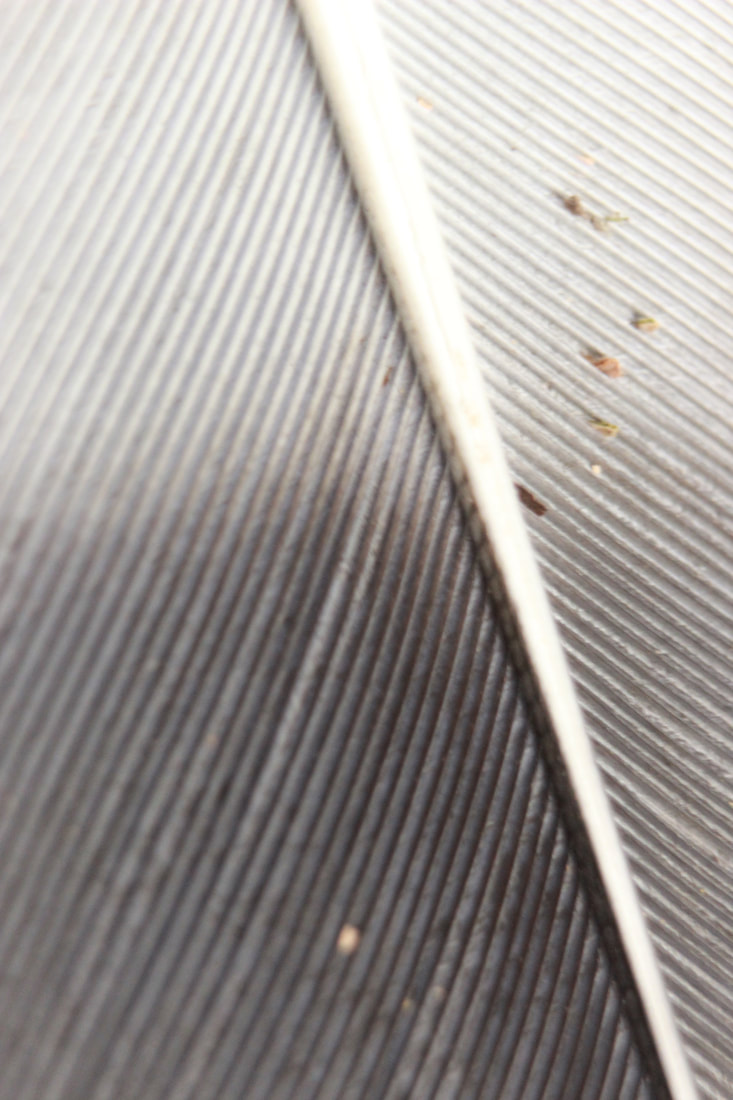
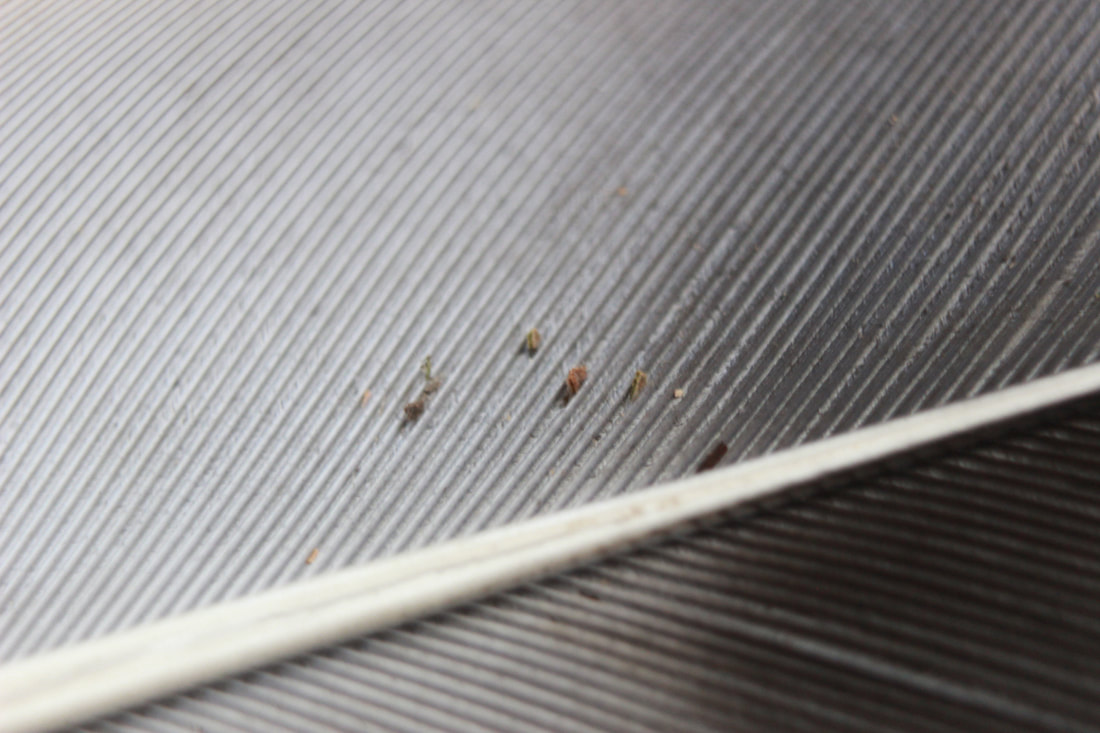
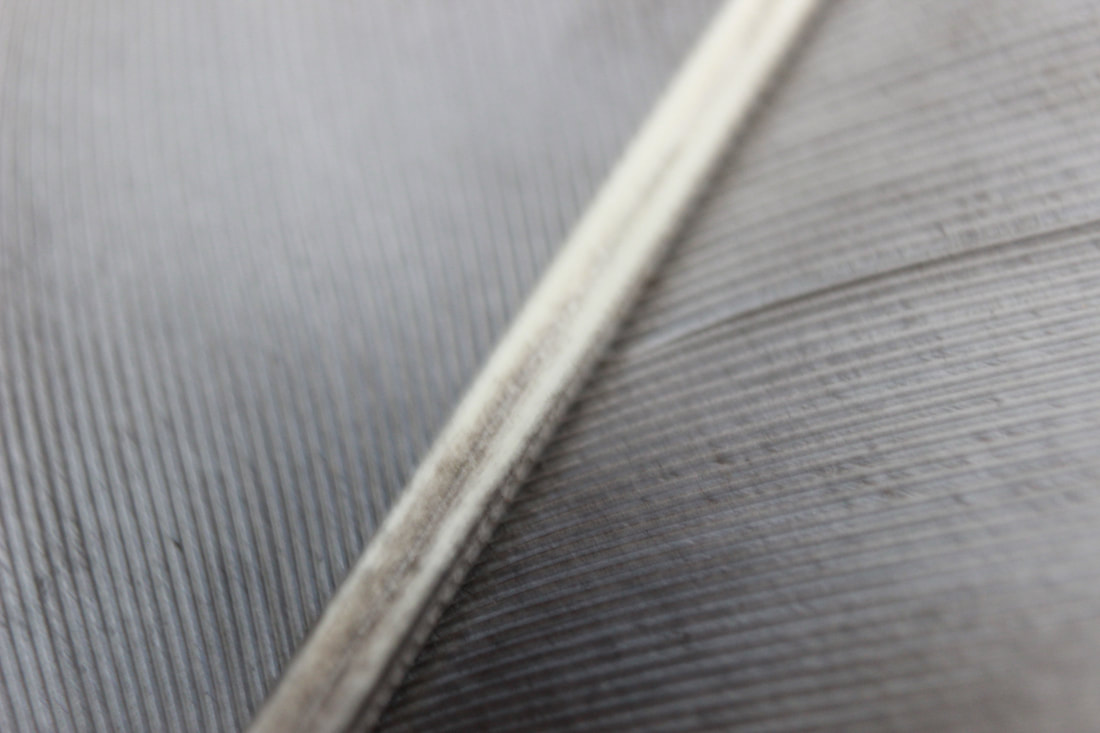
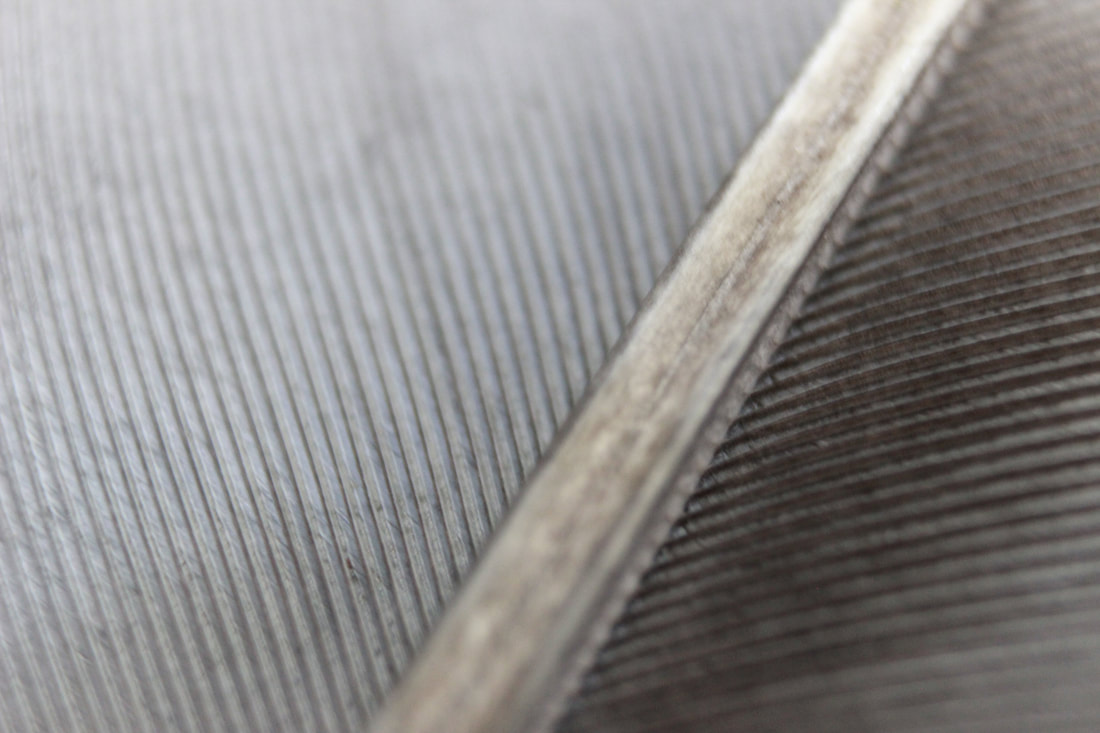
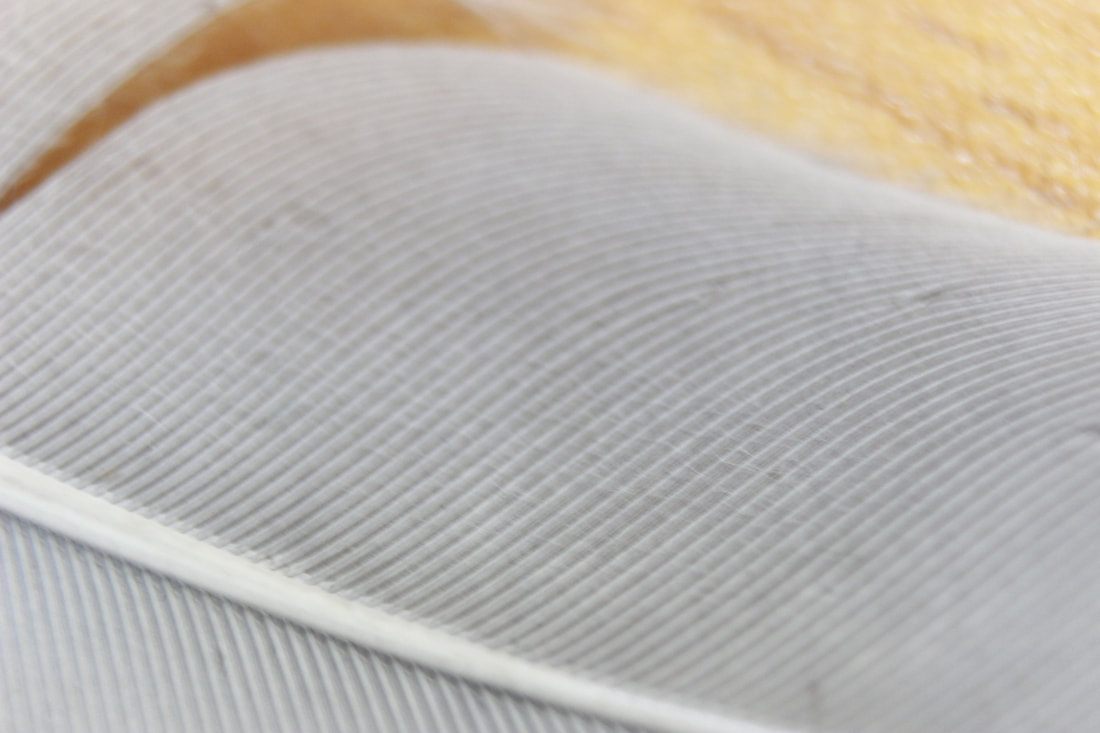
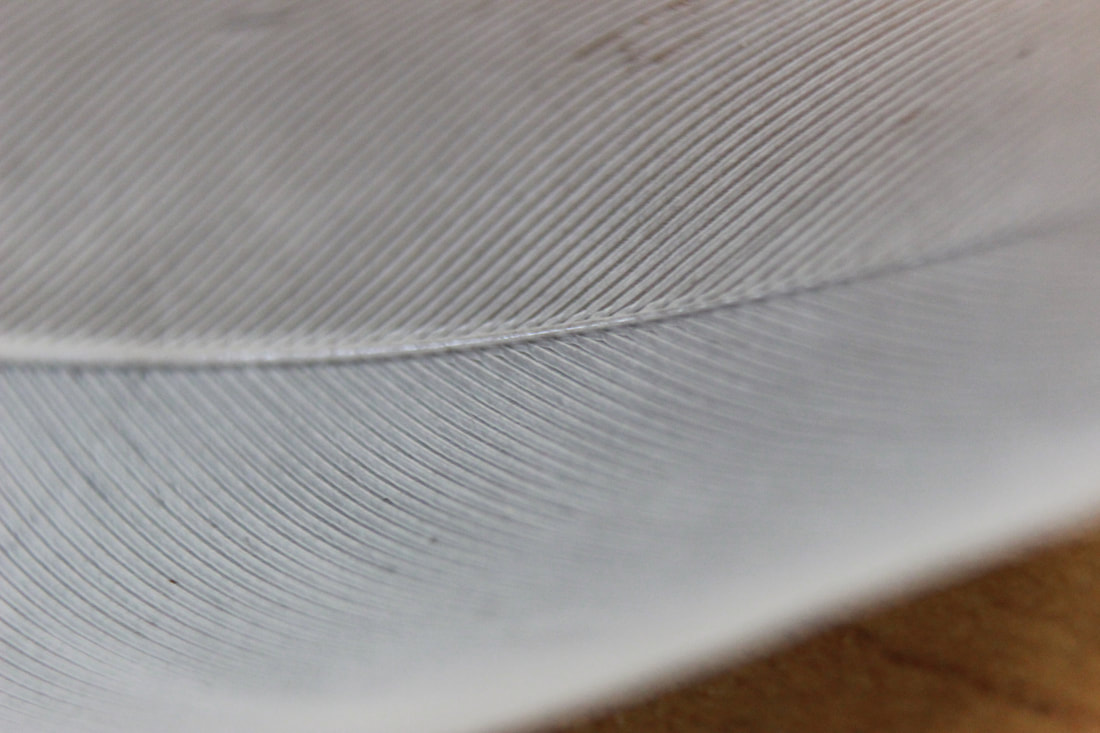


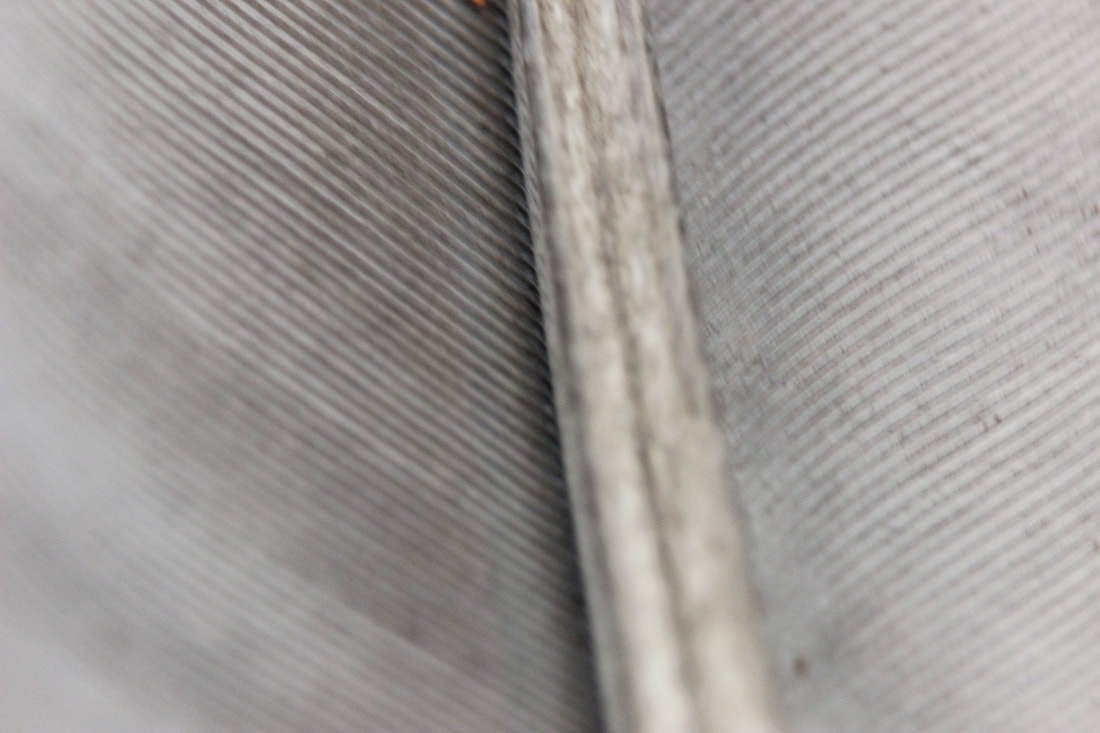
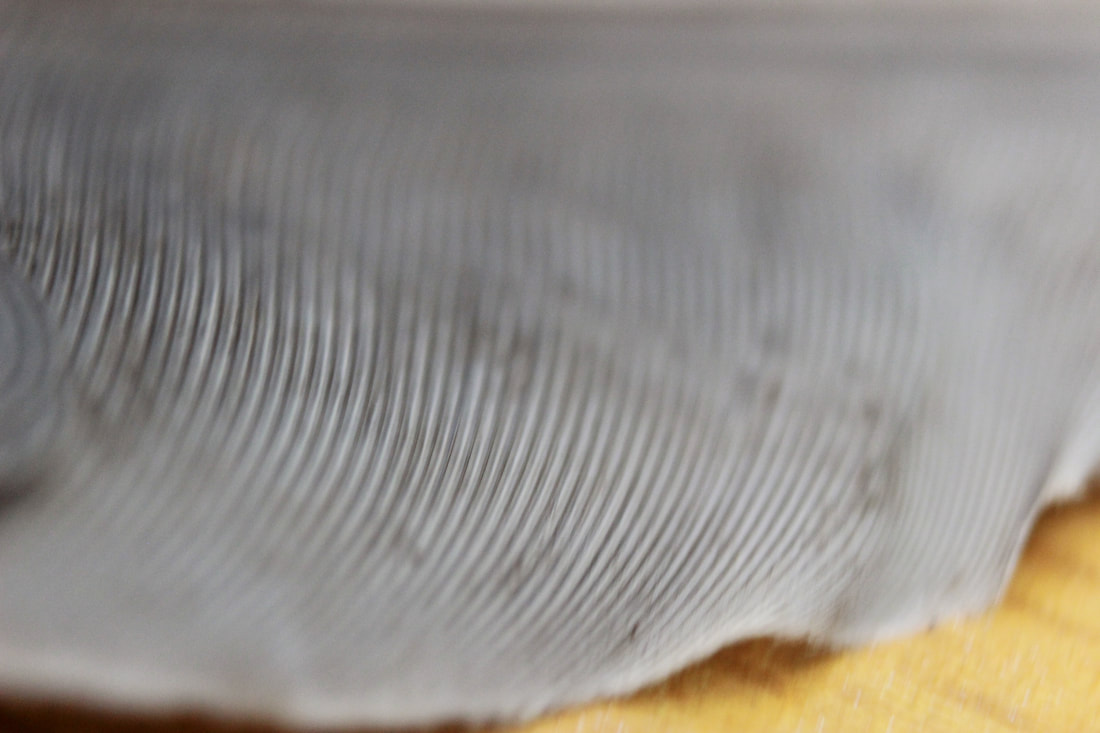
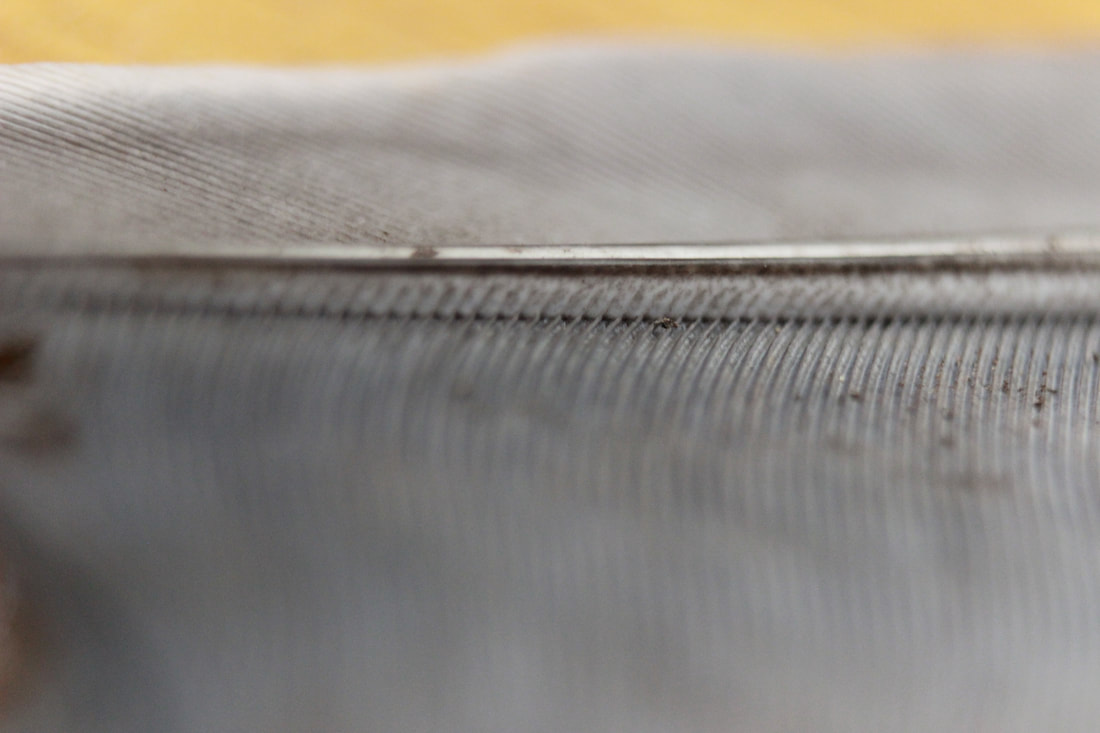
Best: |
Worst: |
|
|
The image on the left is in focus and clear, whereas the worst image is completely blurred and unfocused.
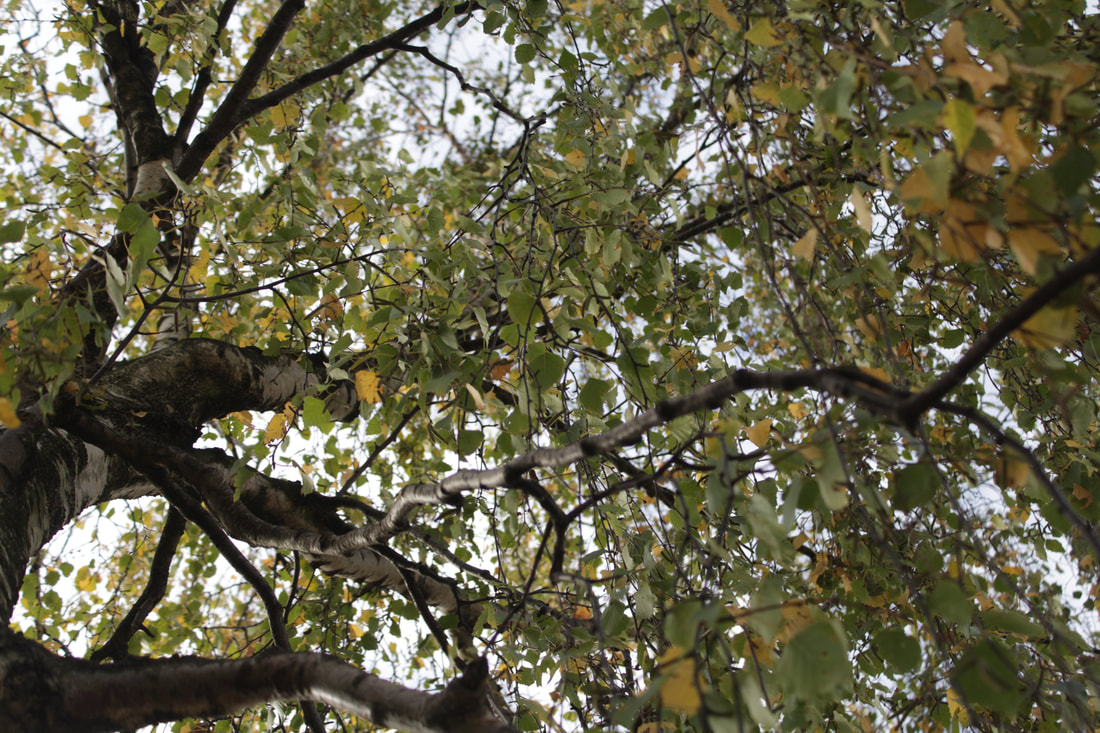
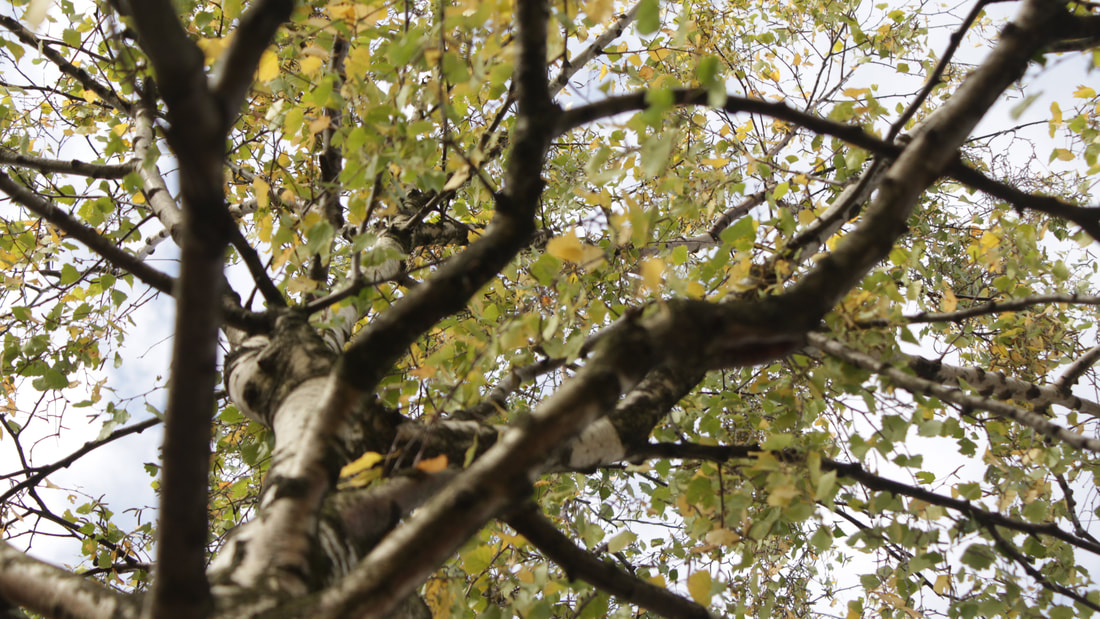
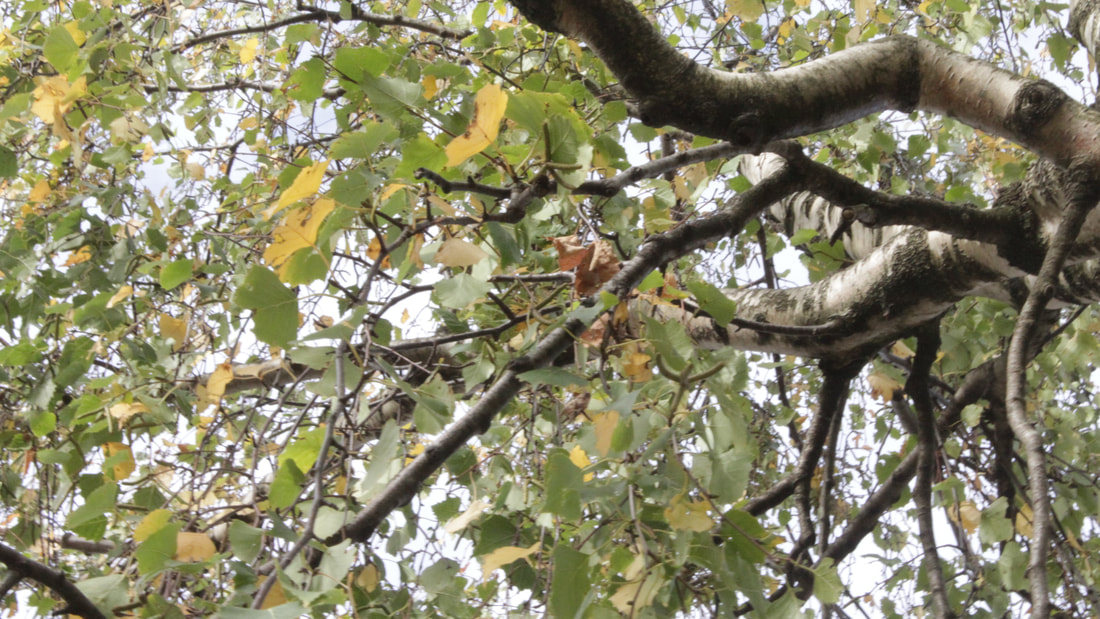
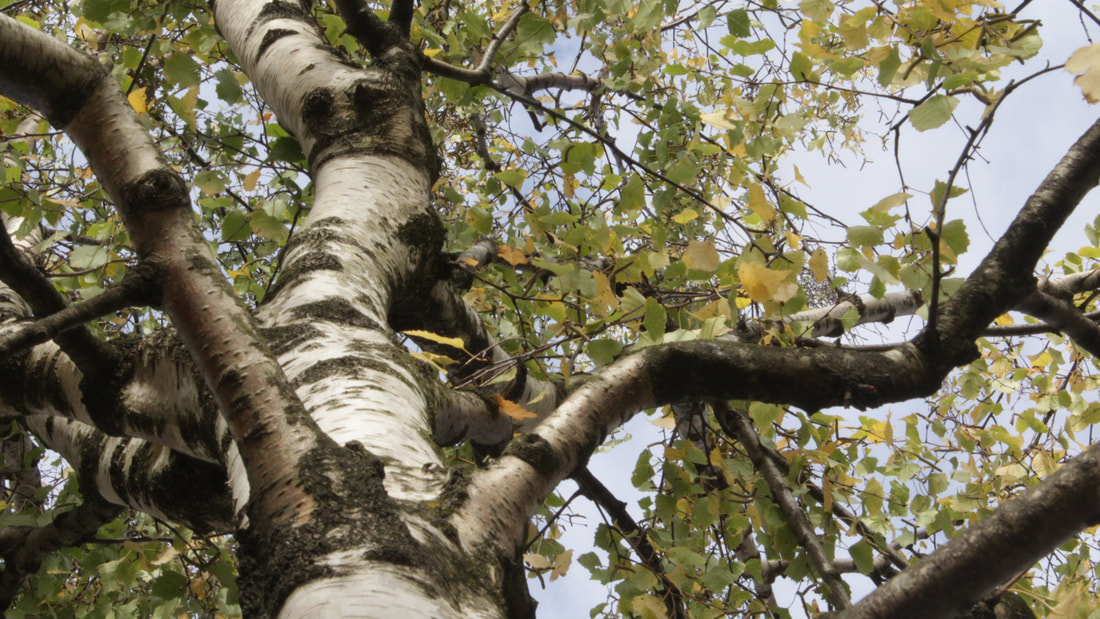
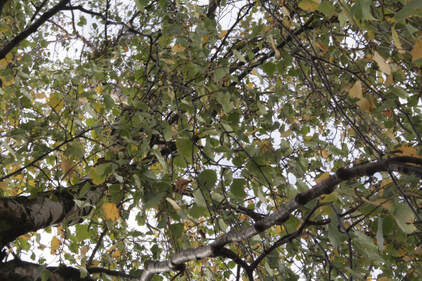
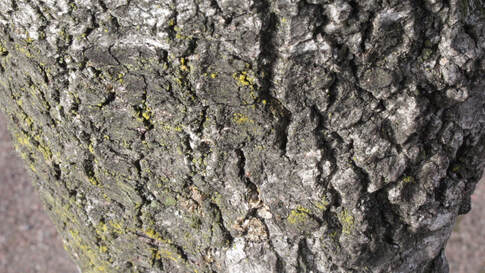
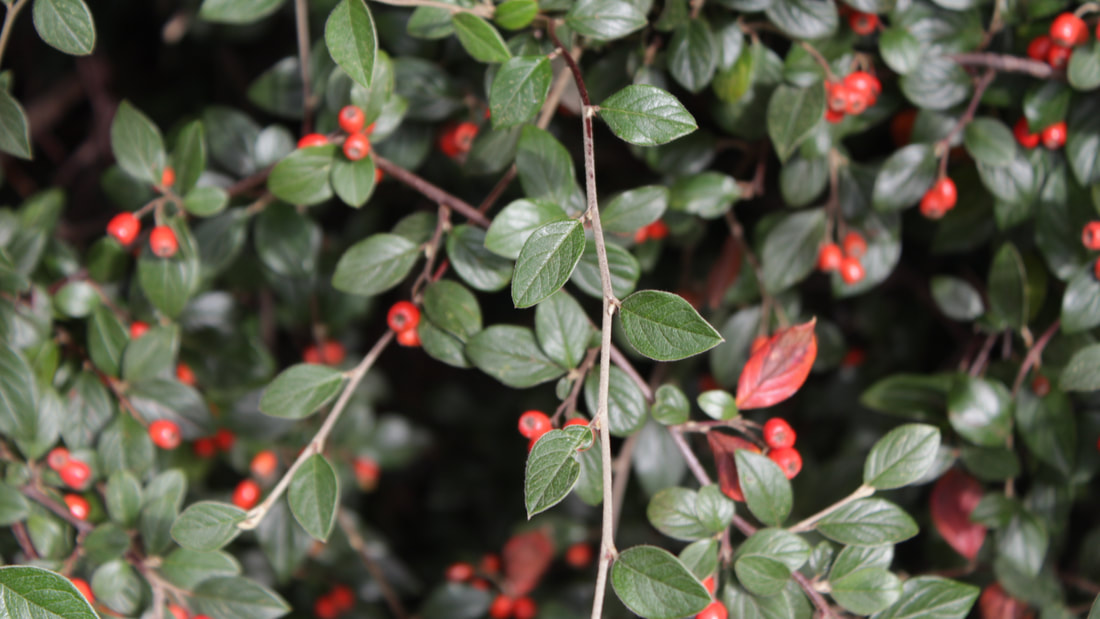
Trees:
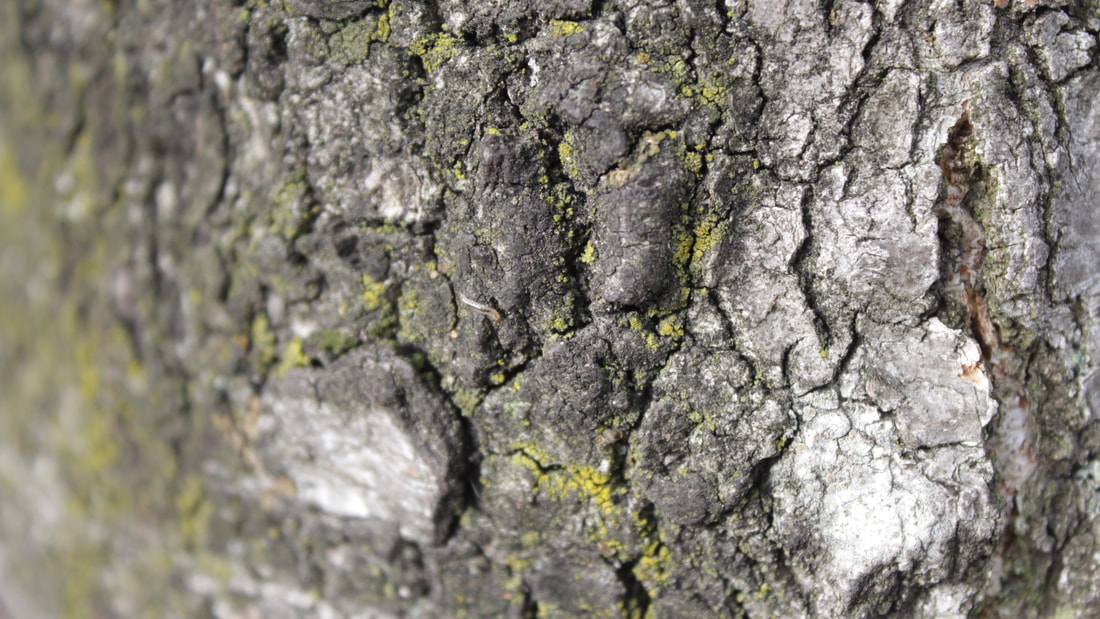


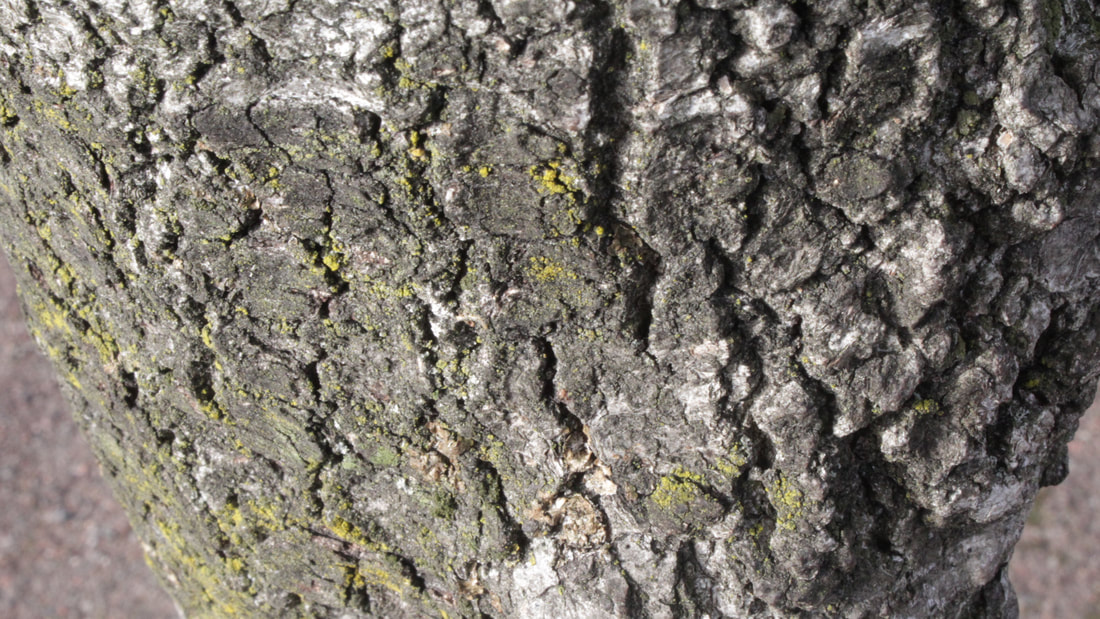
Best: |
Worst: |
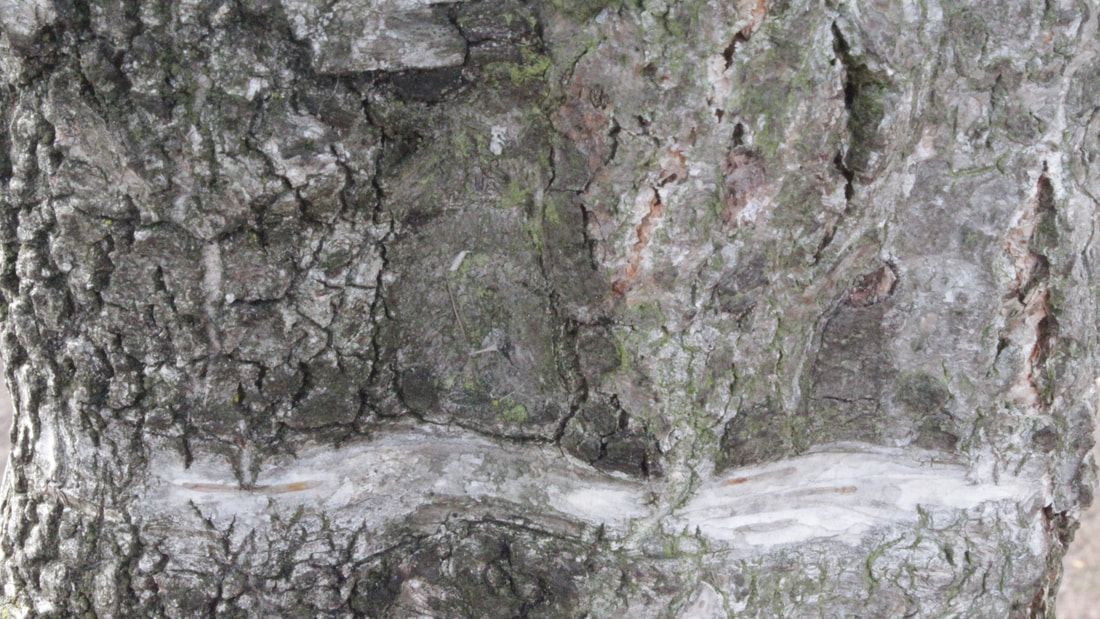
|
|
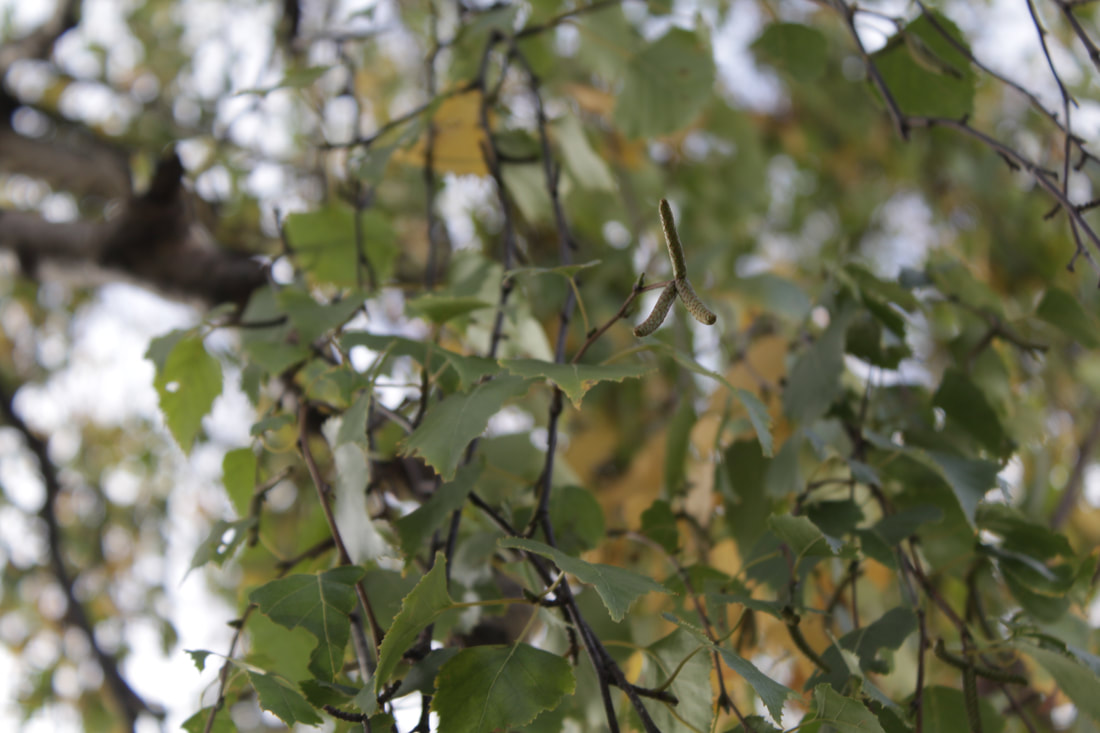
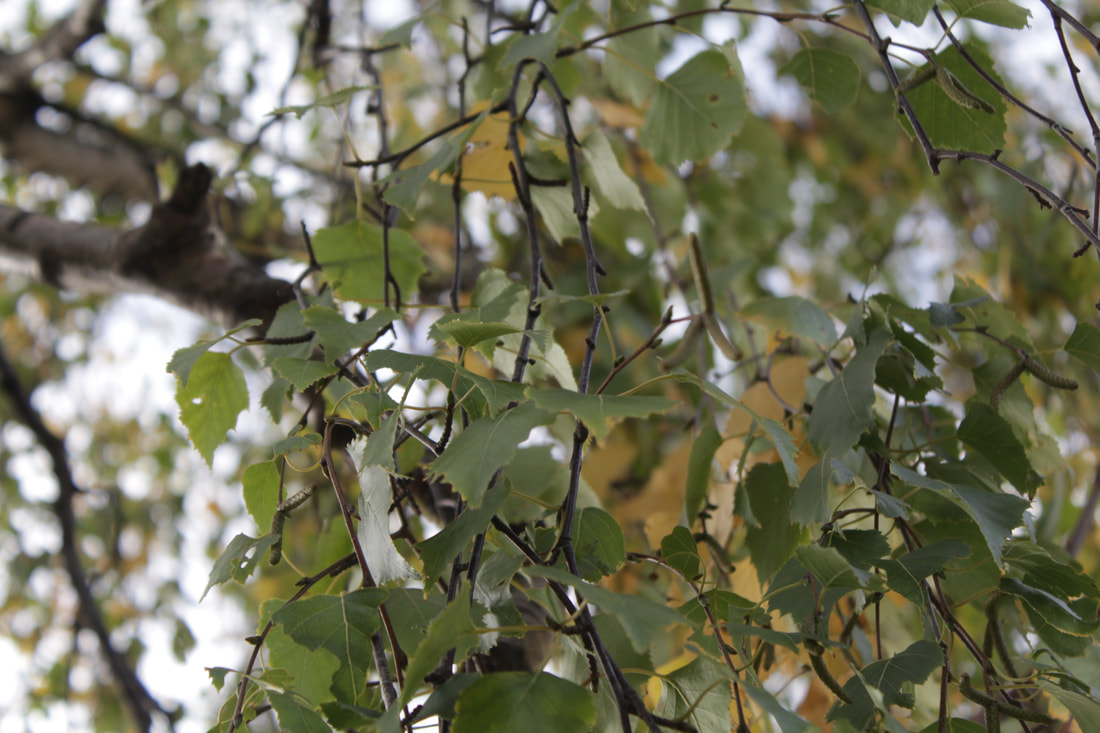
I personally think the image on the left is better as there's no background. The tree texture on the right would've been more appropriate however the floor is shown in the back.
Berries:
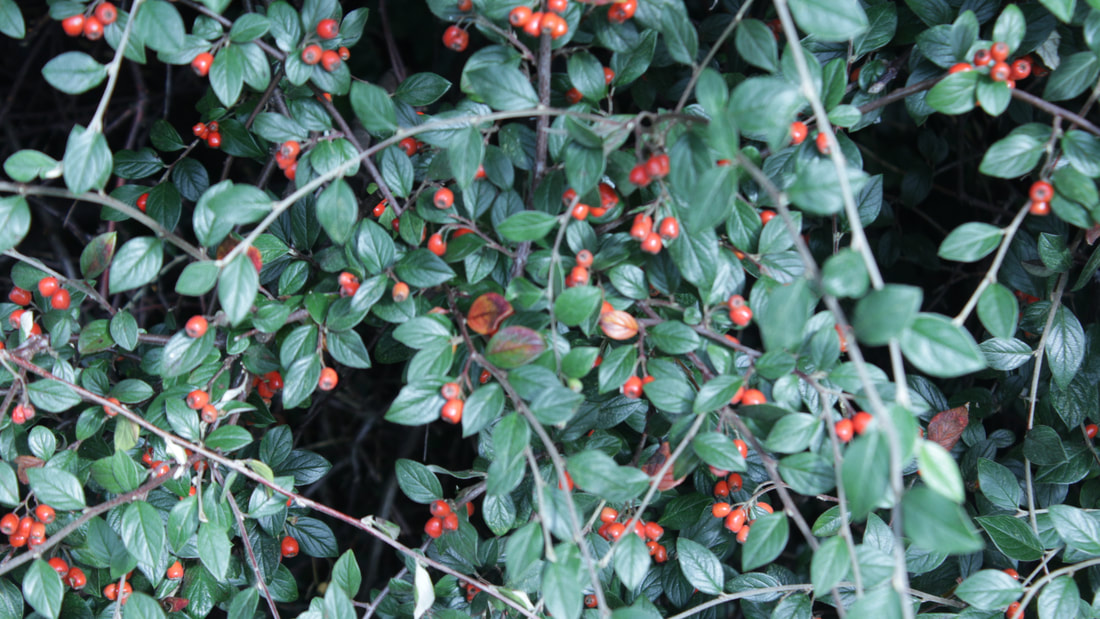
Best: |
Worst: |
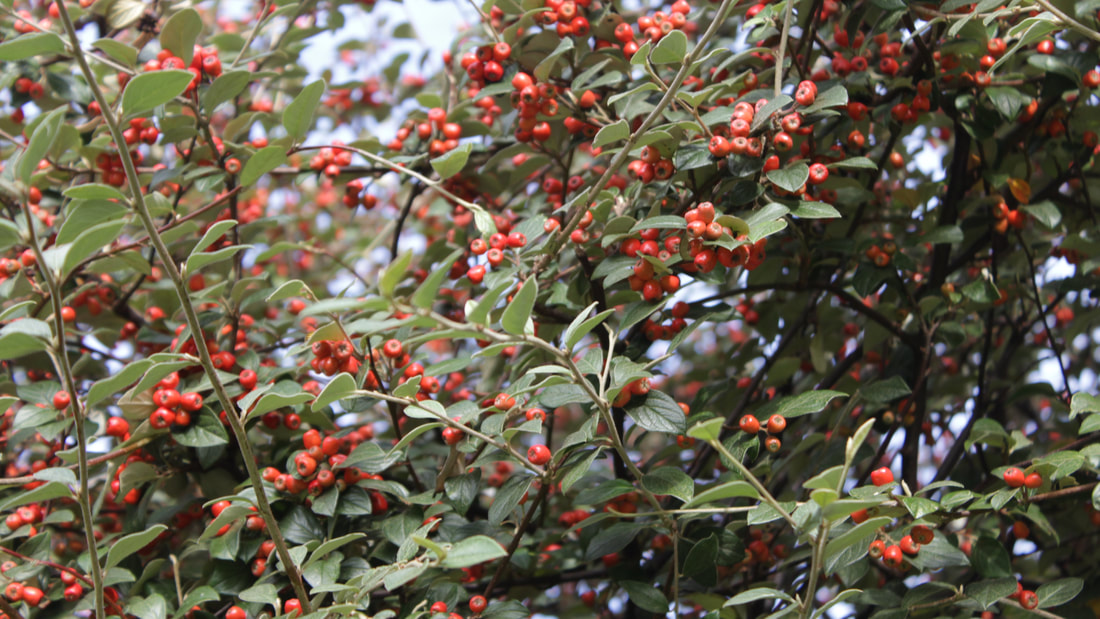
|
|
Although the image on the right looks amazing and in focus, it again doesn't represent my chosen theme as well as the one on the left does.
Man Made Textures
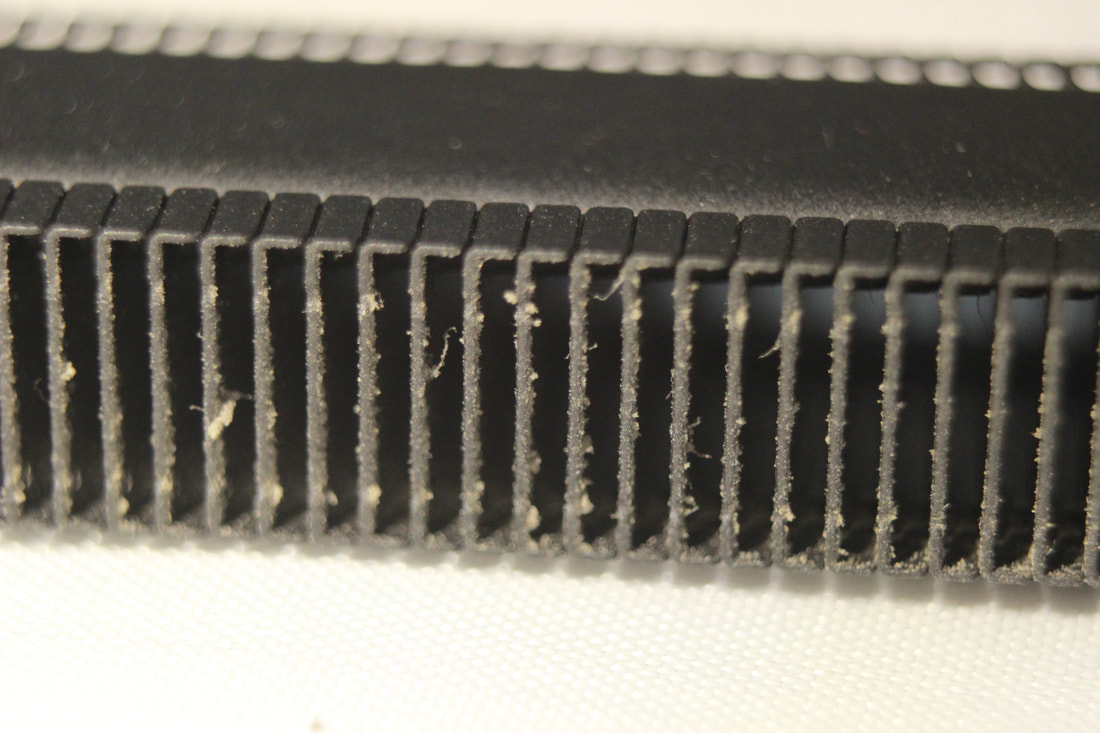
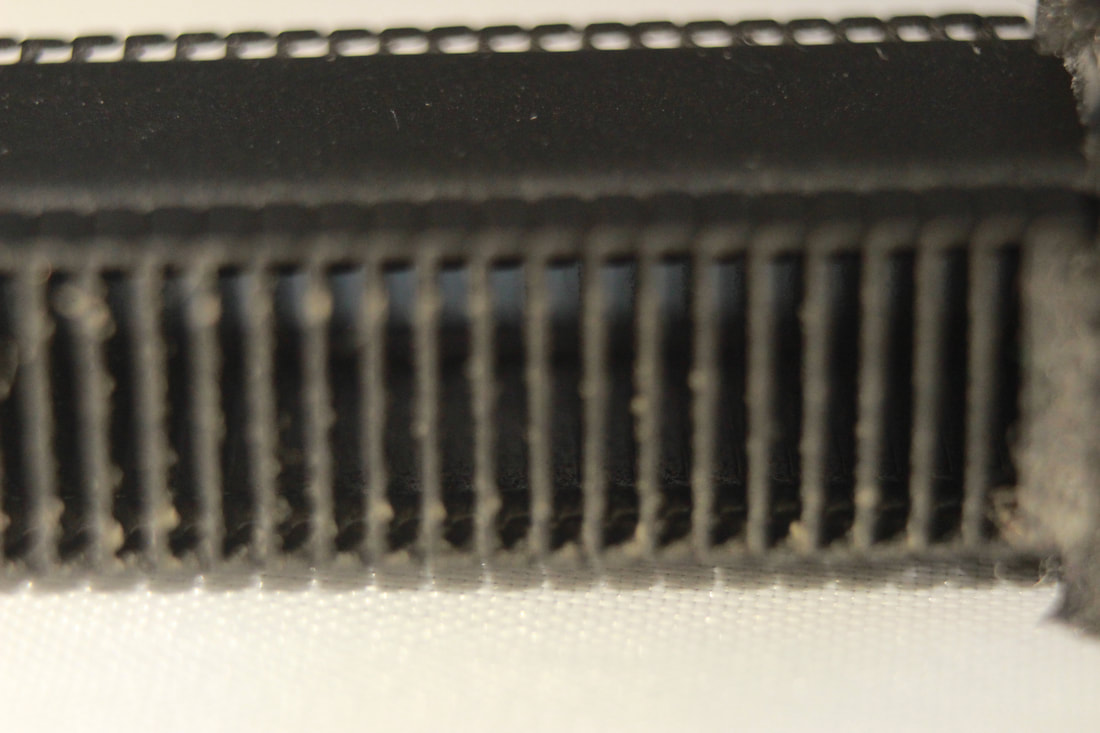
Heater:

Best: |
Worst: |

|
|
The image of the radiator on the right has a little dirt on it, therefore making the left image the best.
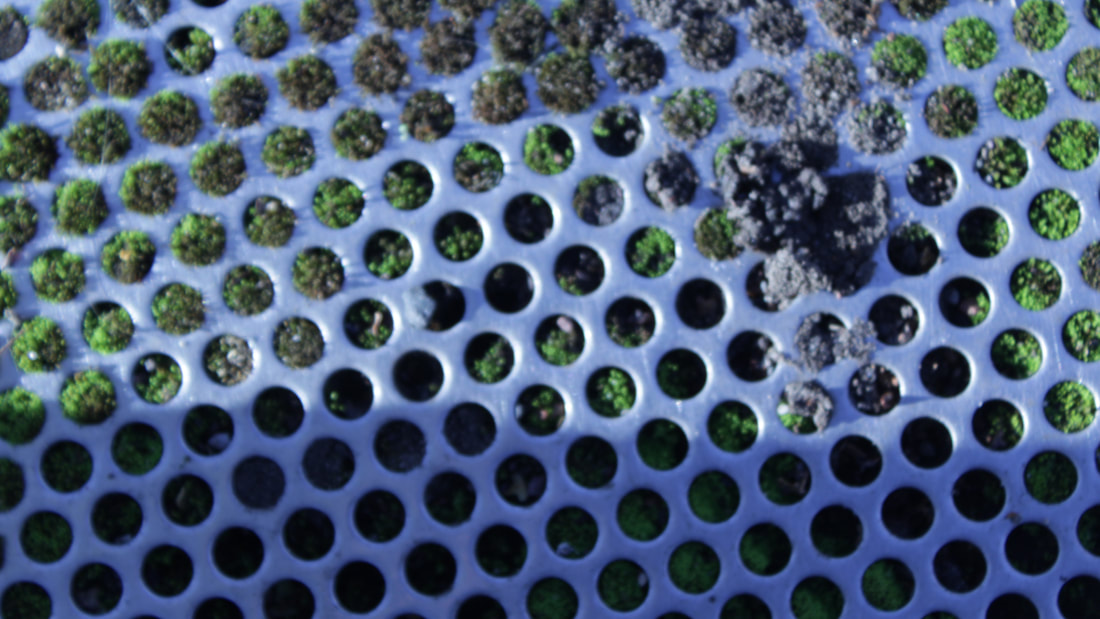
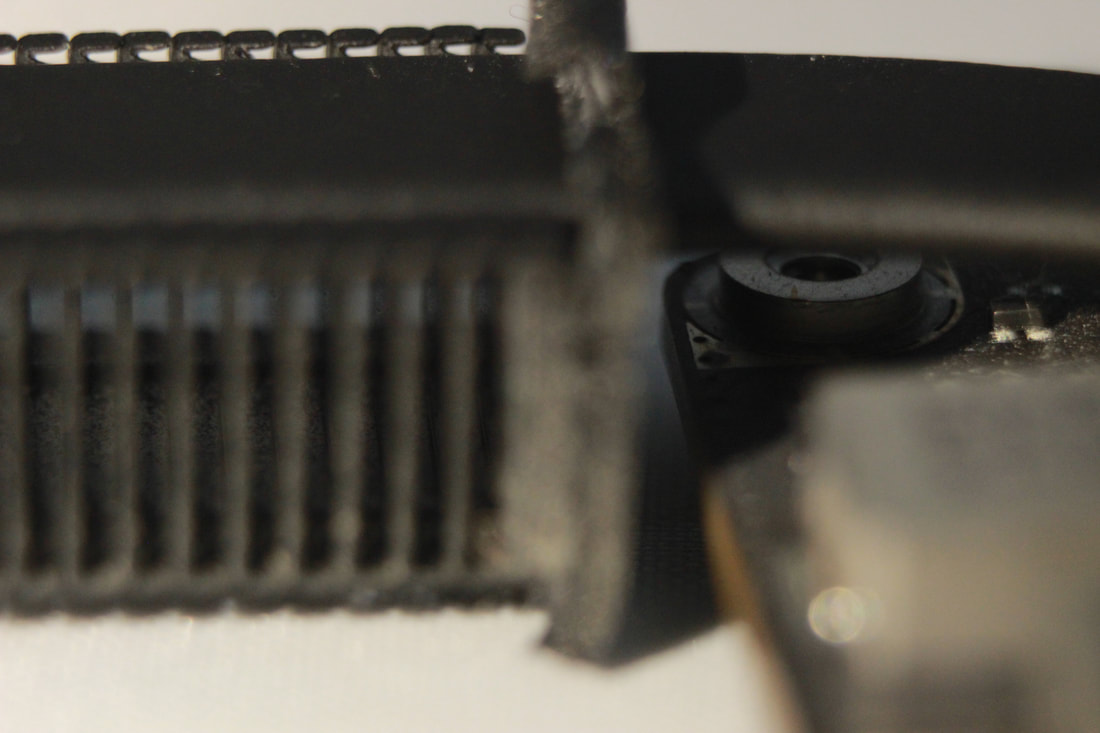
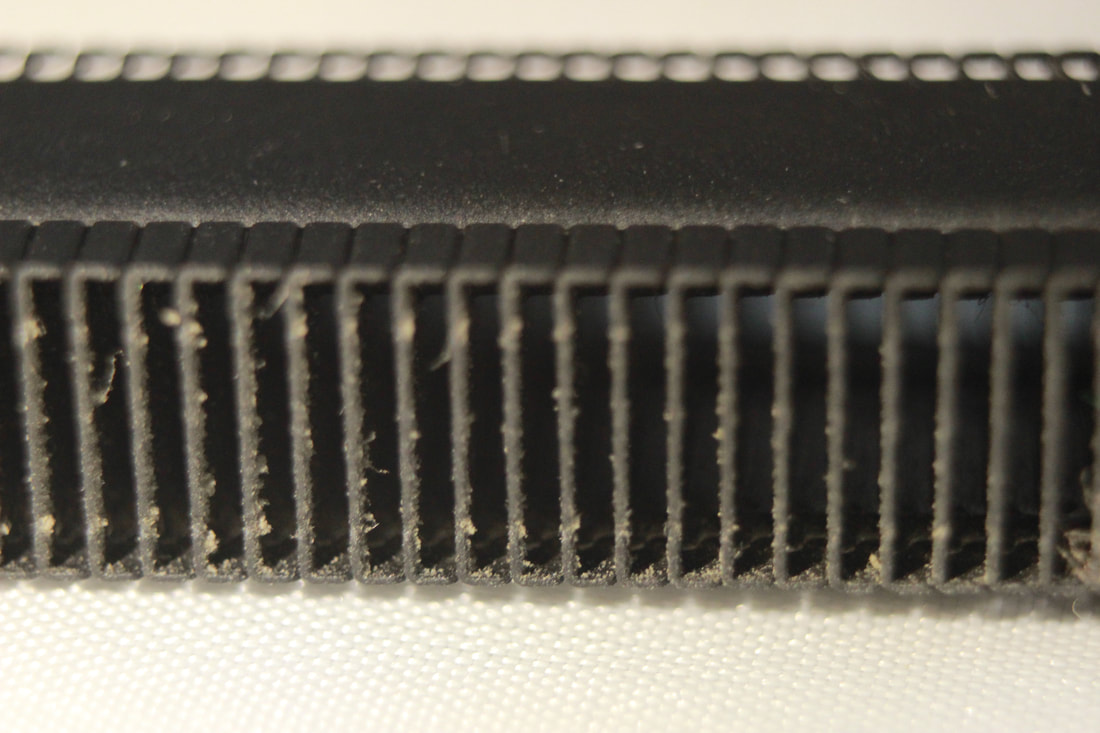
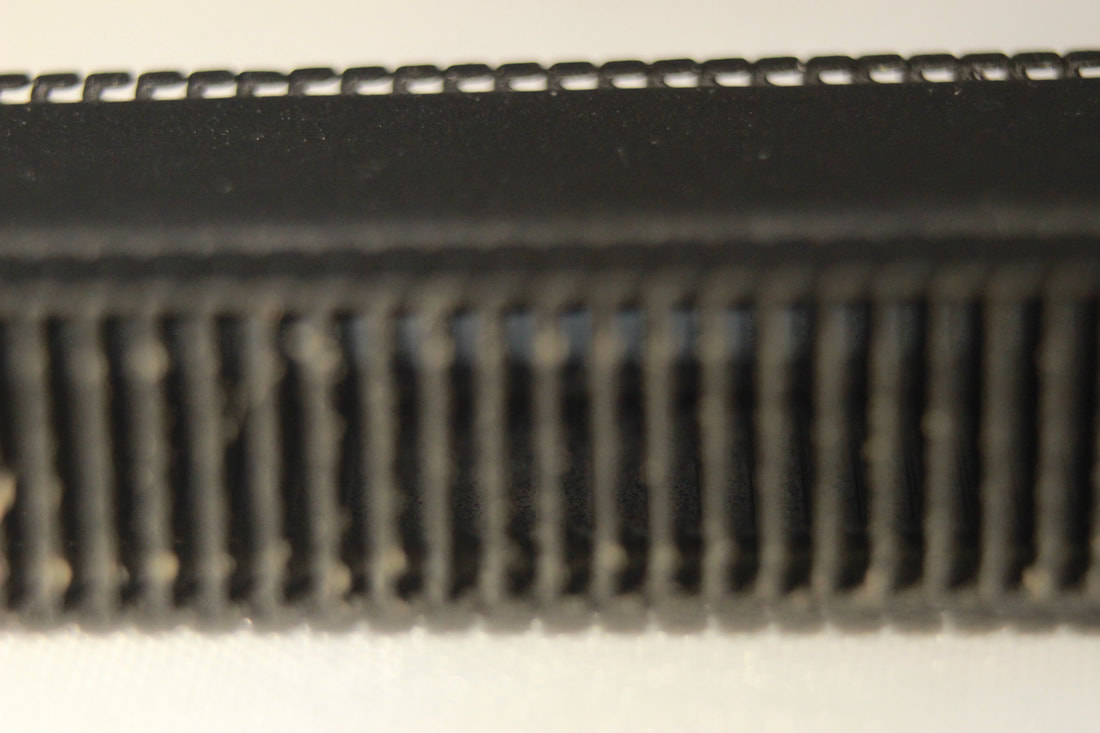
Grid:
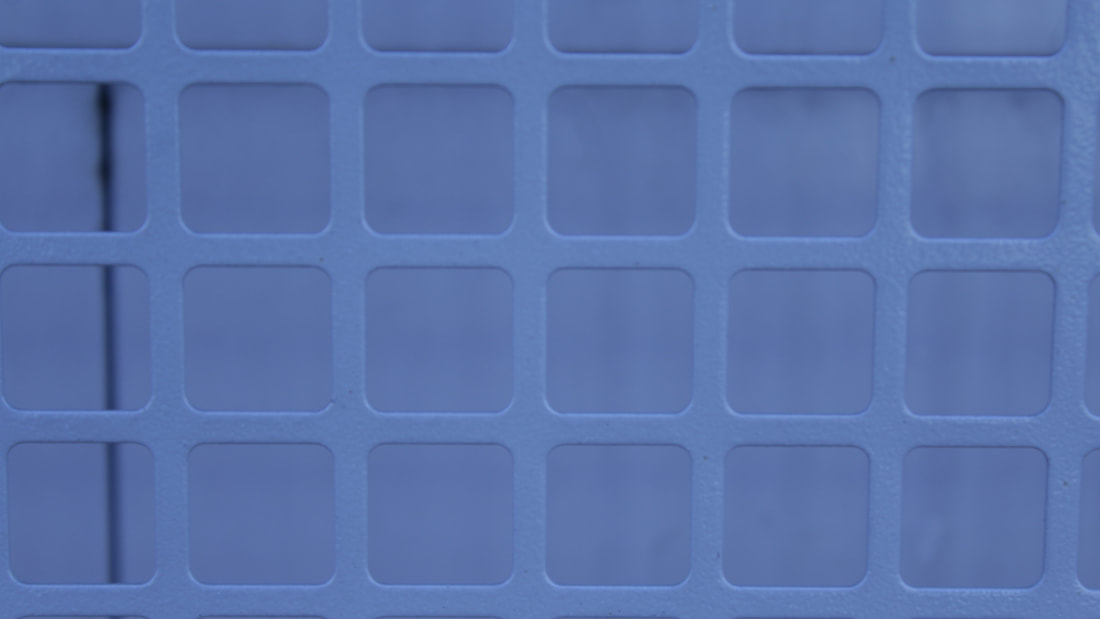
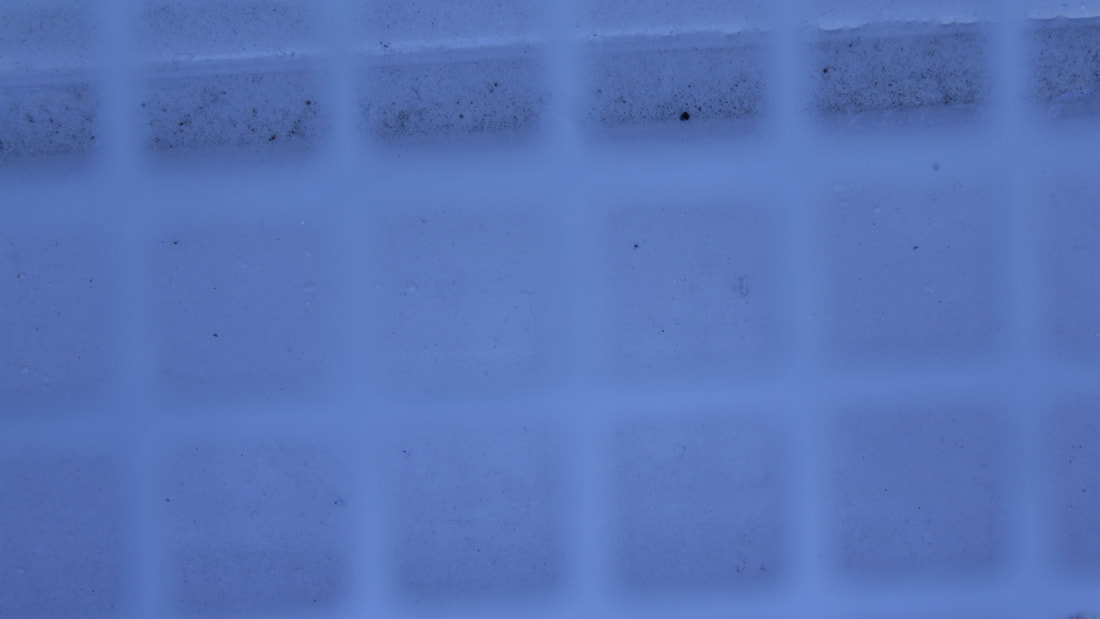
Best: |
Worst: |

|
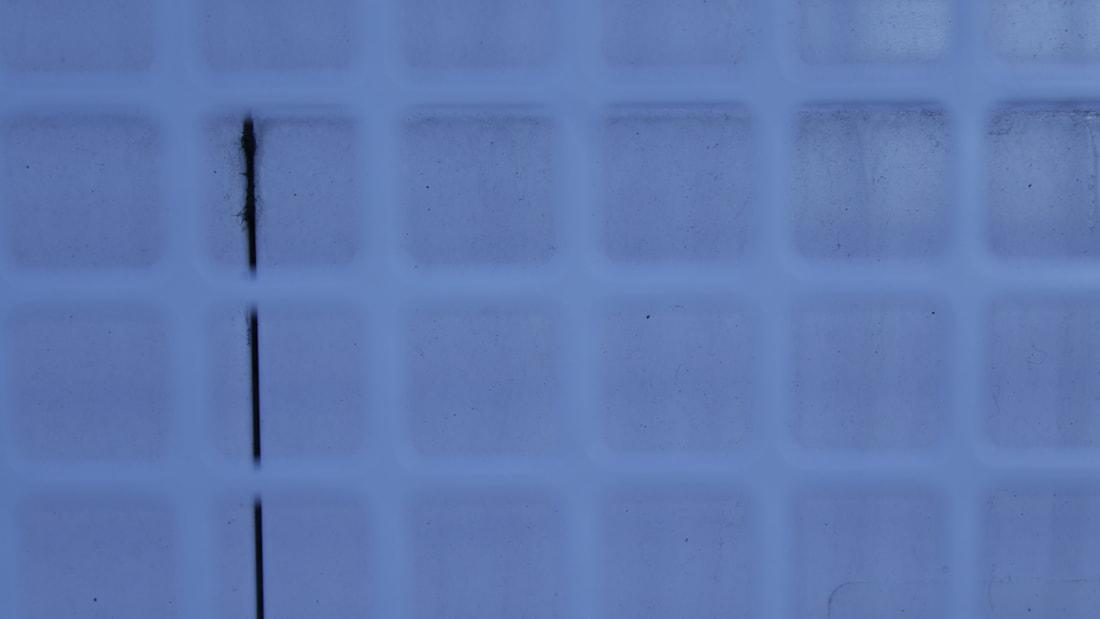
|
The image on the right has a background gap, which ruins the texture of the image.
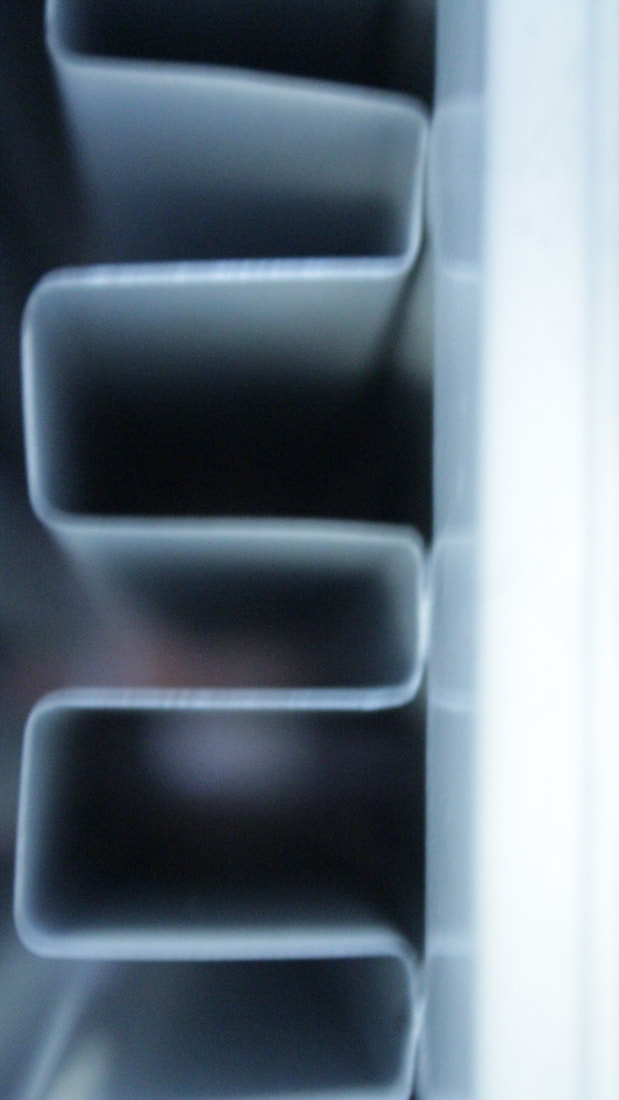
Silver:
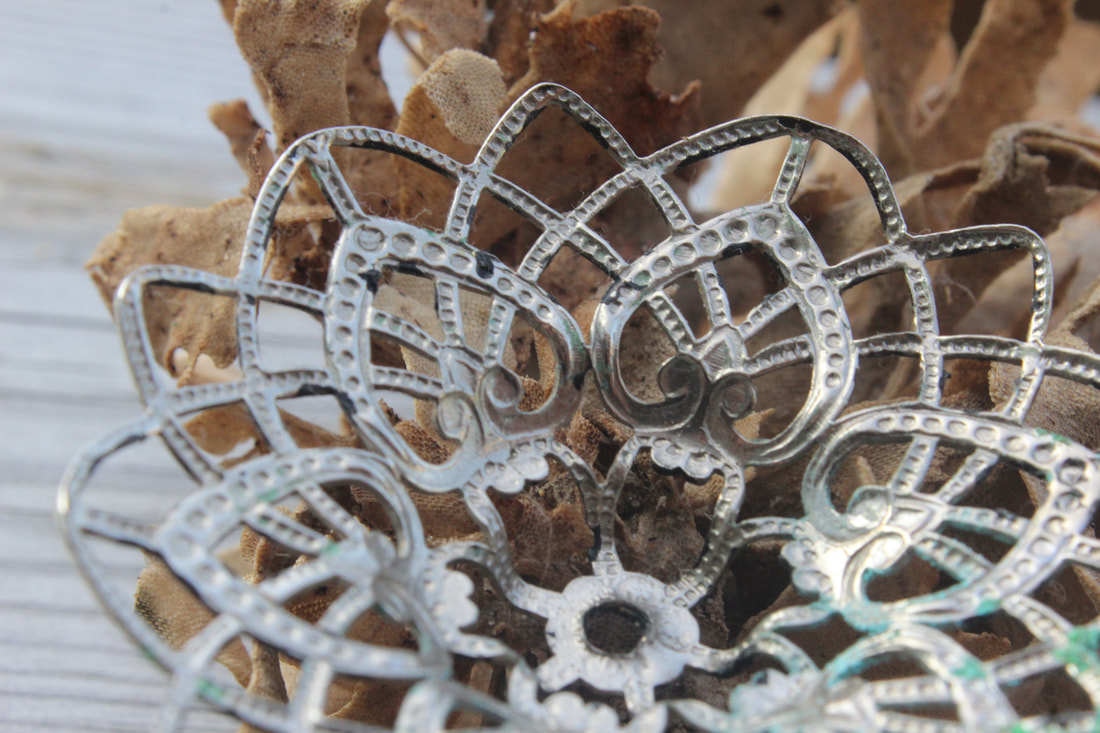

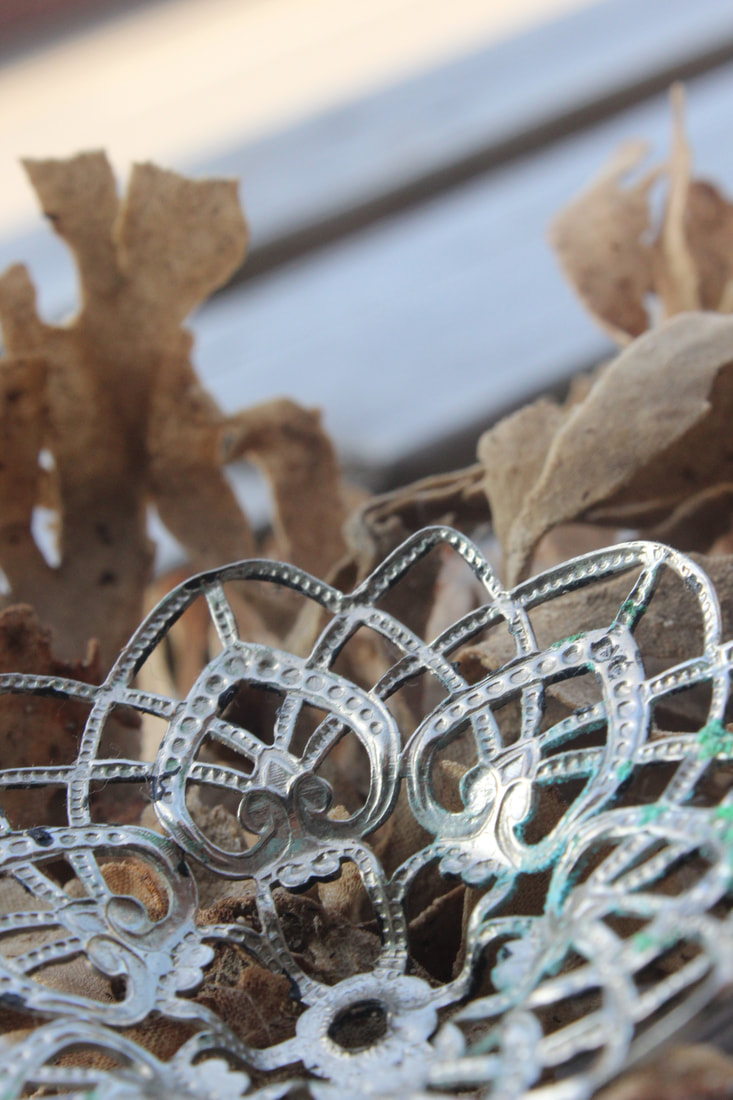


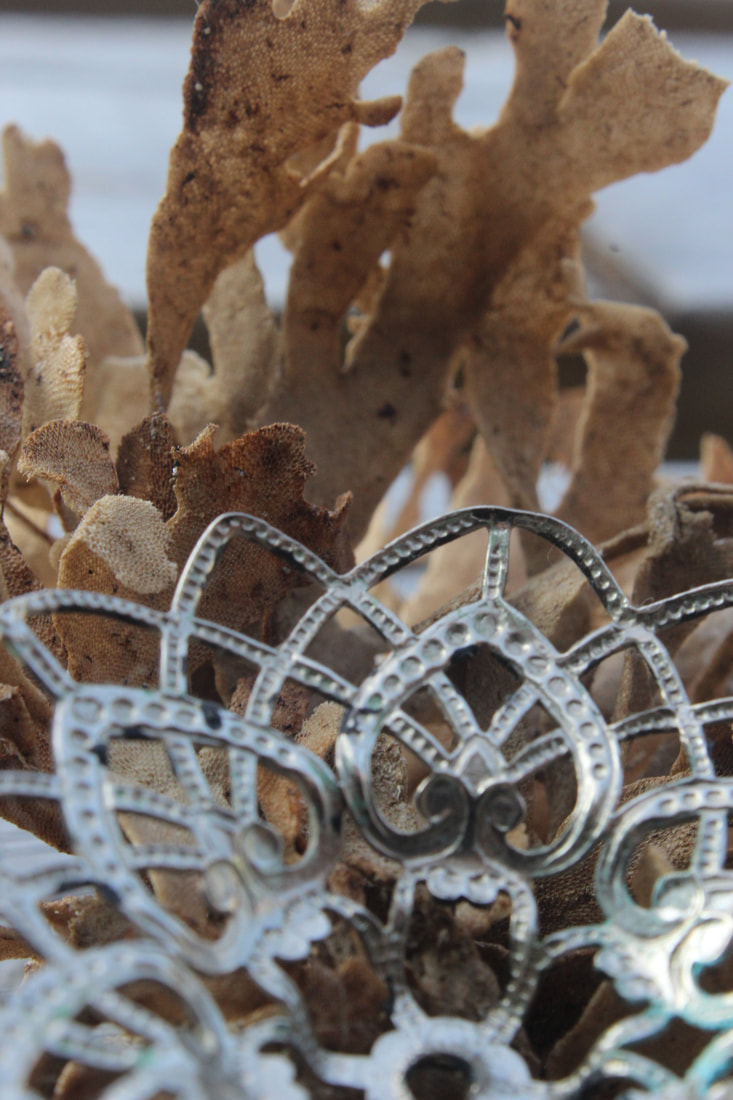
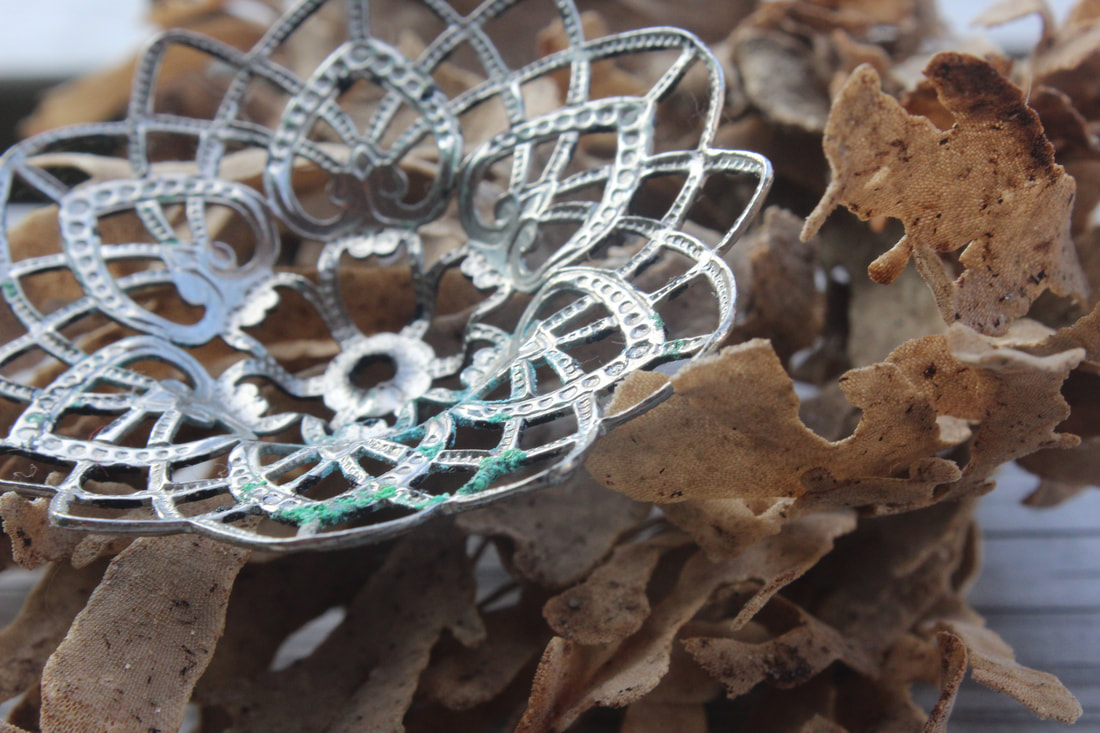

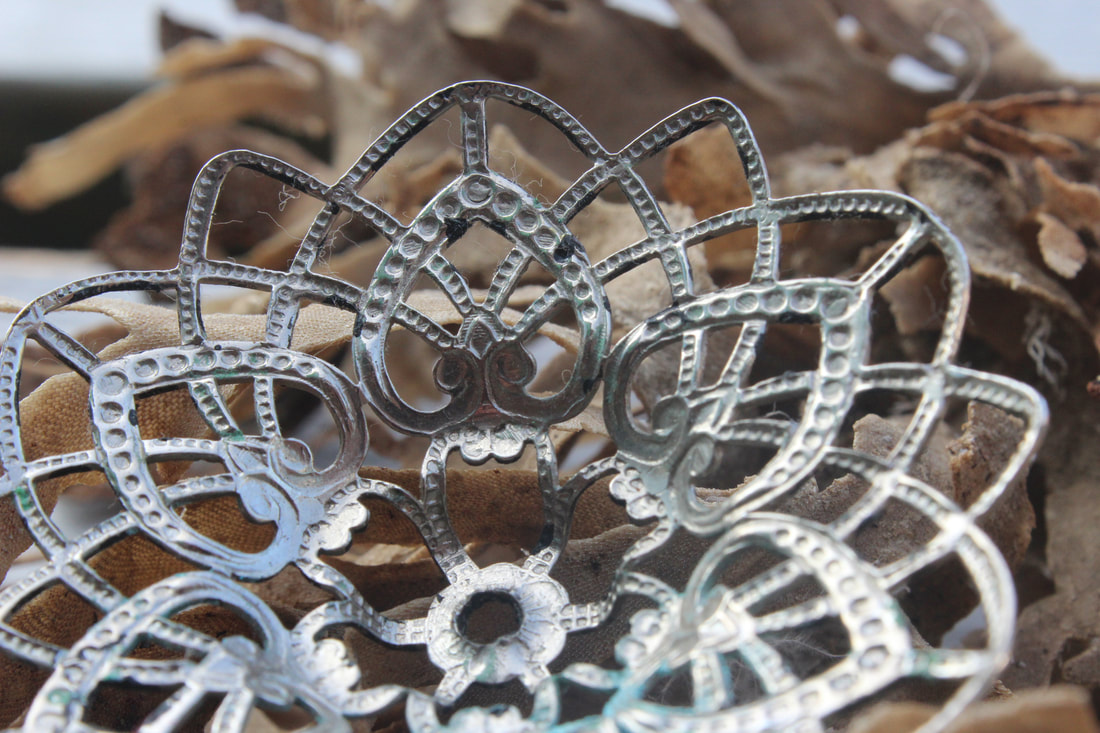
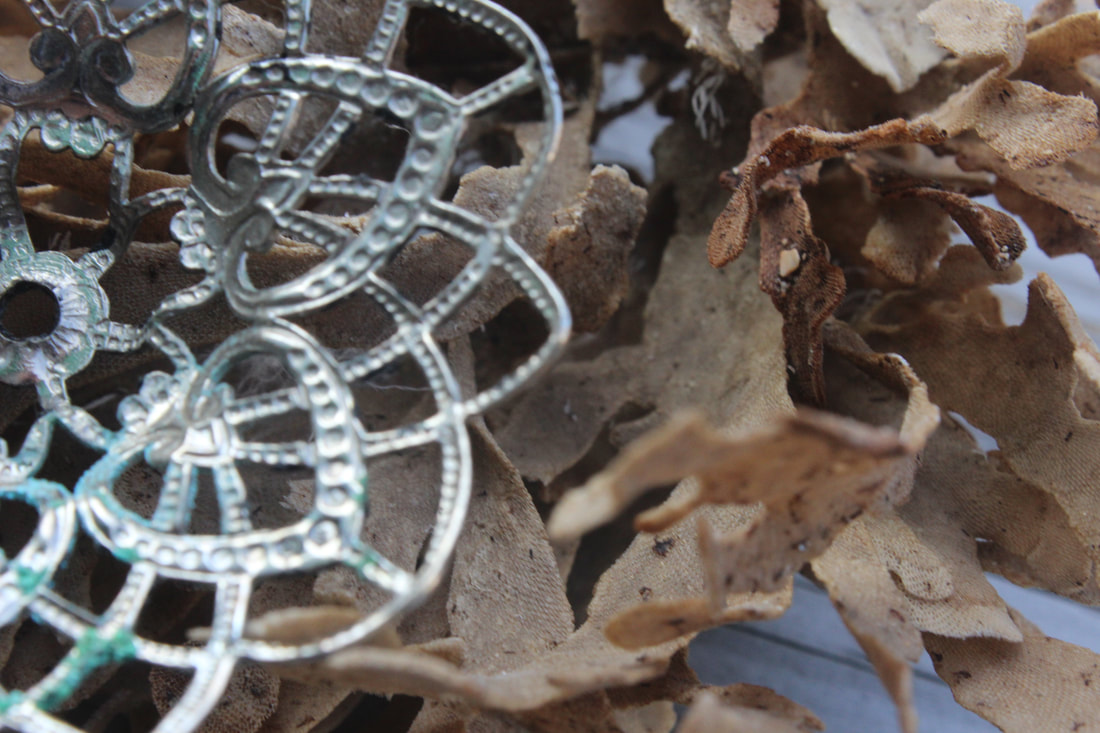
Best: |
Worst: |
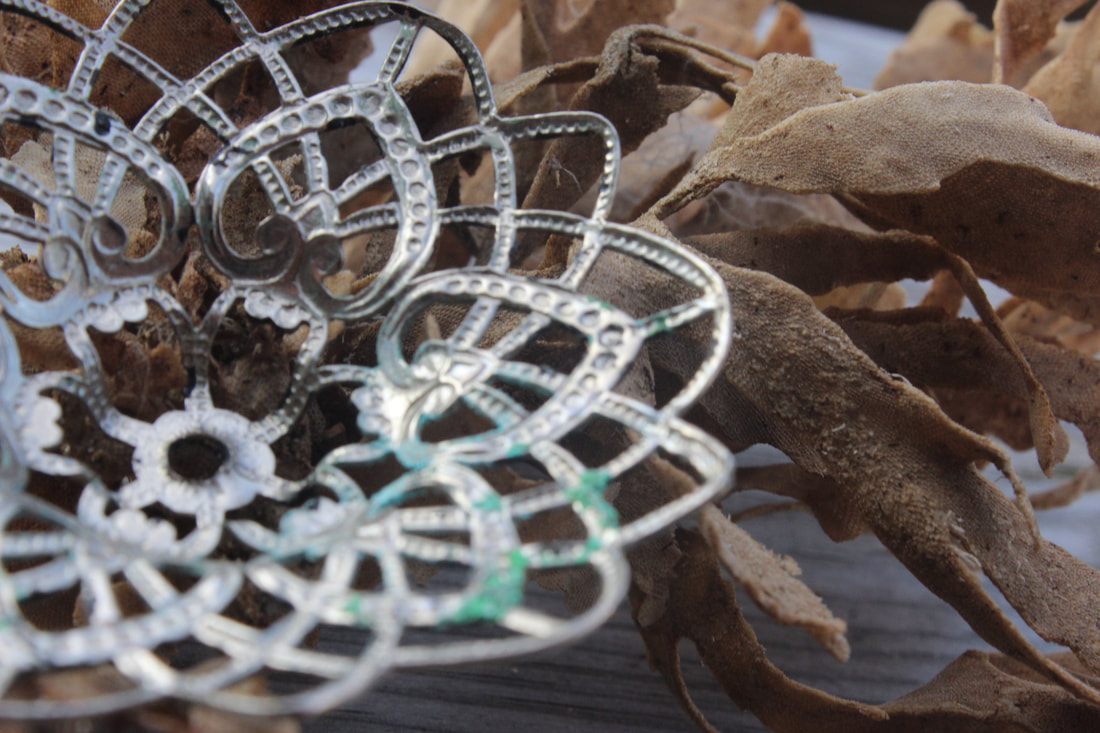
|
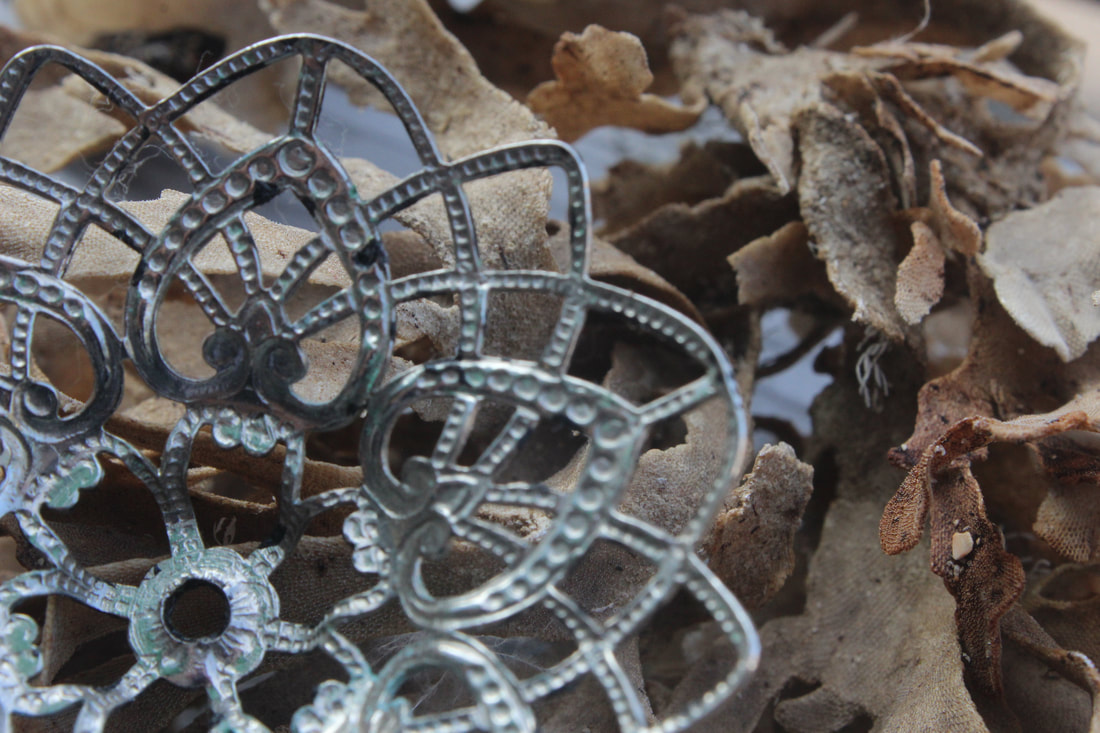
|
When I took these images, I was still new to my topic textures which is why the background is visible as I wasn't good at taking images in that style. However the image on the left is clearer.
Grate:
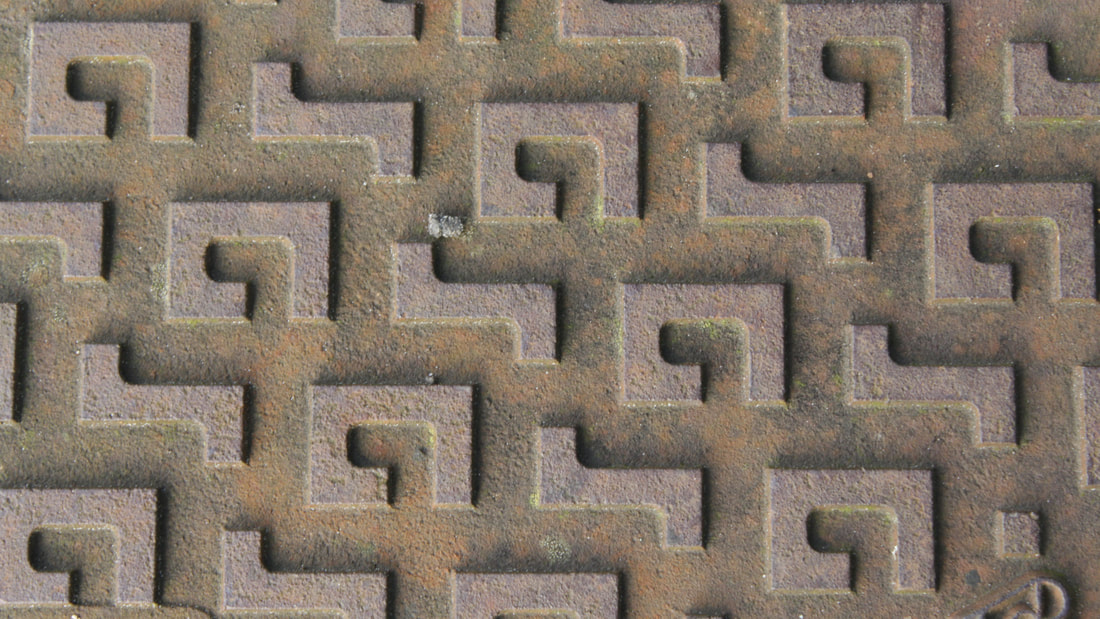
Best: |
Worst: |
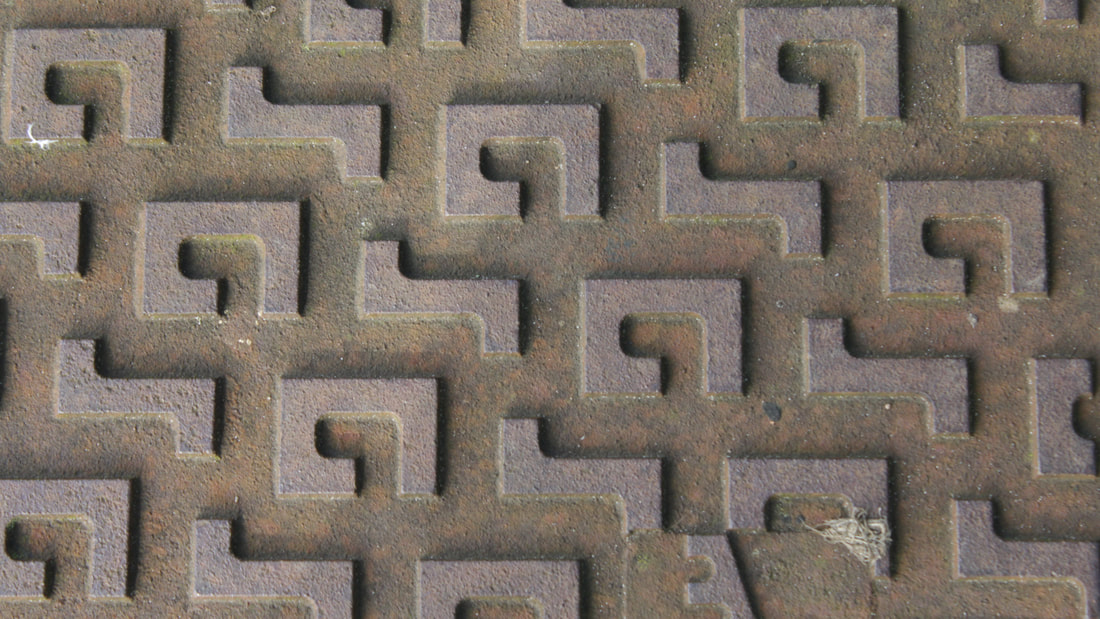
|
|
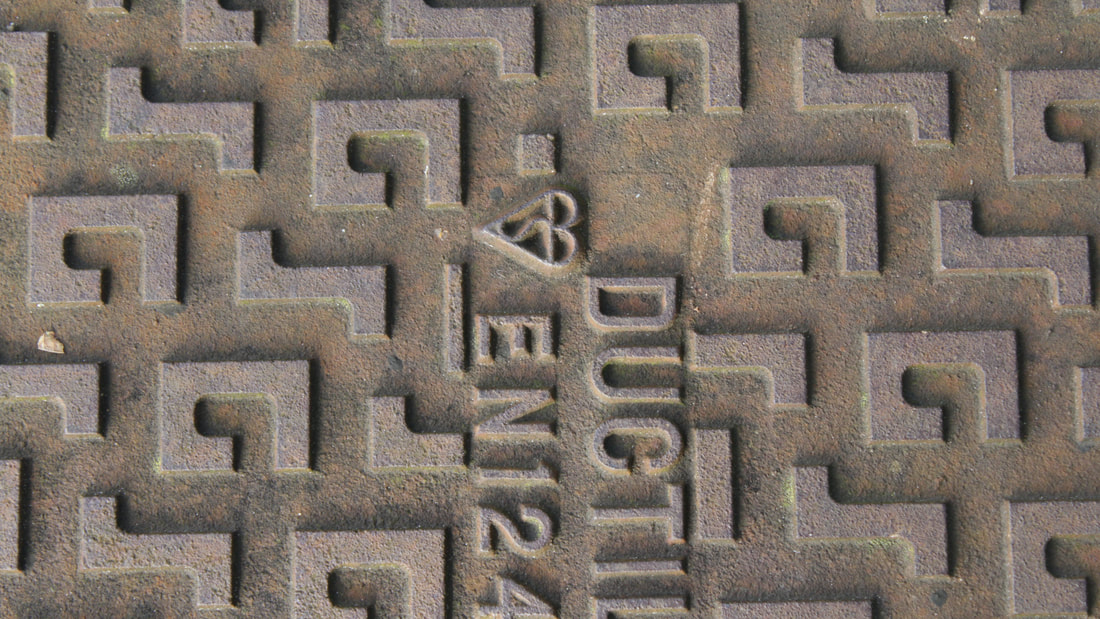
The image on the right has writing engraved in the grate which ruins the texture, whereas the left image is amazing as it has a perfect texture.
Grate:
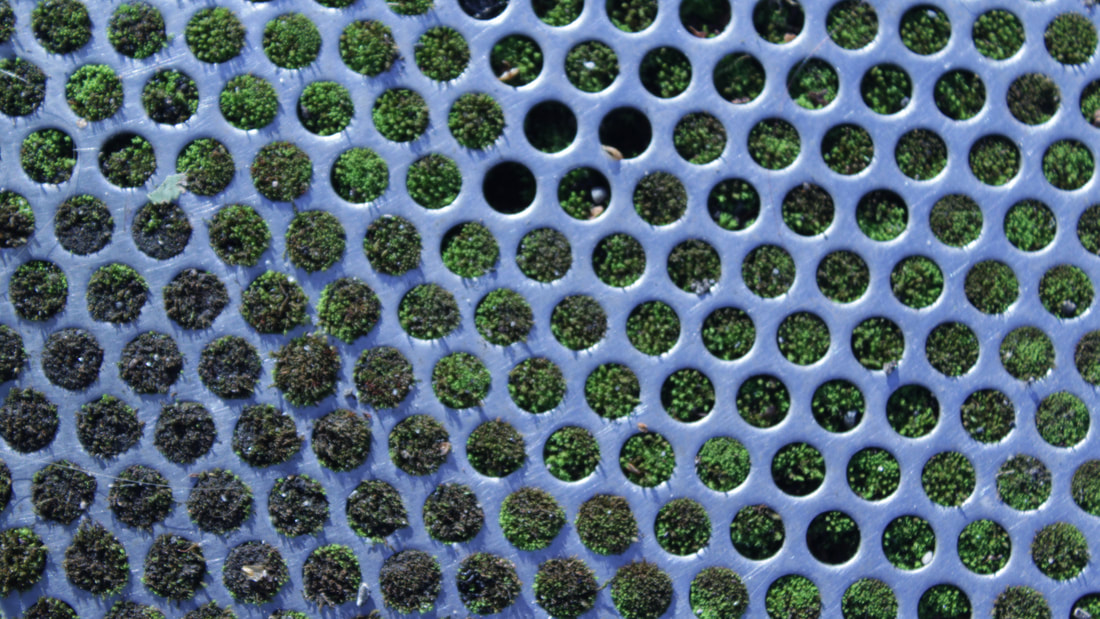
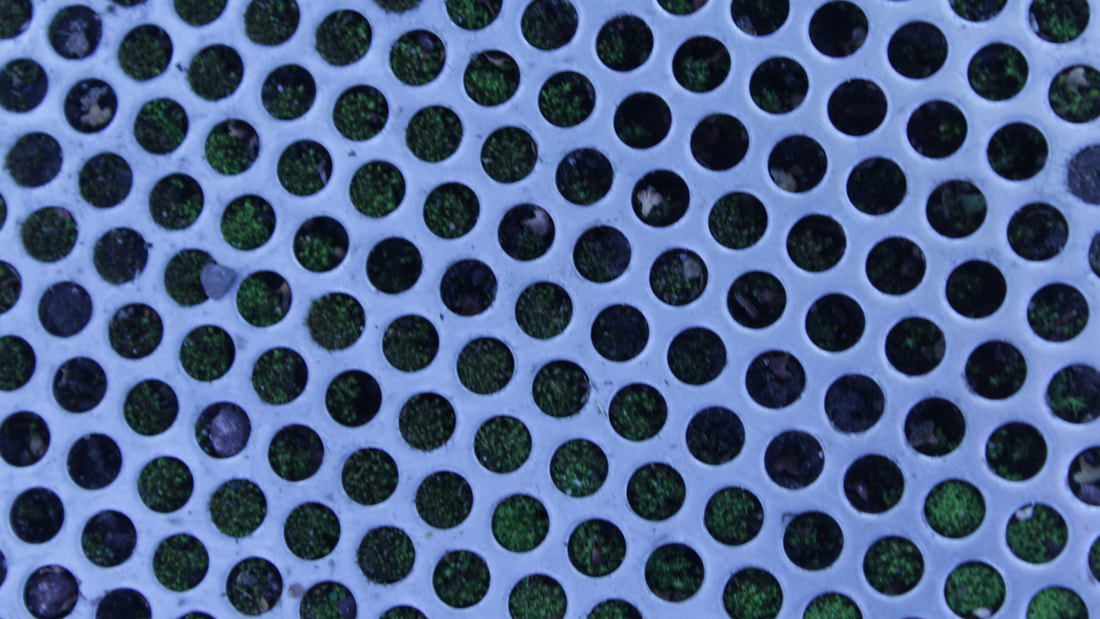
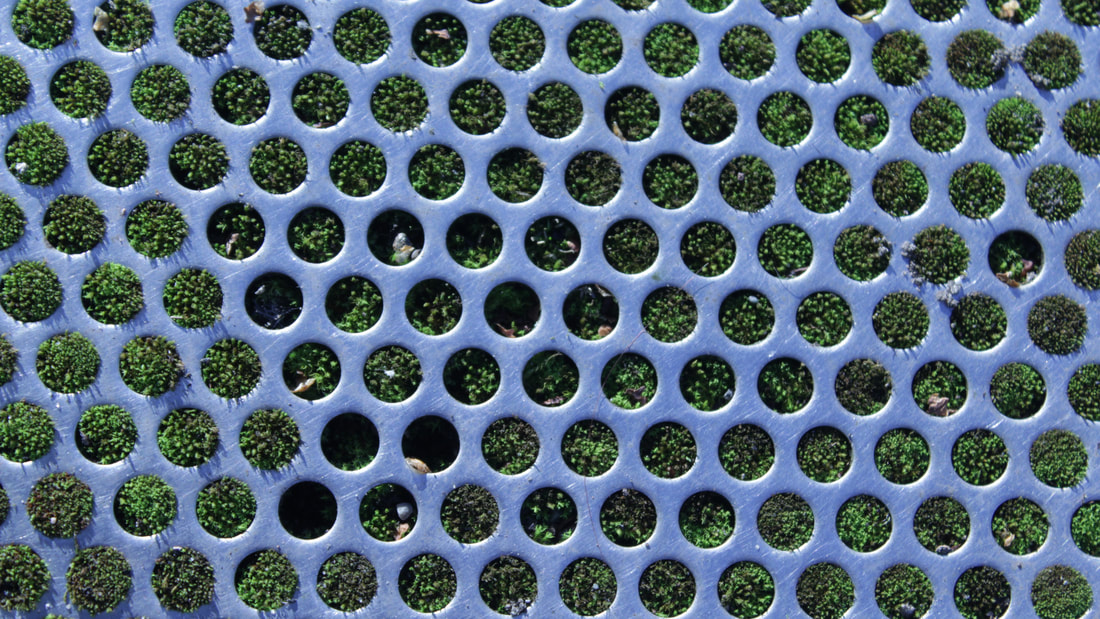
Best: |
Worst: |
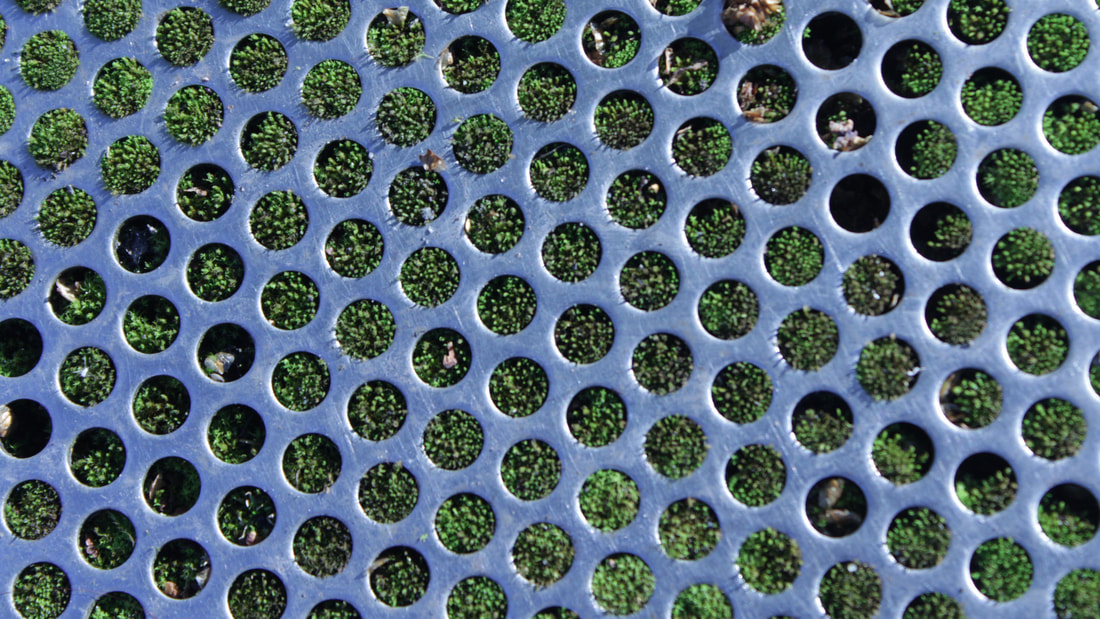
|
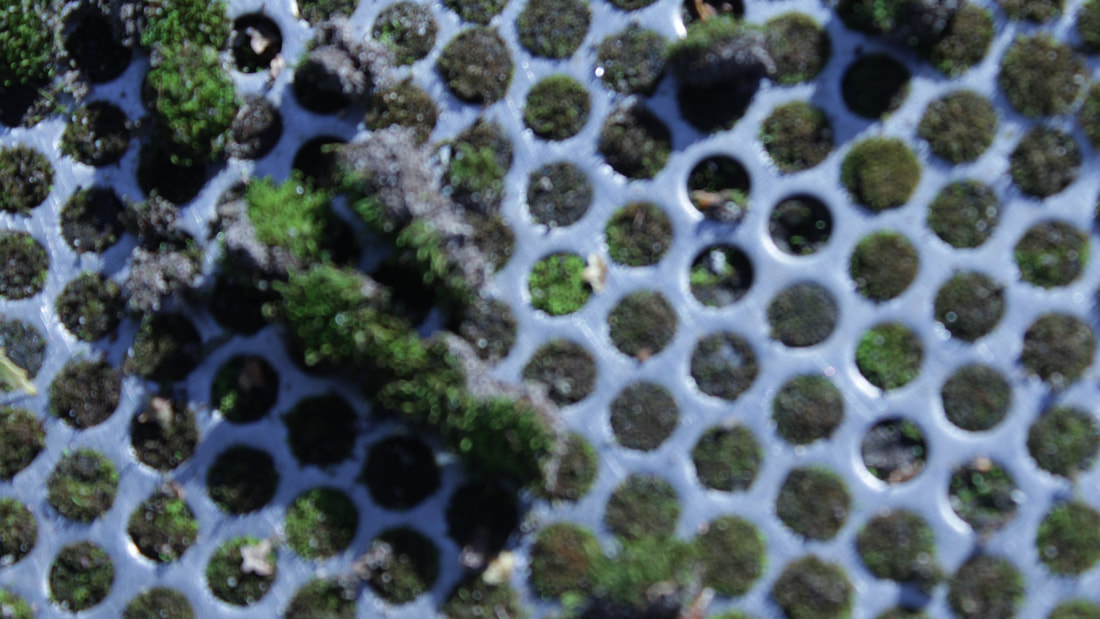
|
This image above is in focus and clear, gives a nice texture effect whereas the image on the right is blurred and the moss is random and unorganized.
Gate:
Best: |
Worst: |

|

|
As I used a fluorescent filter on the image on the right, it ruined it giving off a weird bluey effect. However the image on the right uses Rule of Thirds and is perfect.
Glass Bottle
Best: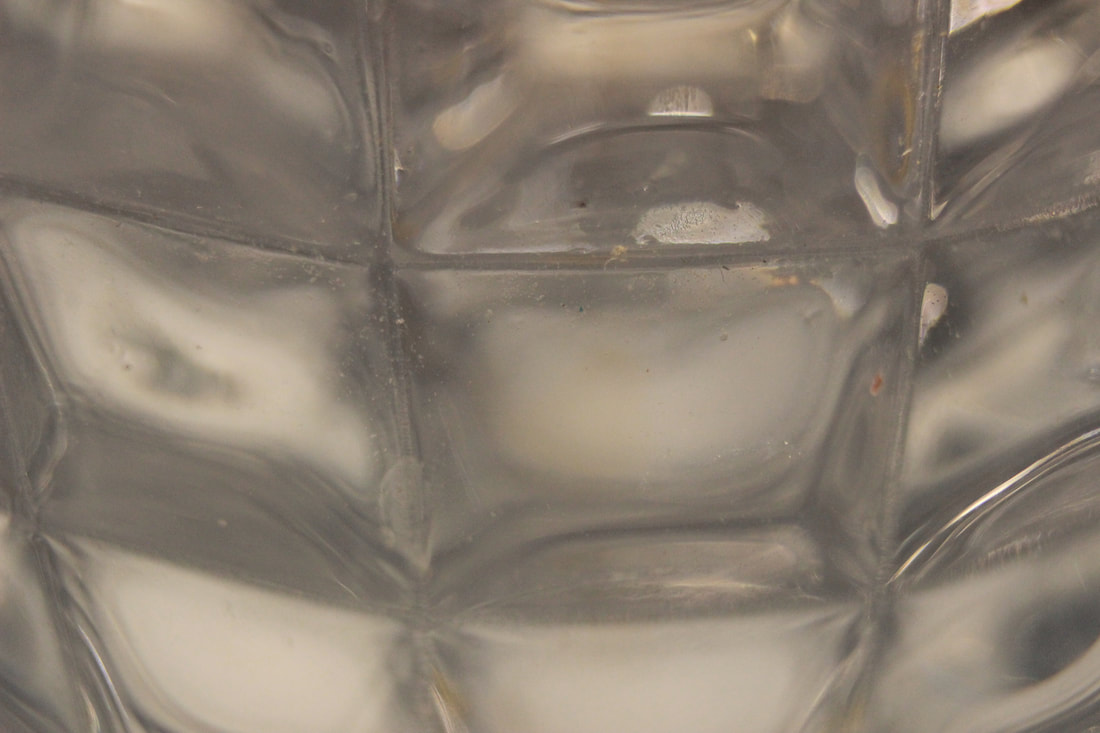
|
Worst:
|
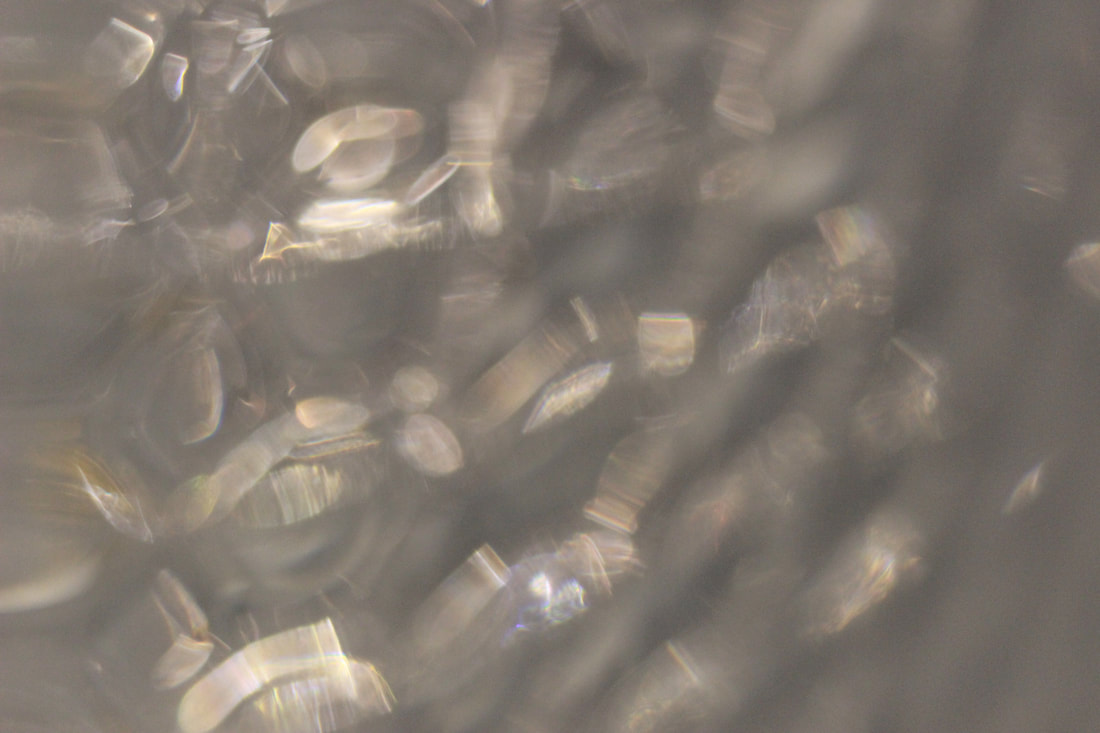
Both of these images were taken with a micro-lens, however the image on the right got blurred and was taken at a bad angle.
Motherboard:
Best: |
Worst: |
|
|
These were also taken with a micro-lens, the left image is clear and the right is unfocused and blurry.
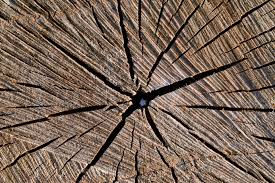
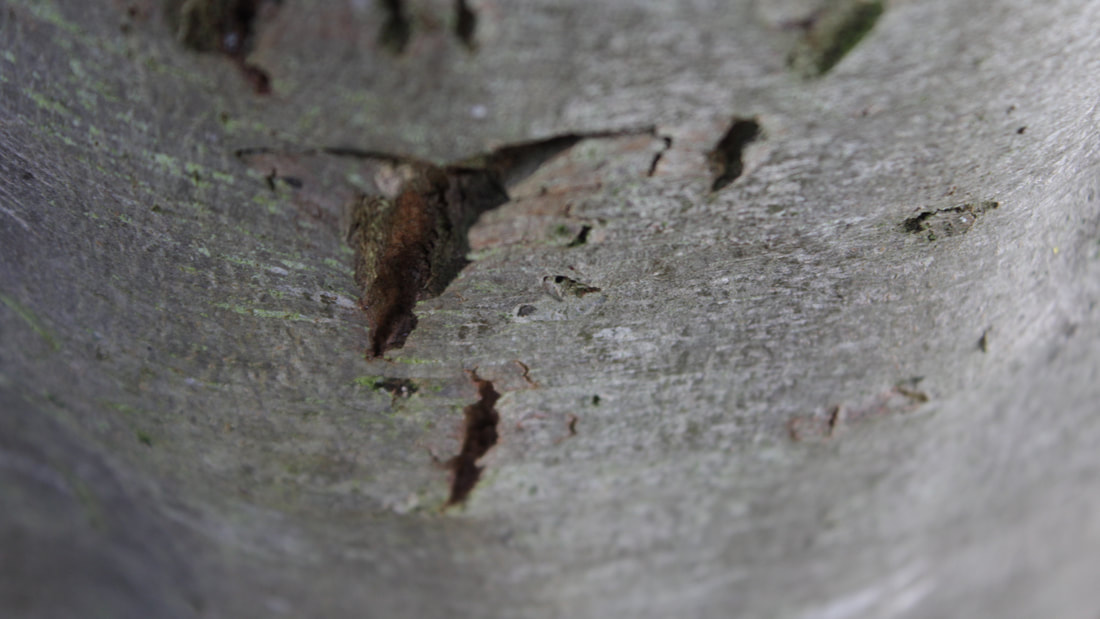
Stump:
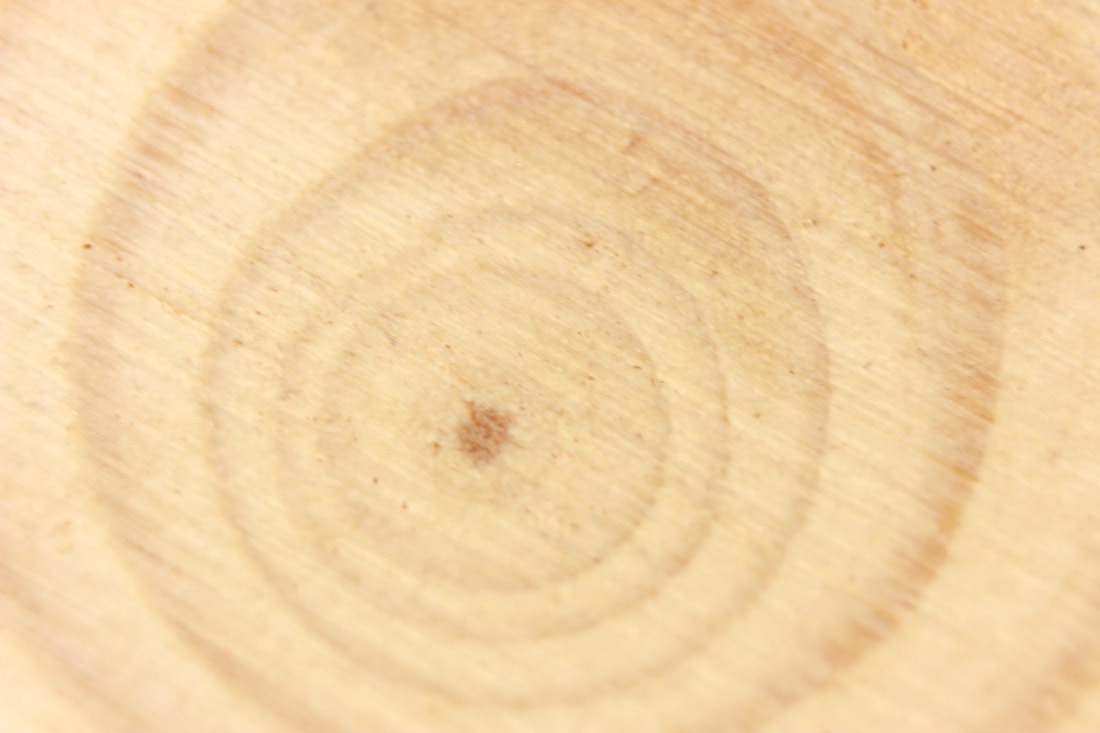
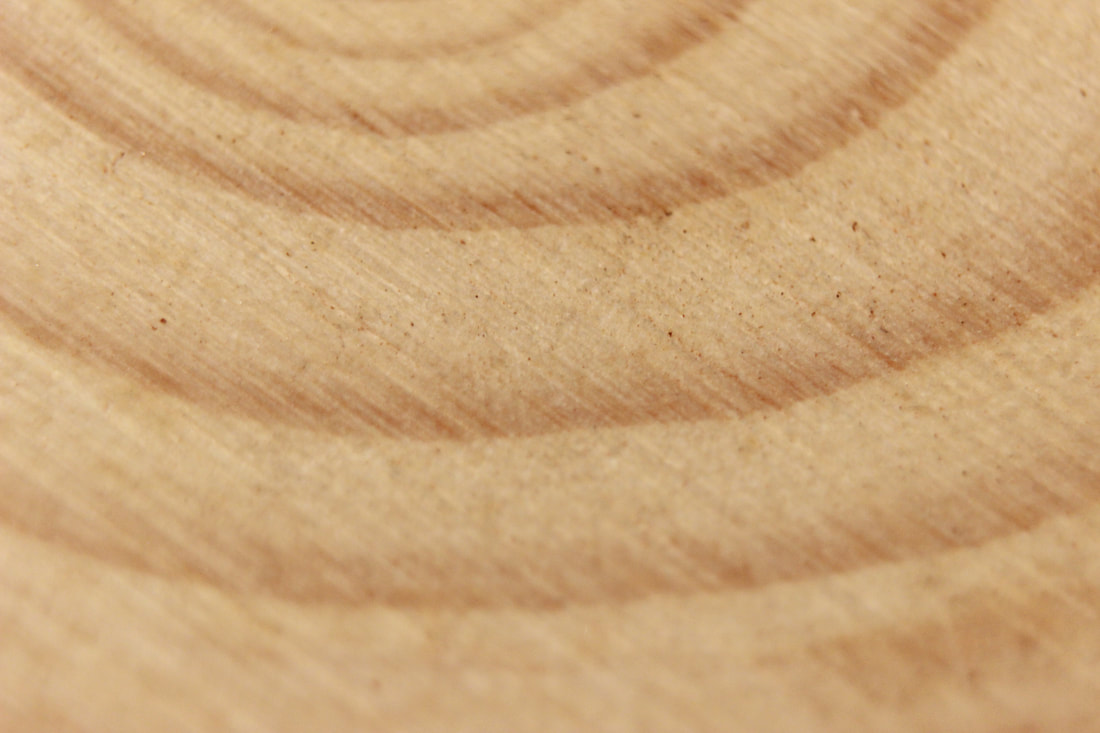
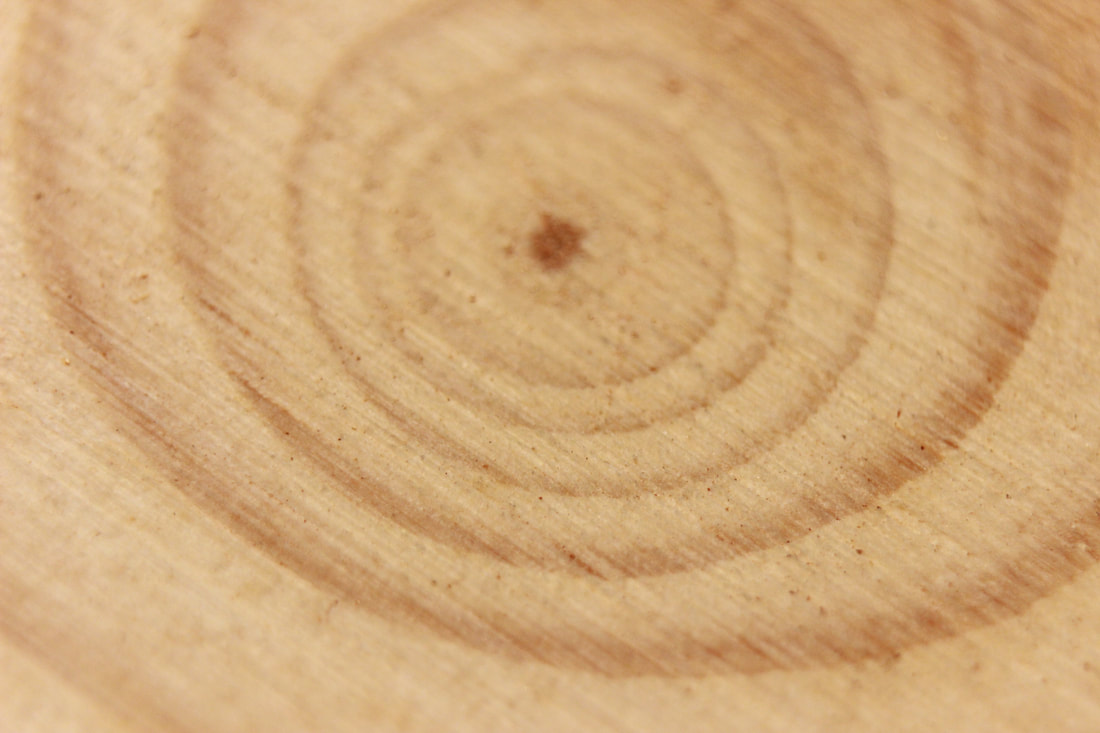
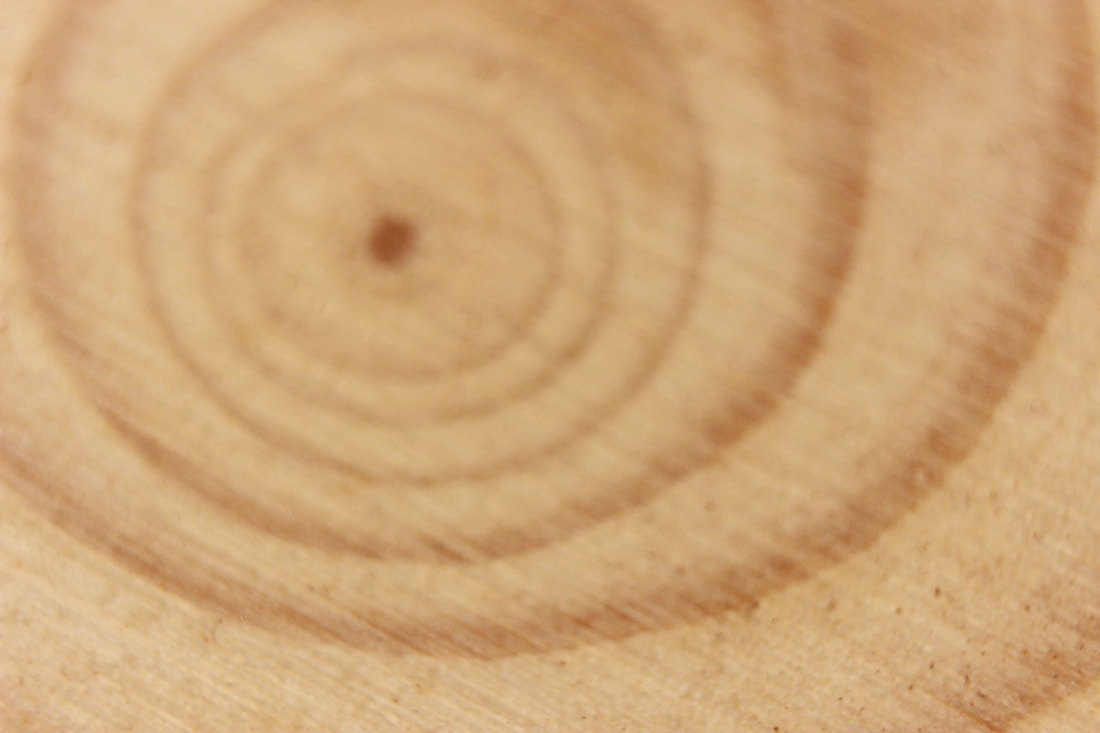
Best: |
Worst: |
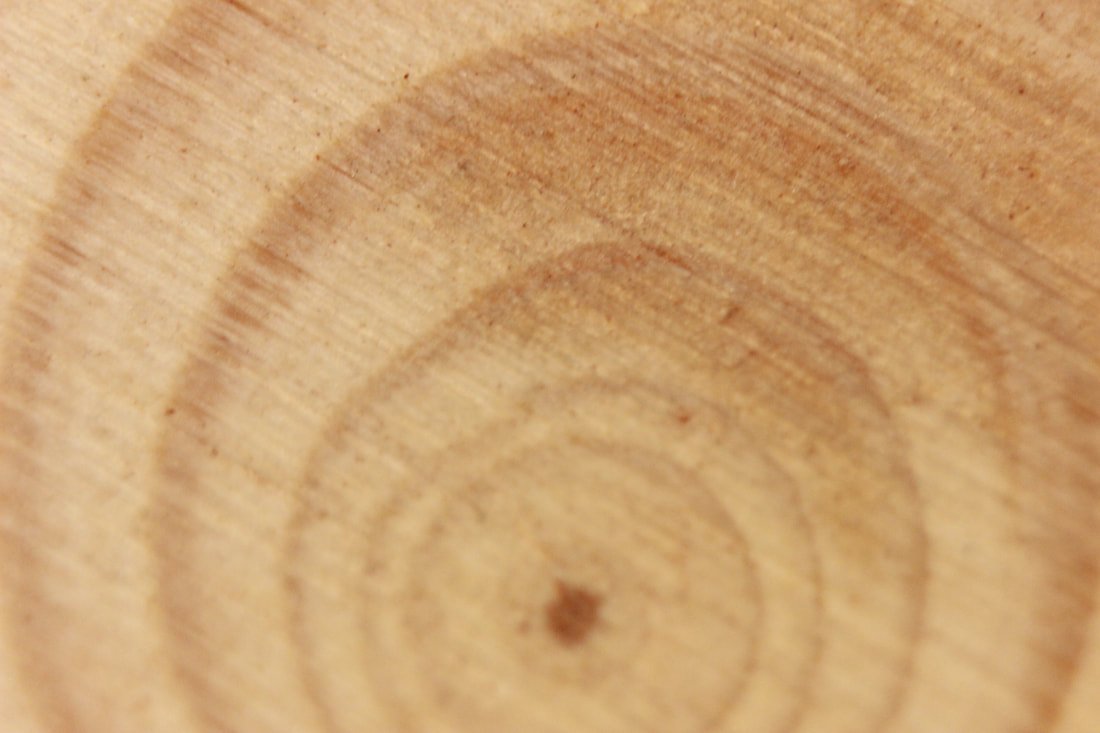
|
|
The image on the left is in focus and clear, however the image on the right is blurry.
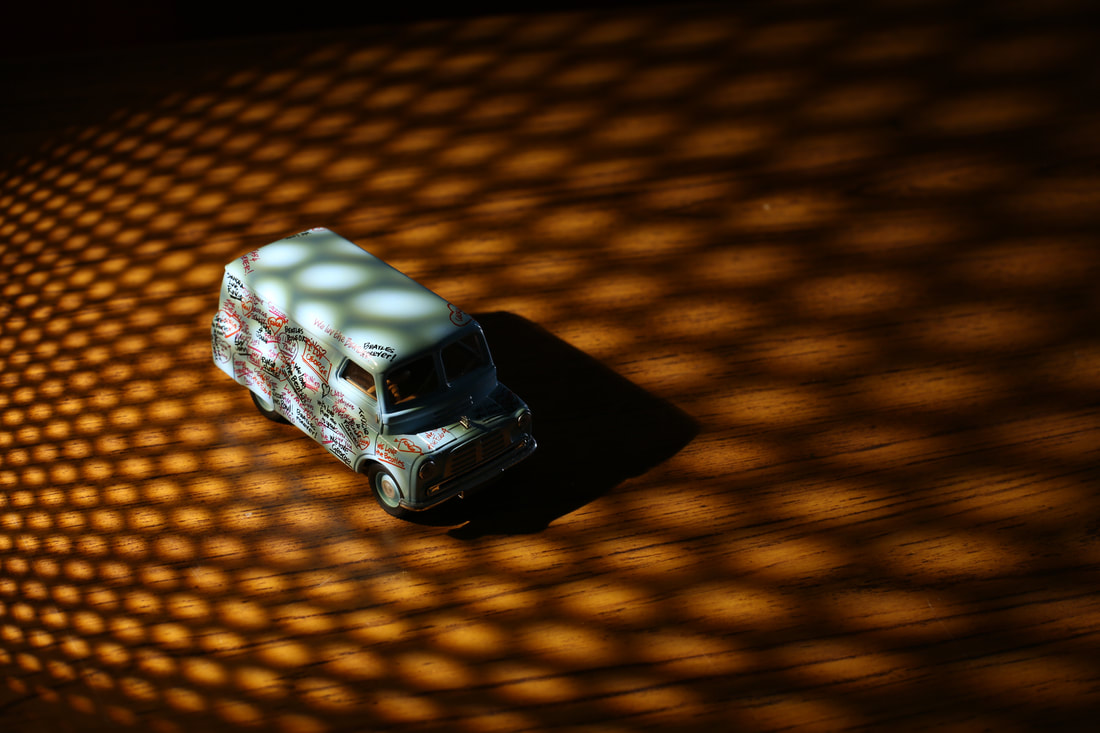
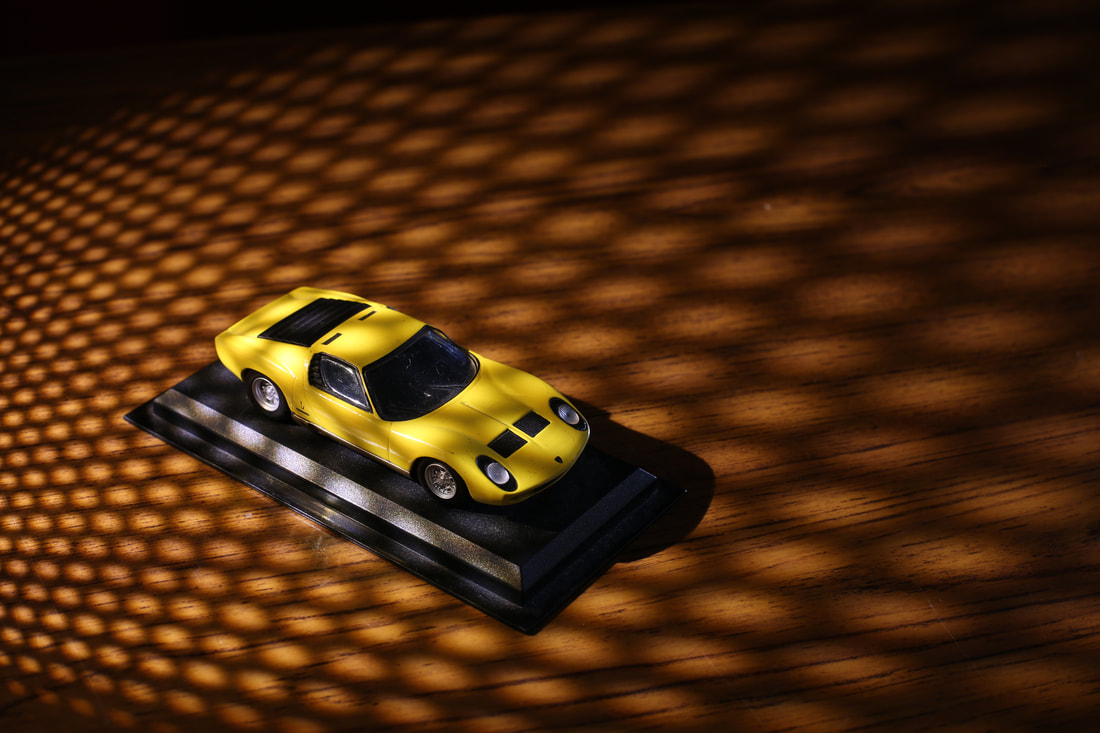
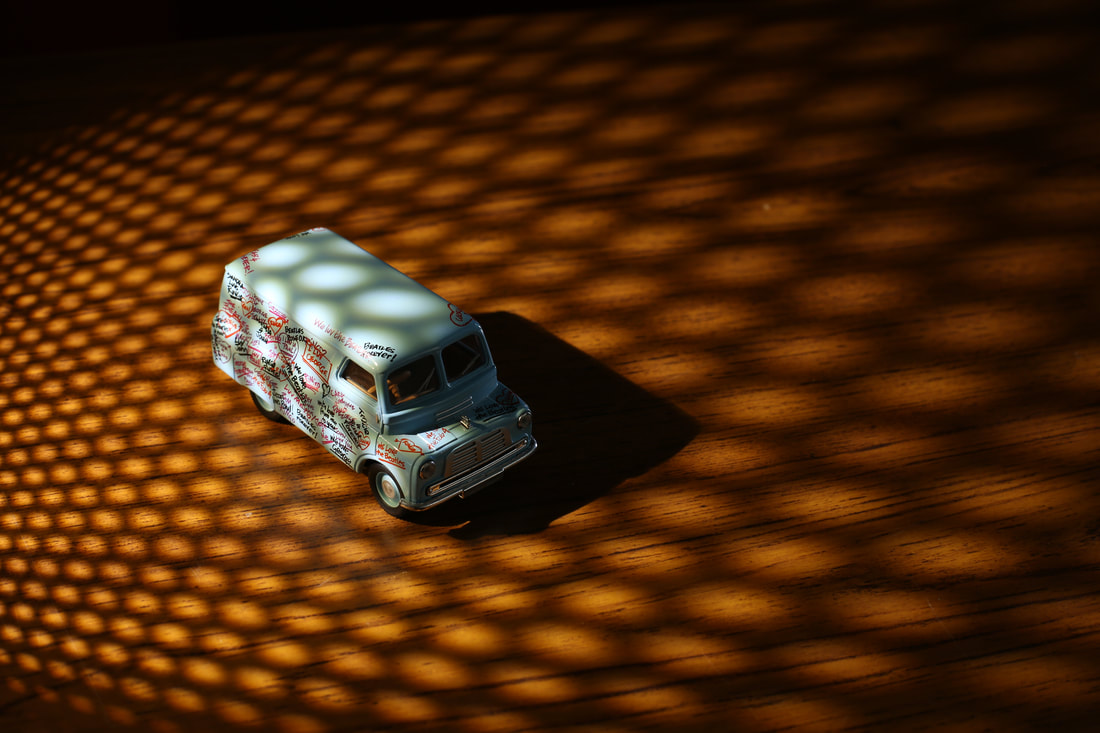
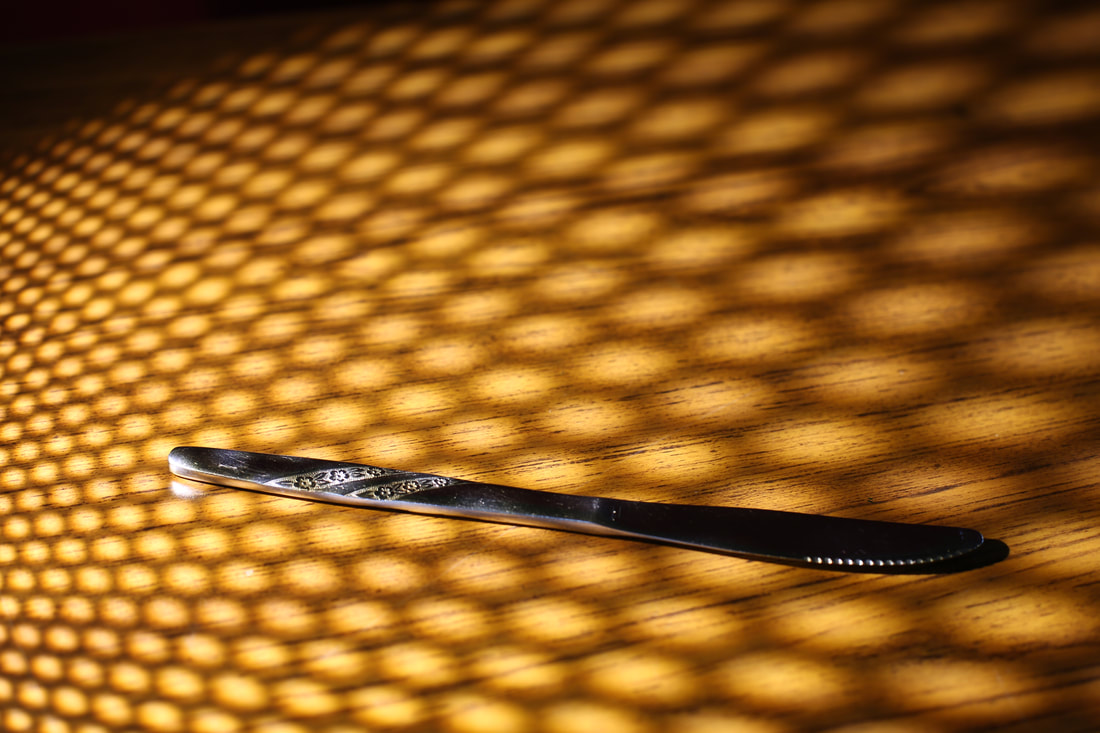
Working with Justin Garner

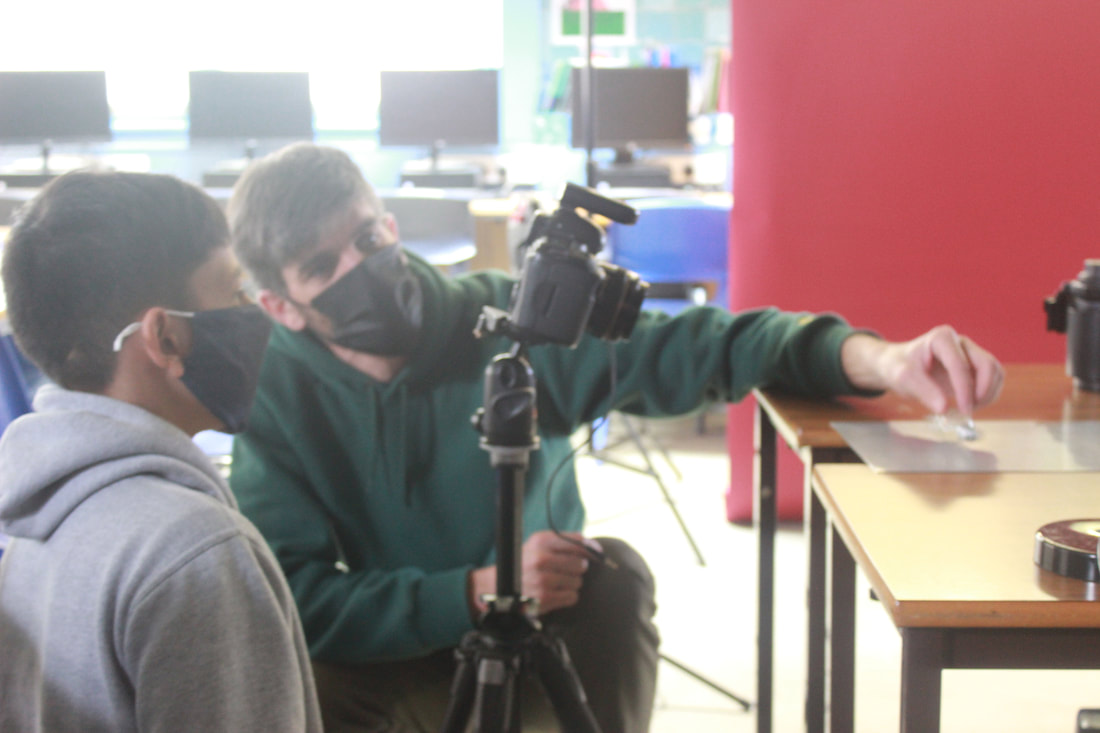
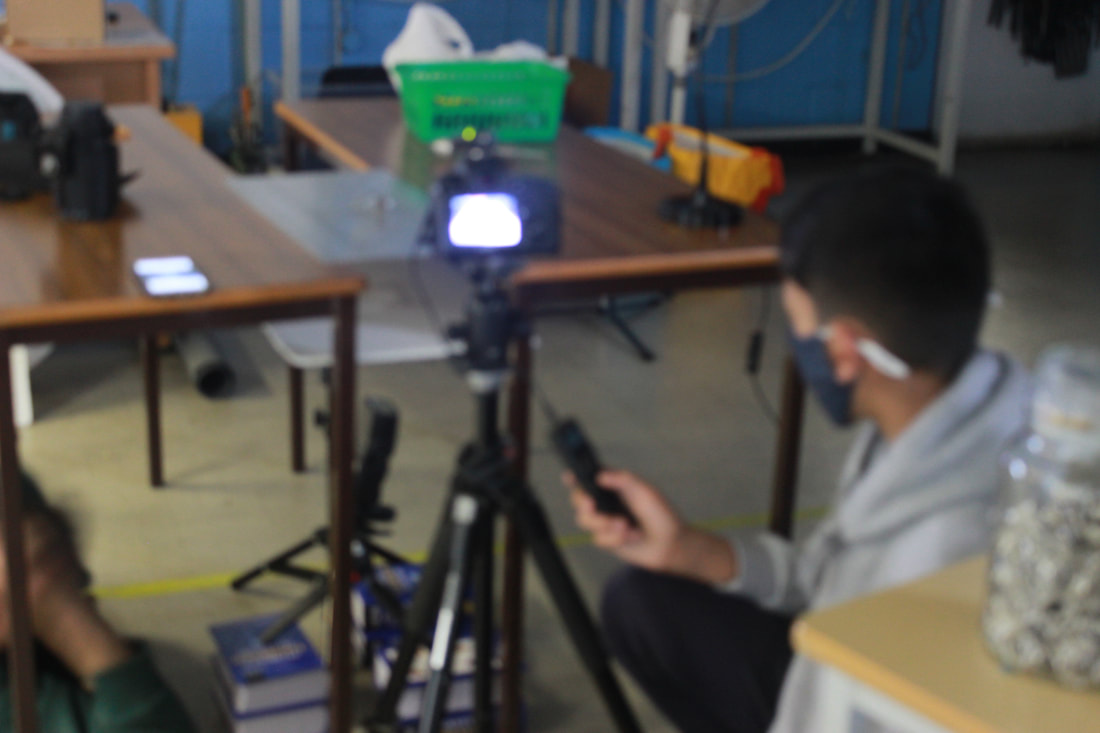
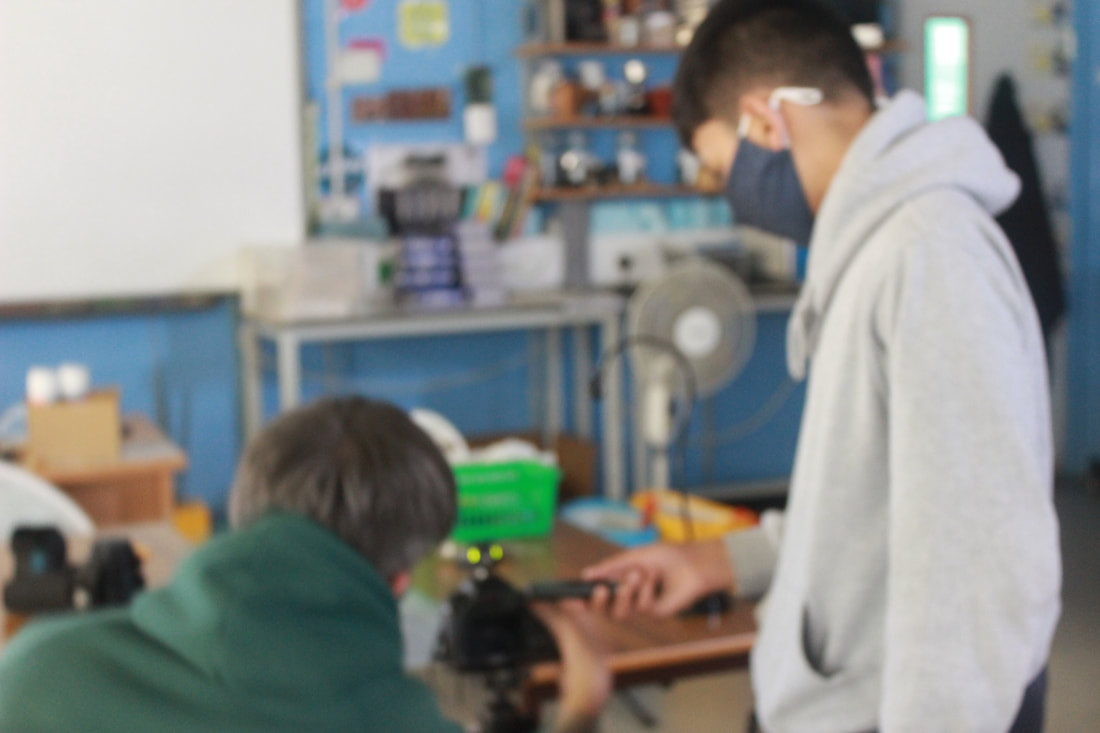
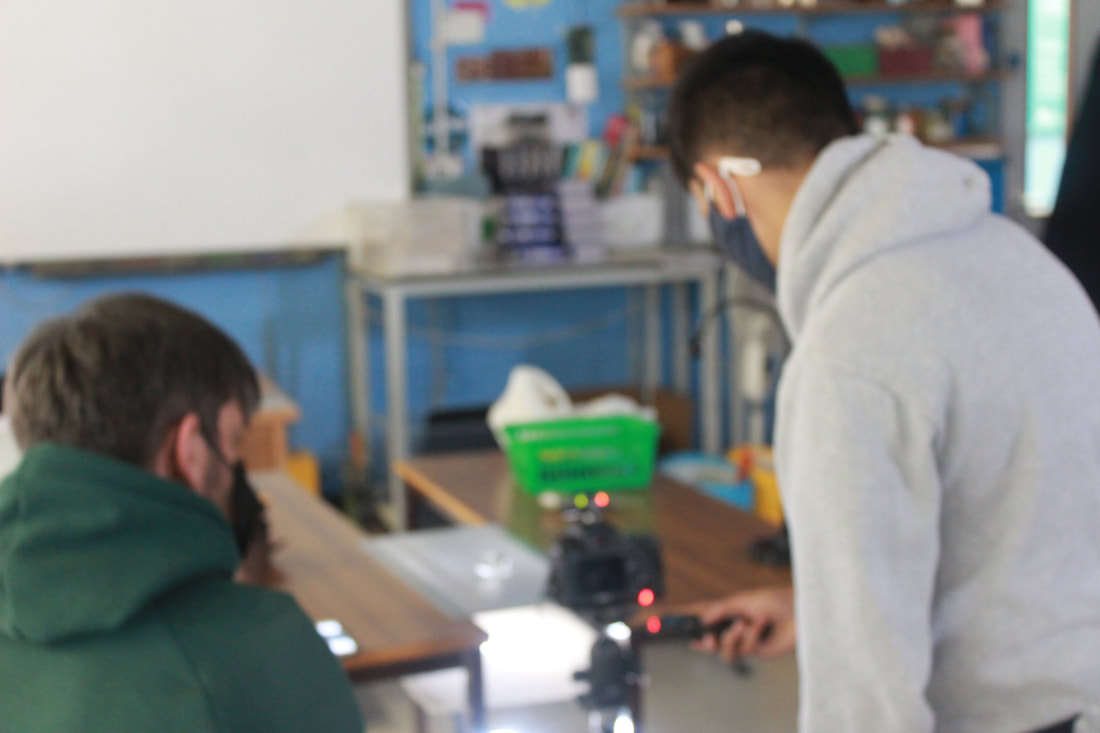
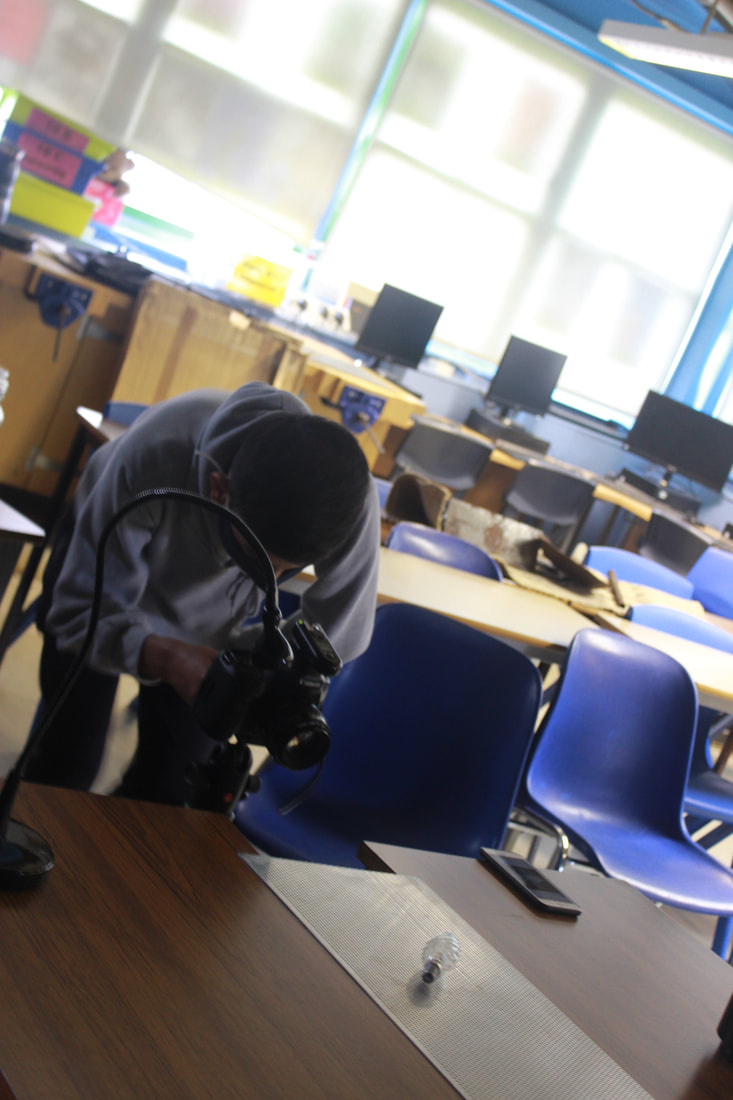
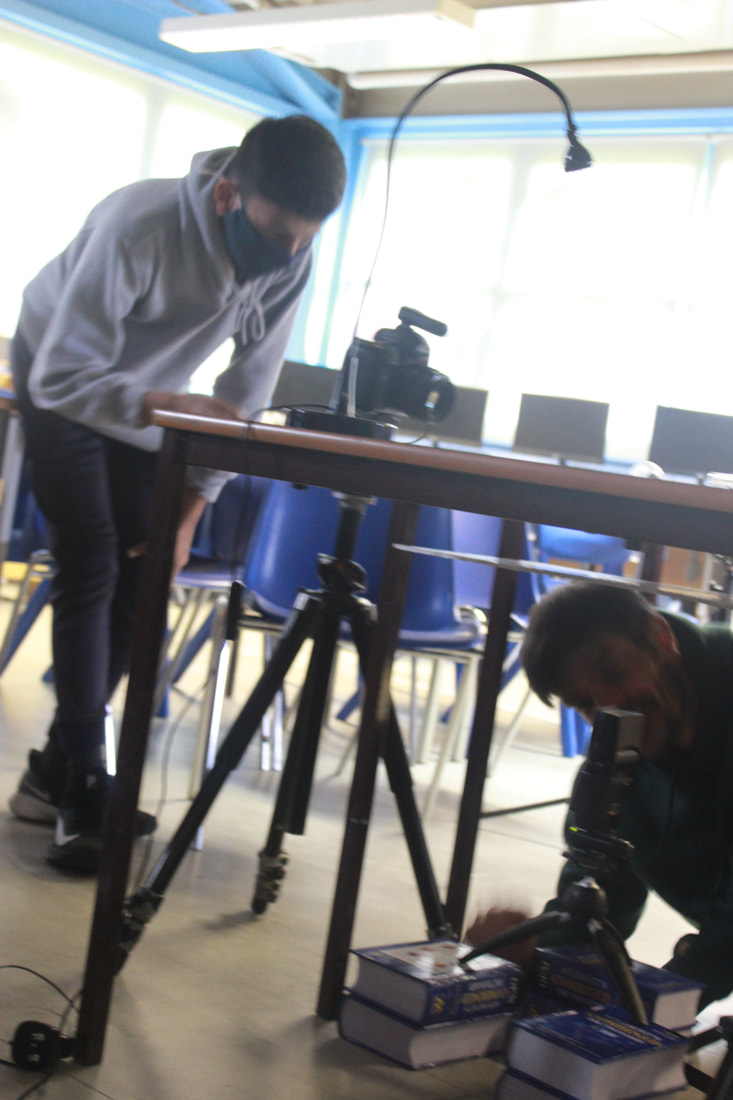
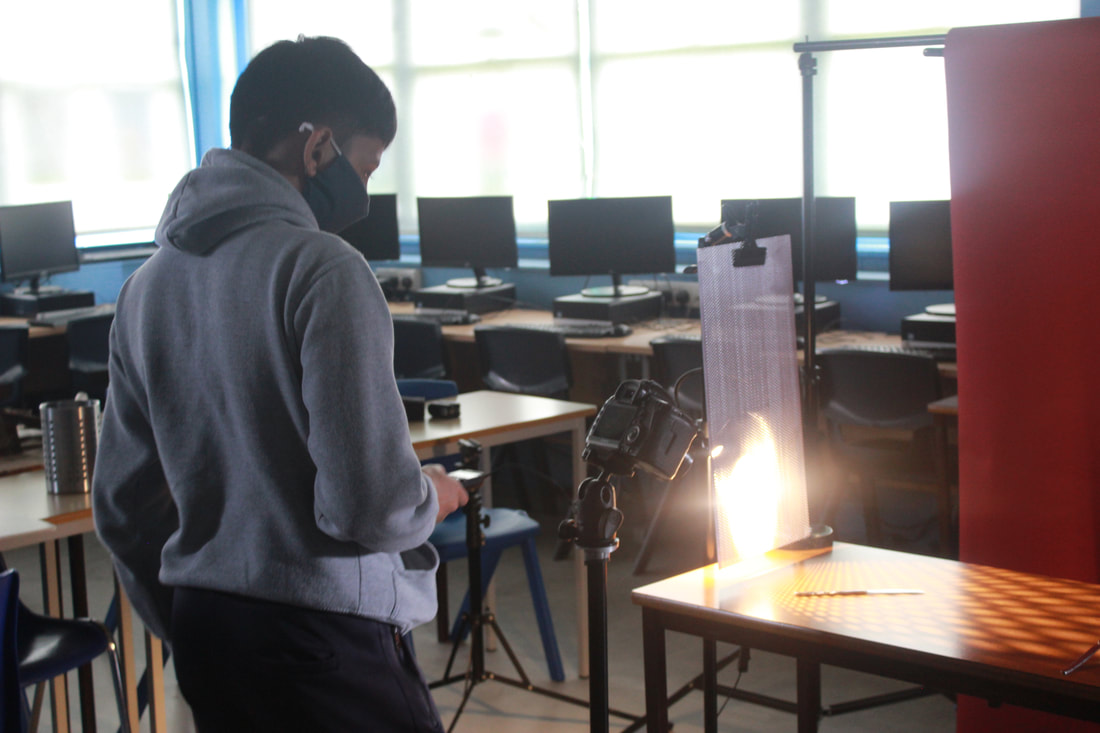
In these photos I am working with Justin Garner, they were taken by my teacher Mrs. Kidd, Justin helped me massively with the images below so many thanks to him, he gave me these amazing outcomes and a more professional shoot which shows with the right equipment, my images can be much better than they are currently.
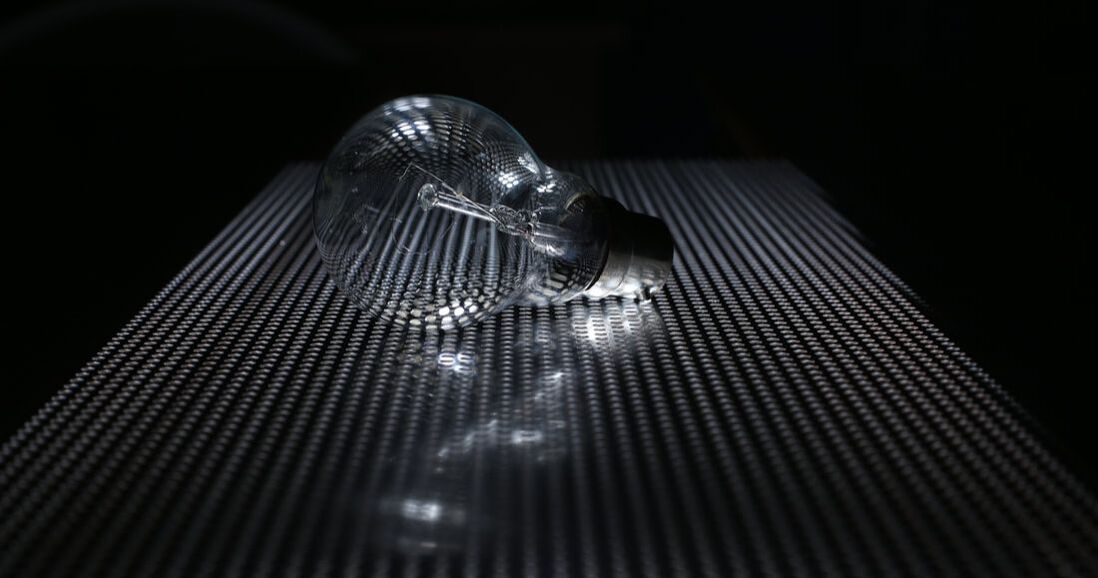
Light bulb:
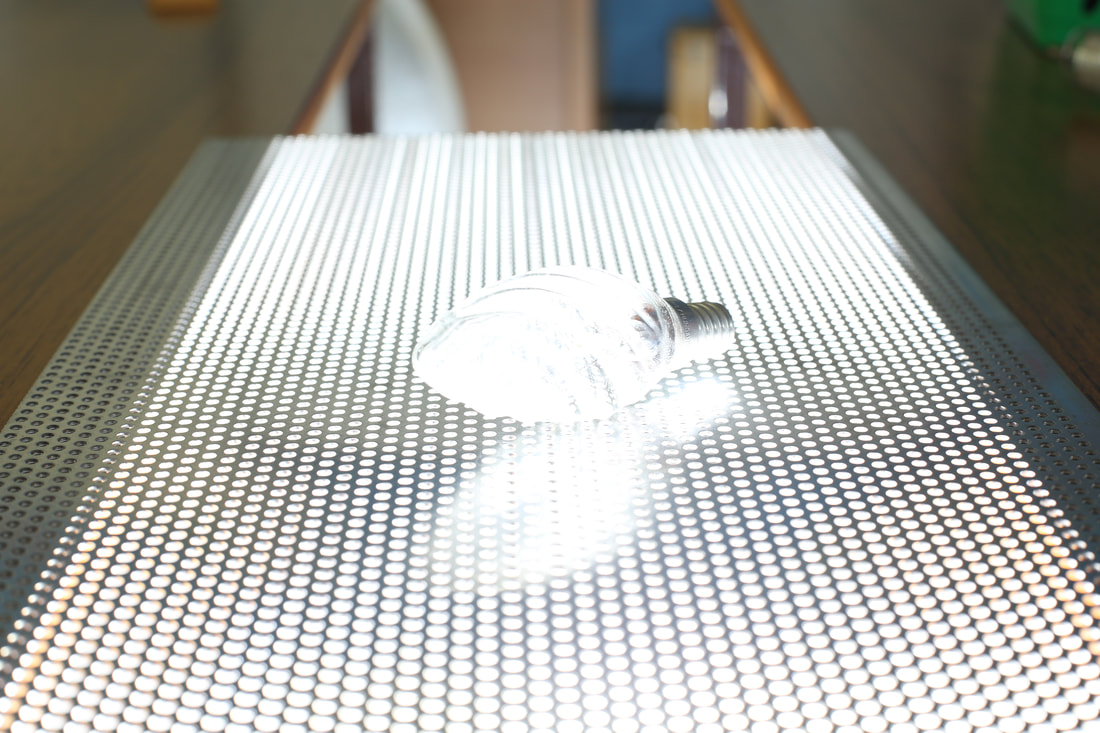


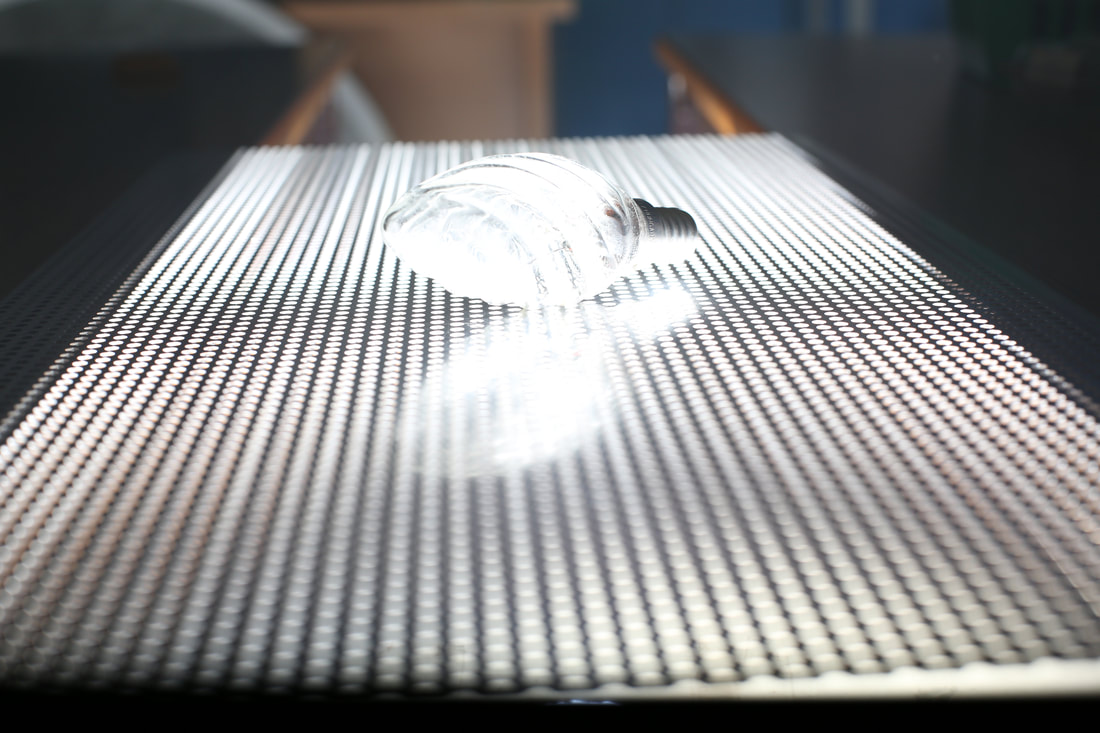
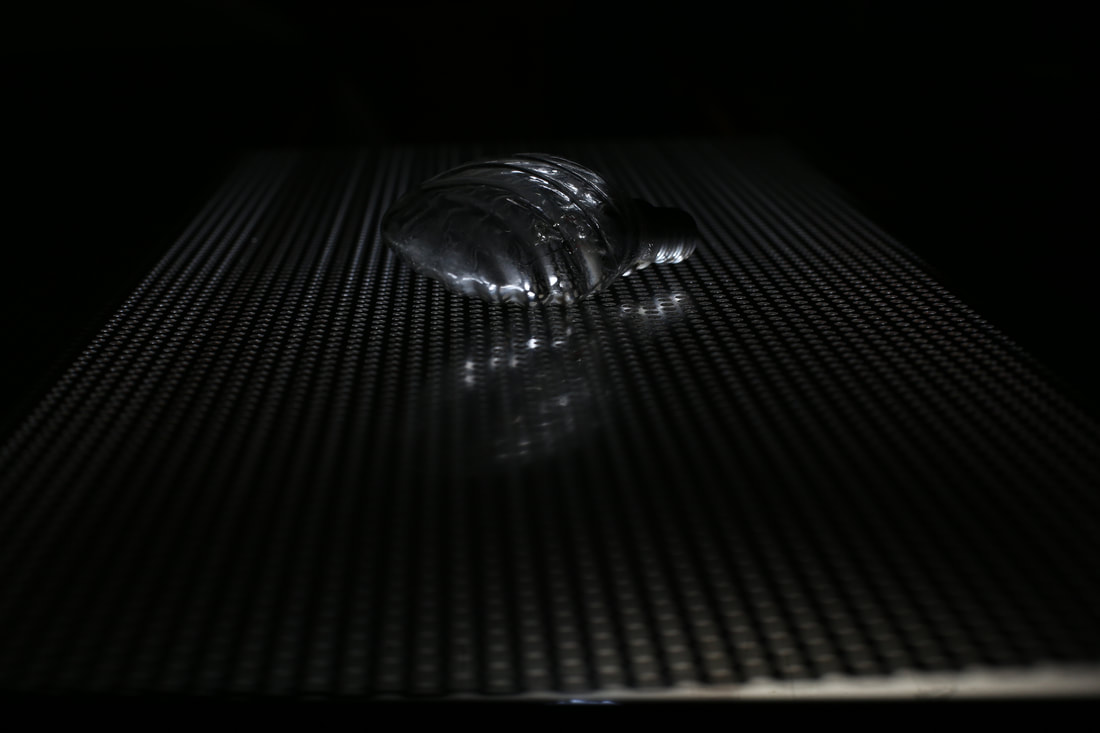

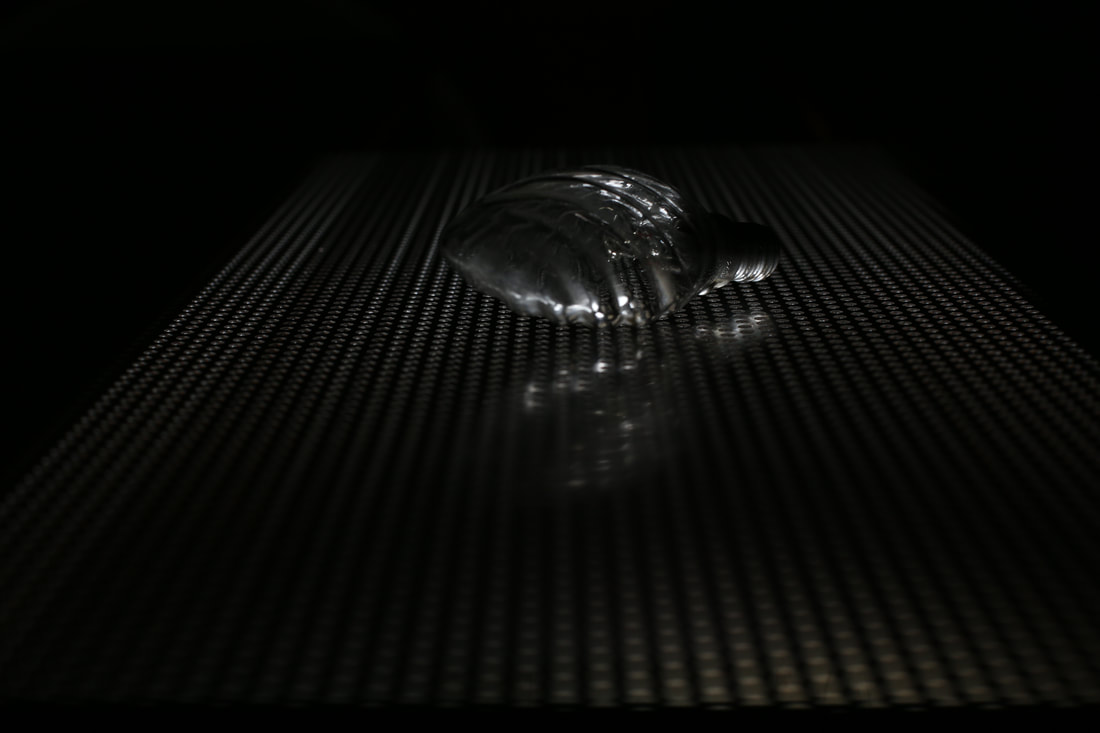
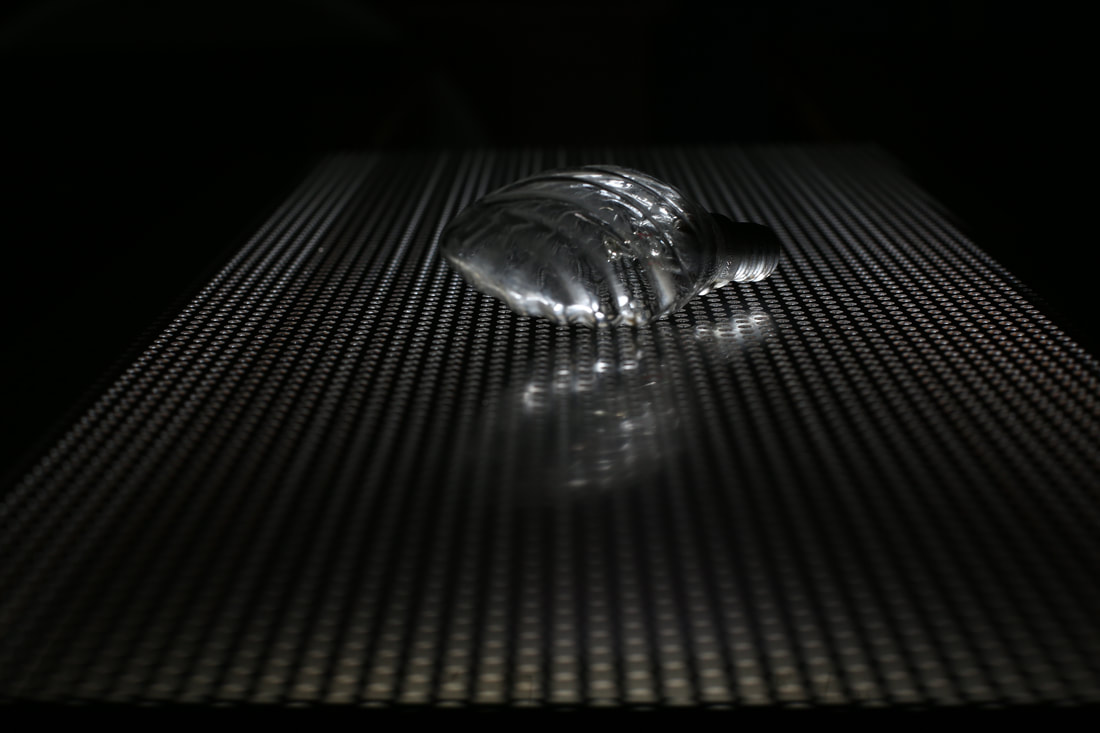
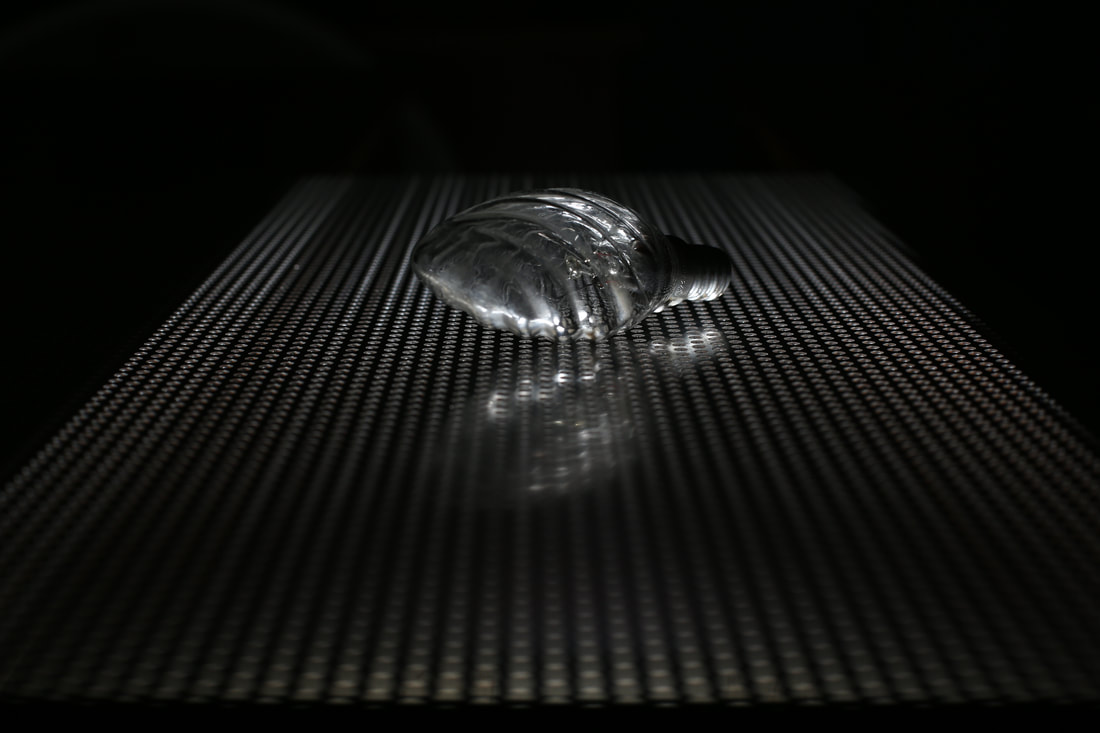


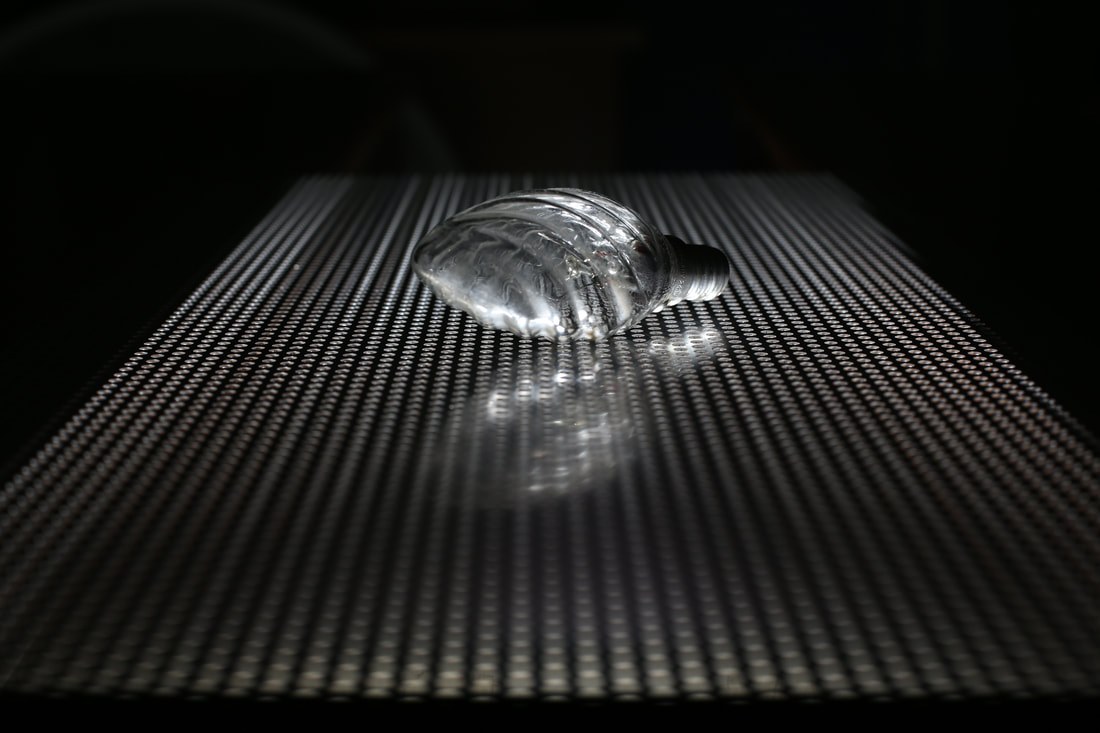
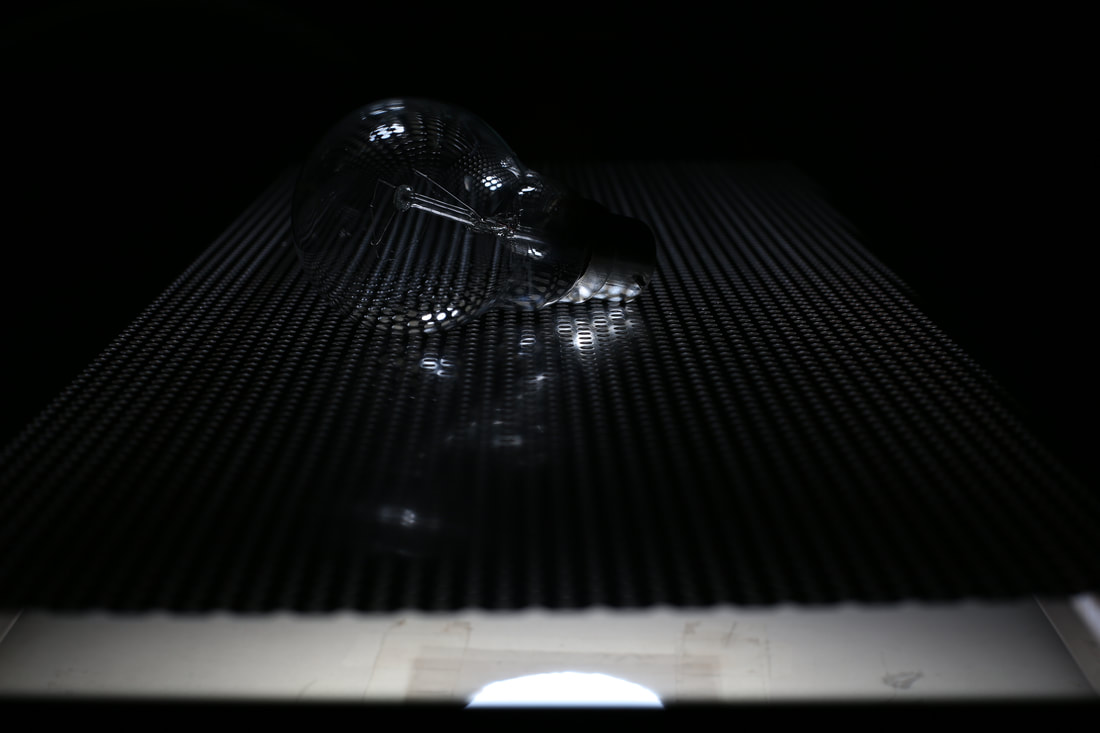
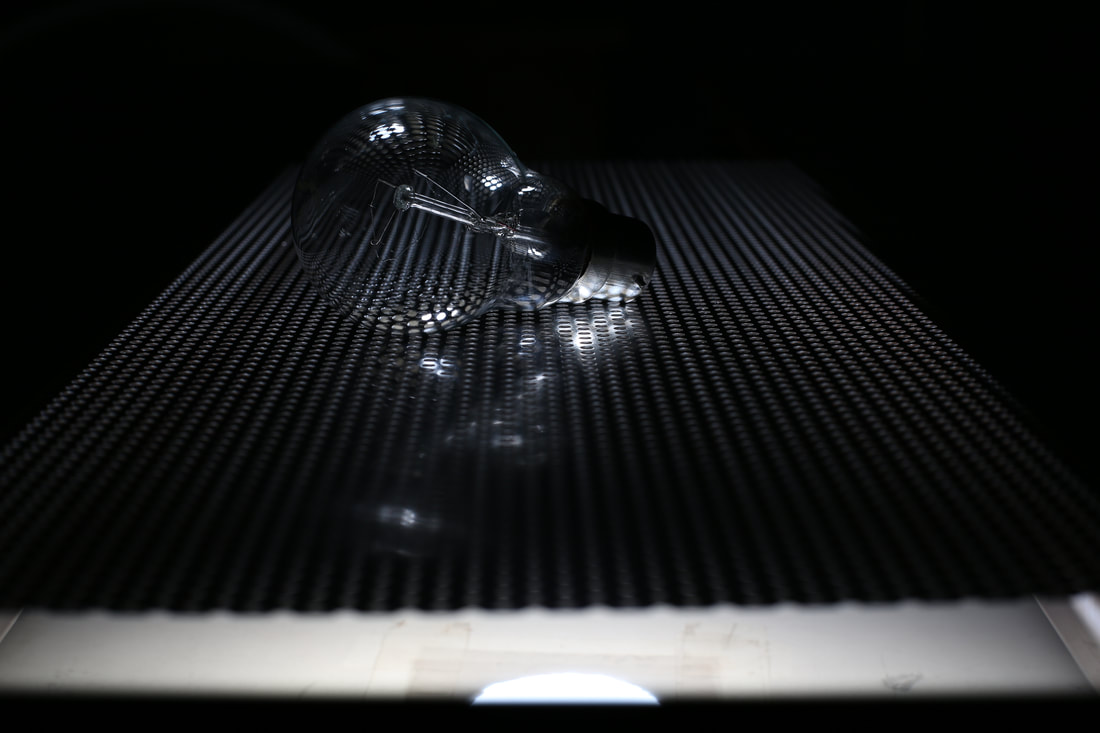
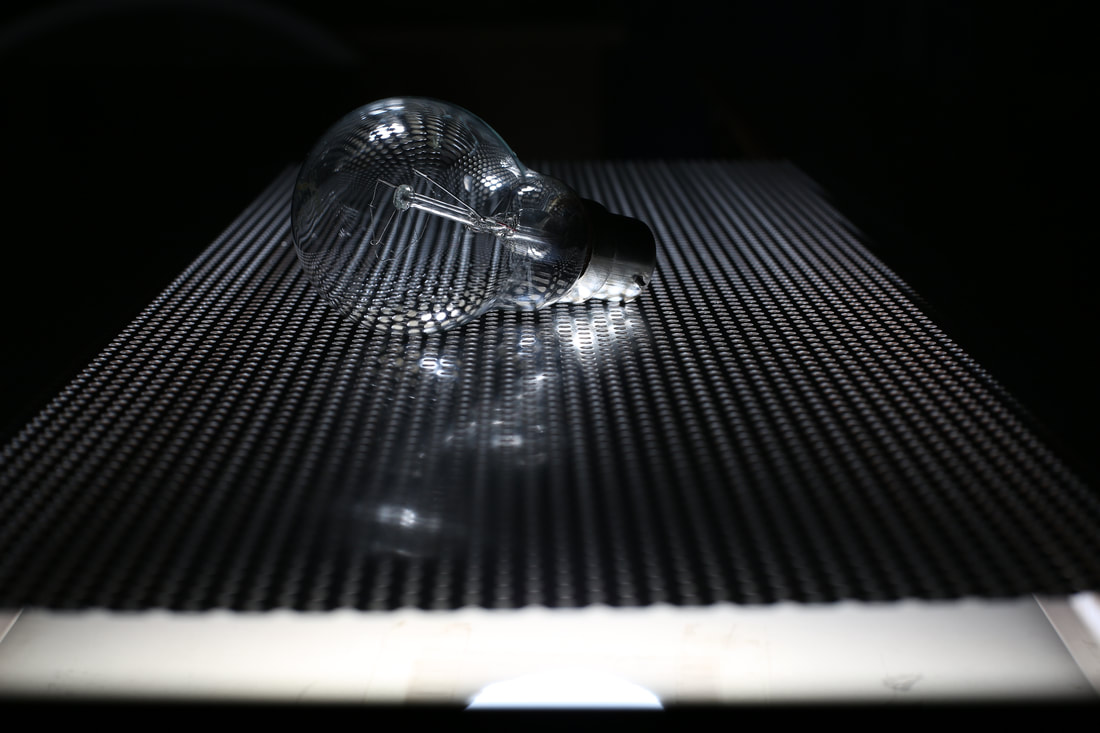
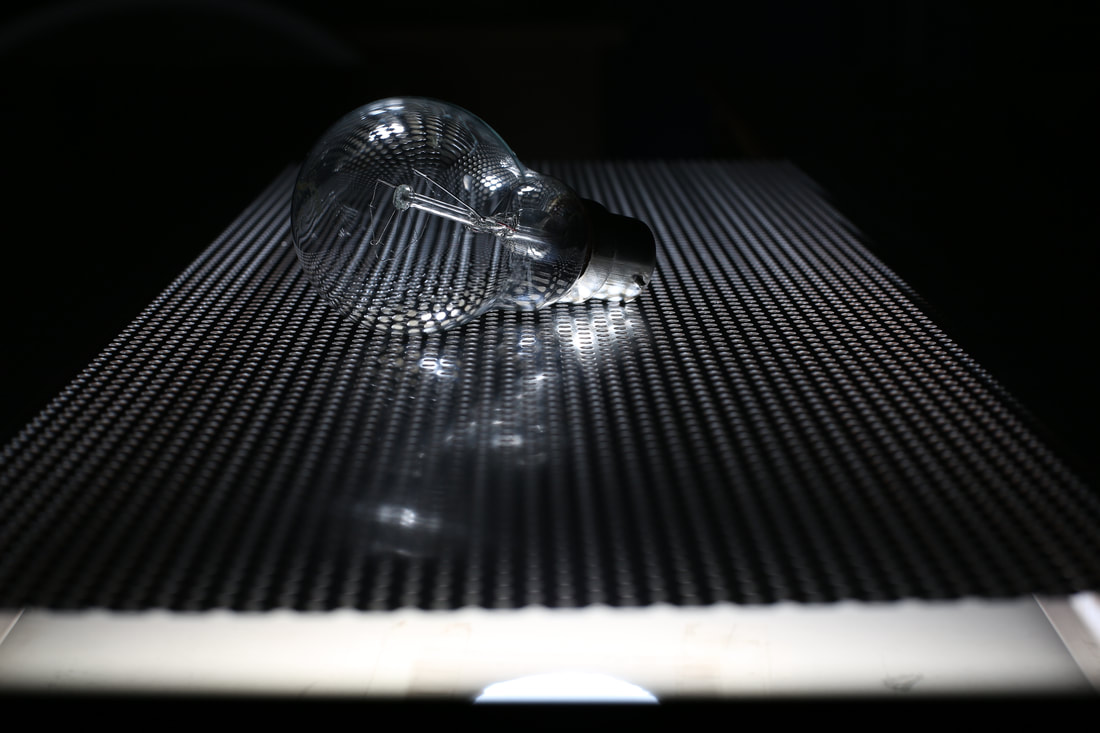
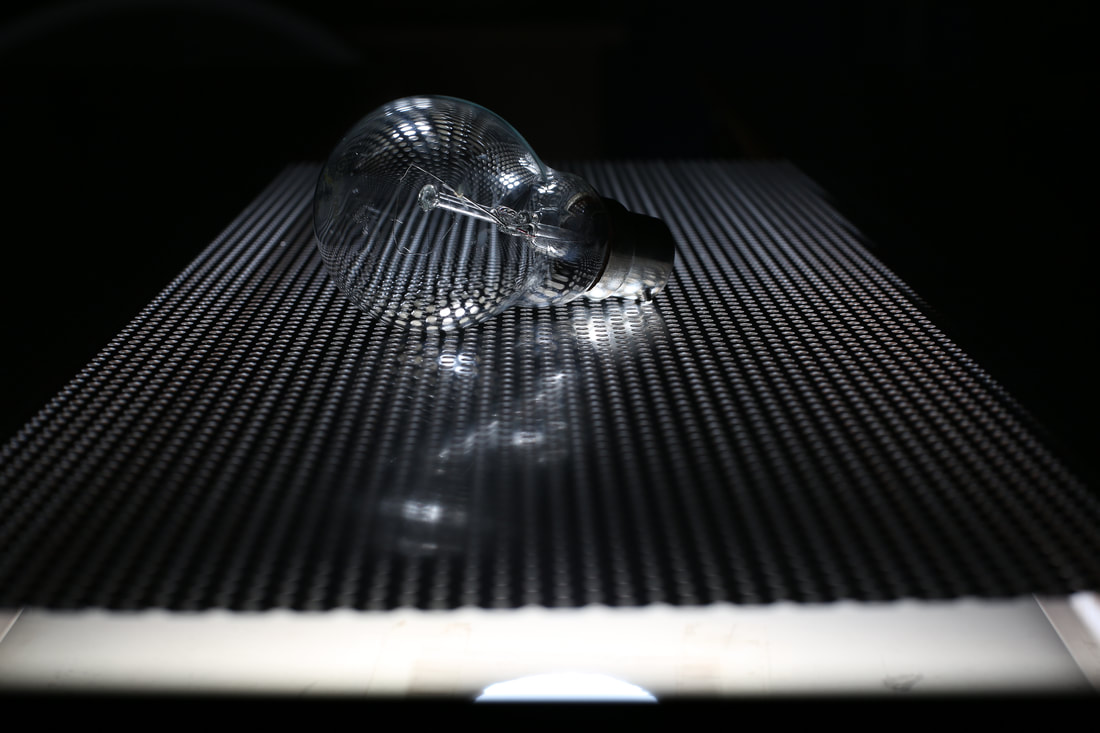
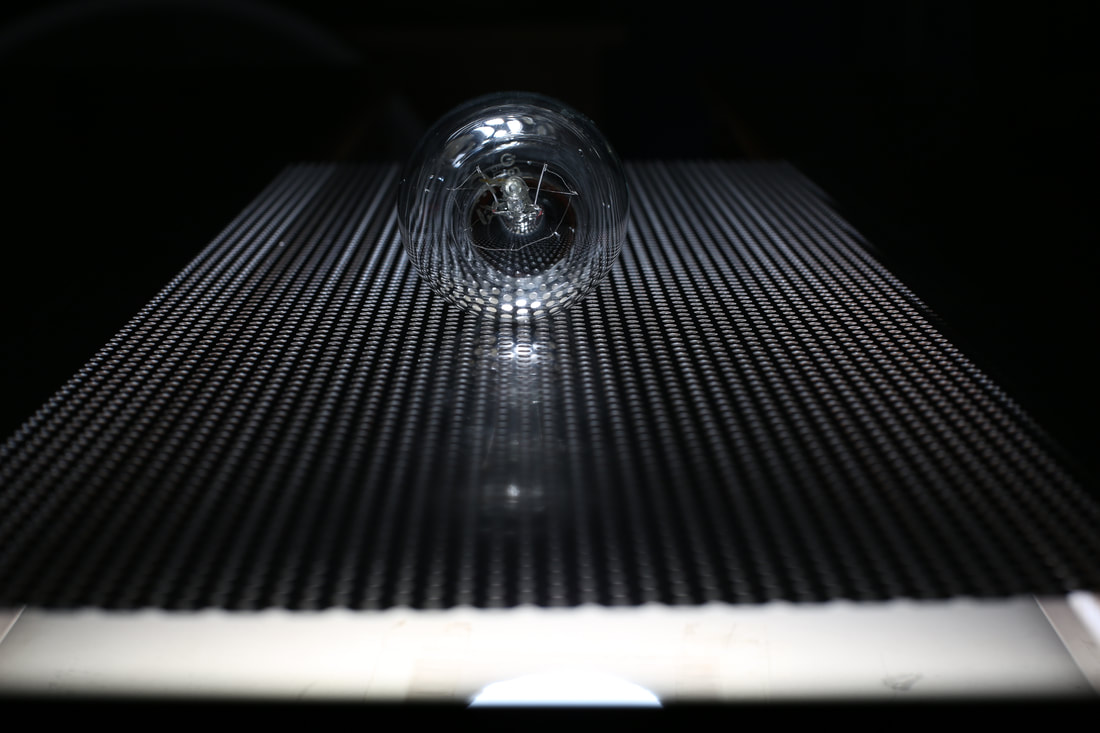
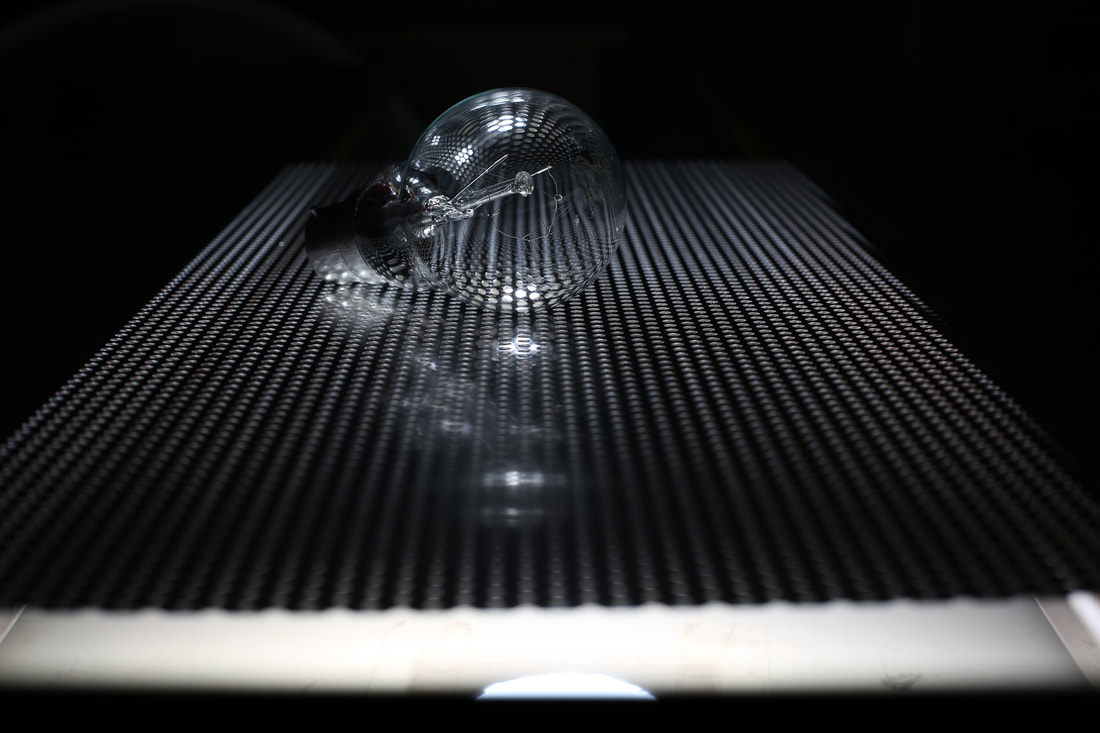
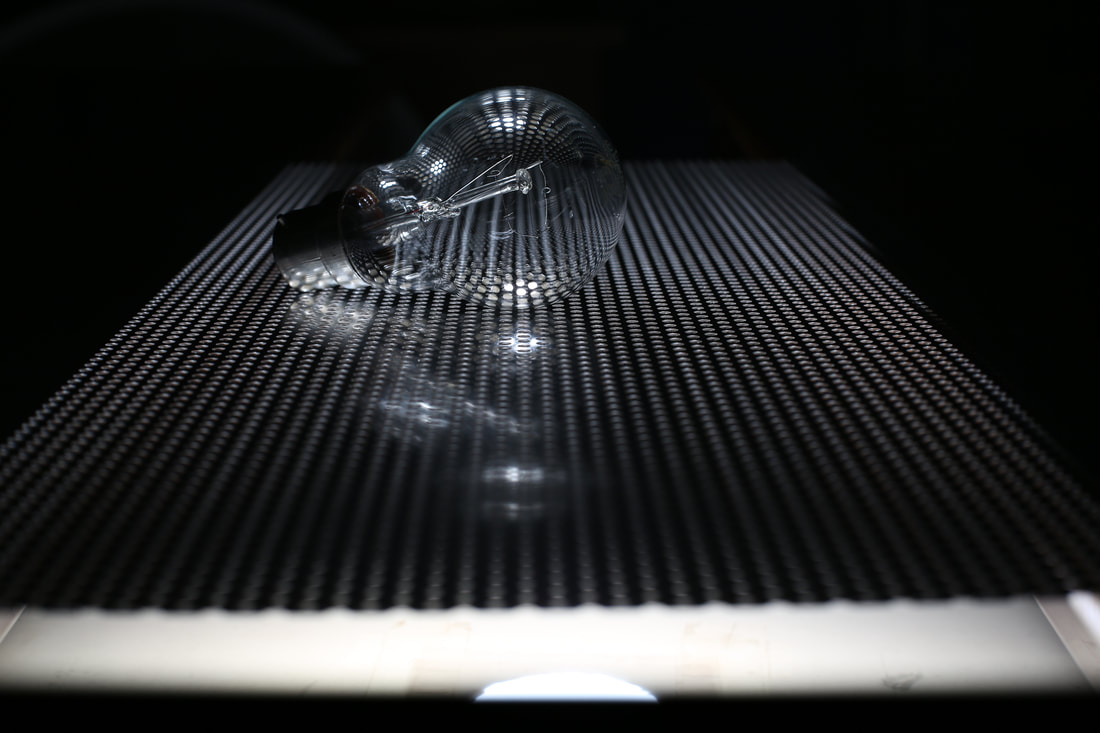
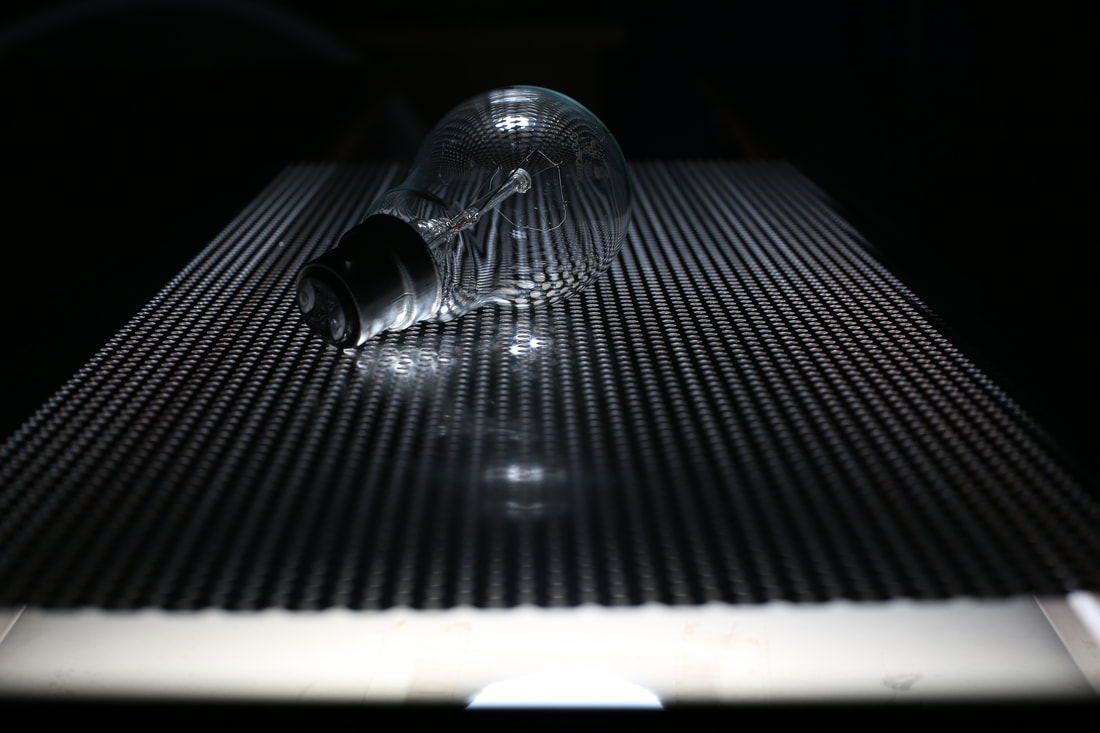
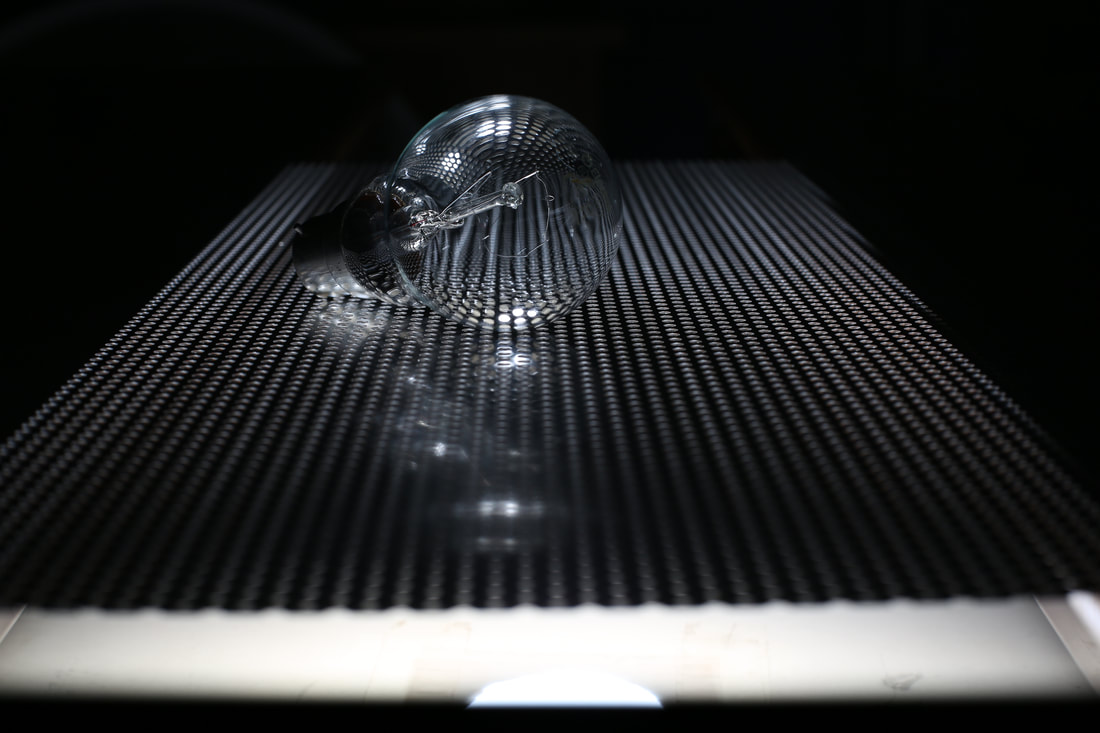
Best: |
Worst: |
|

|
The left image was taken with perfection, the correct lighting, angle which creates the perfect shot, however the one on the right did not receive any lighting therefore came out pitch black.
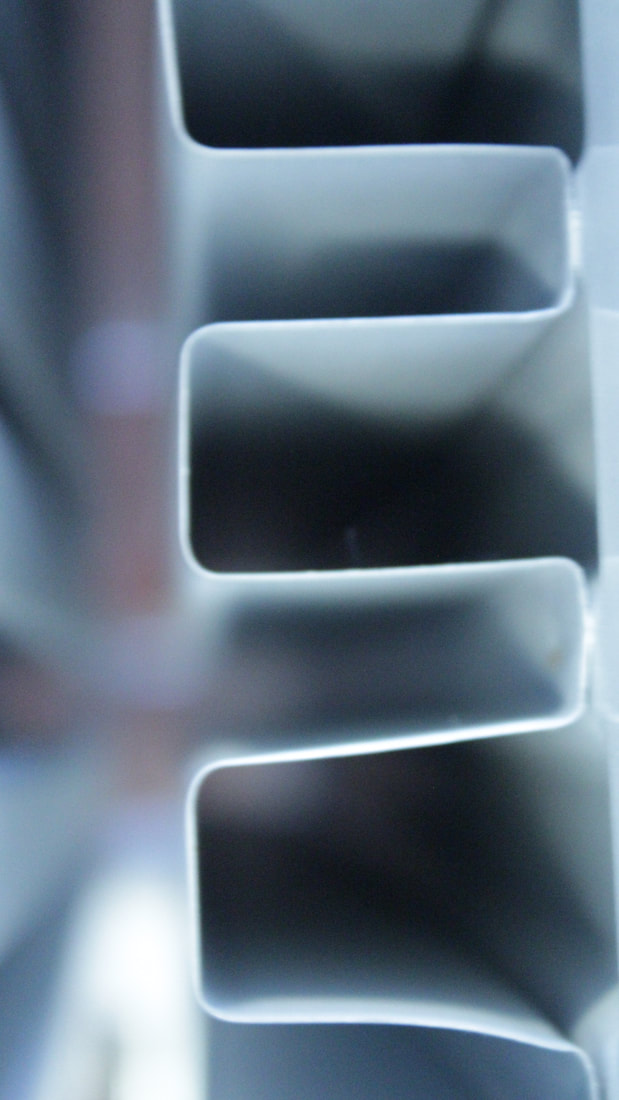
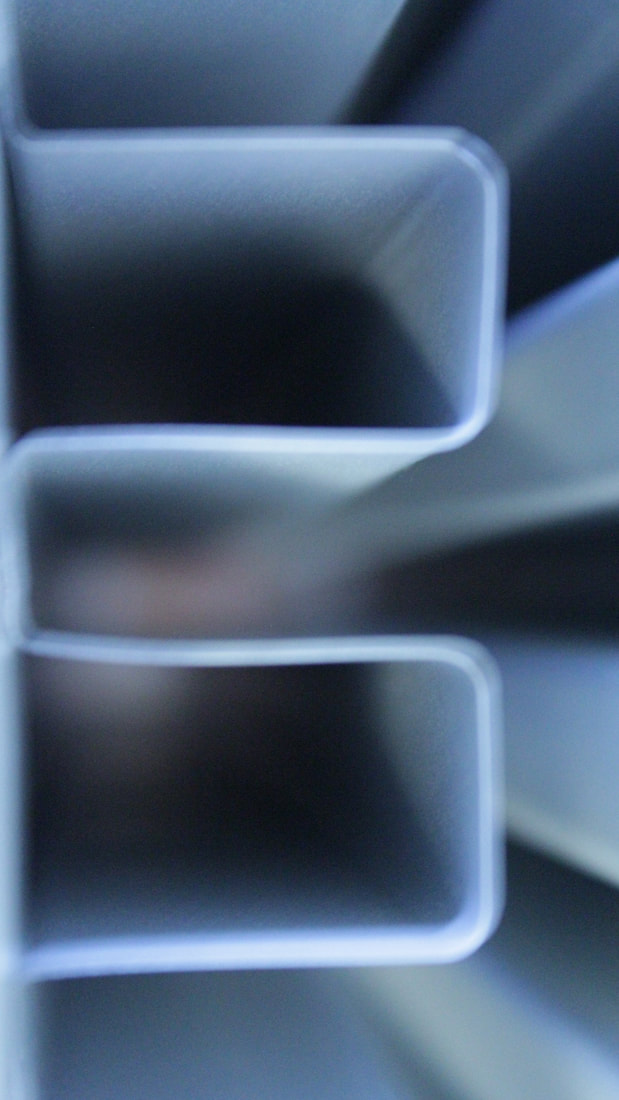
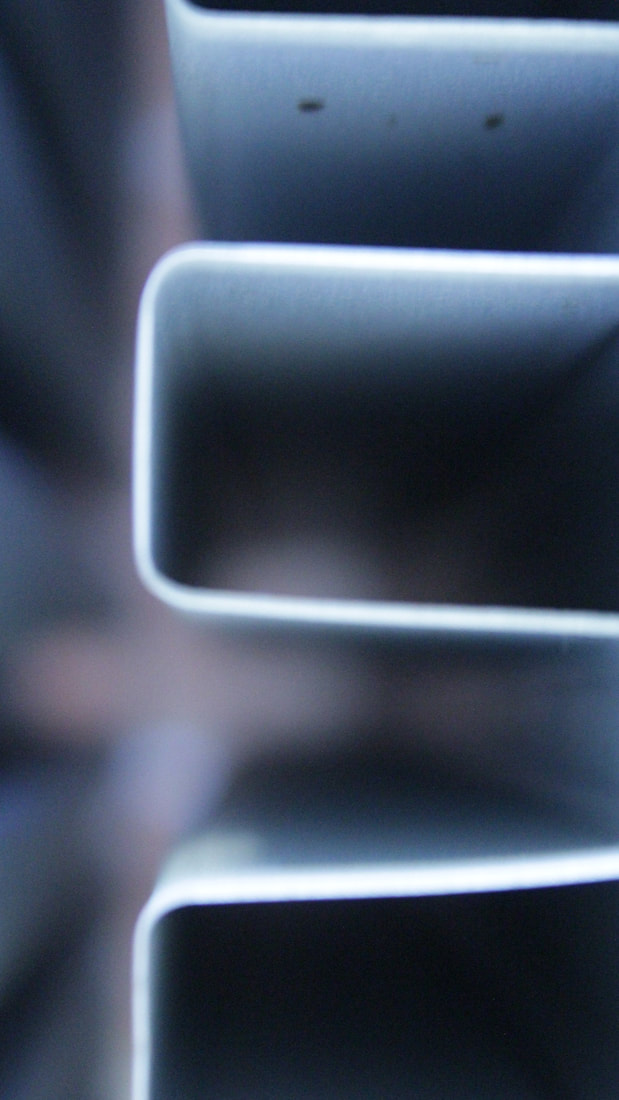
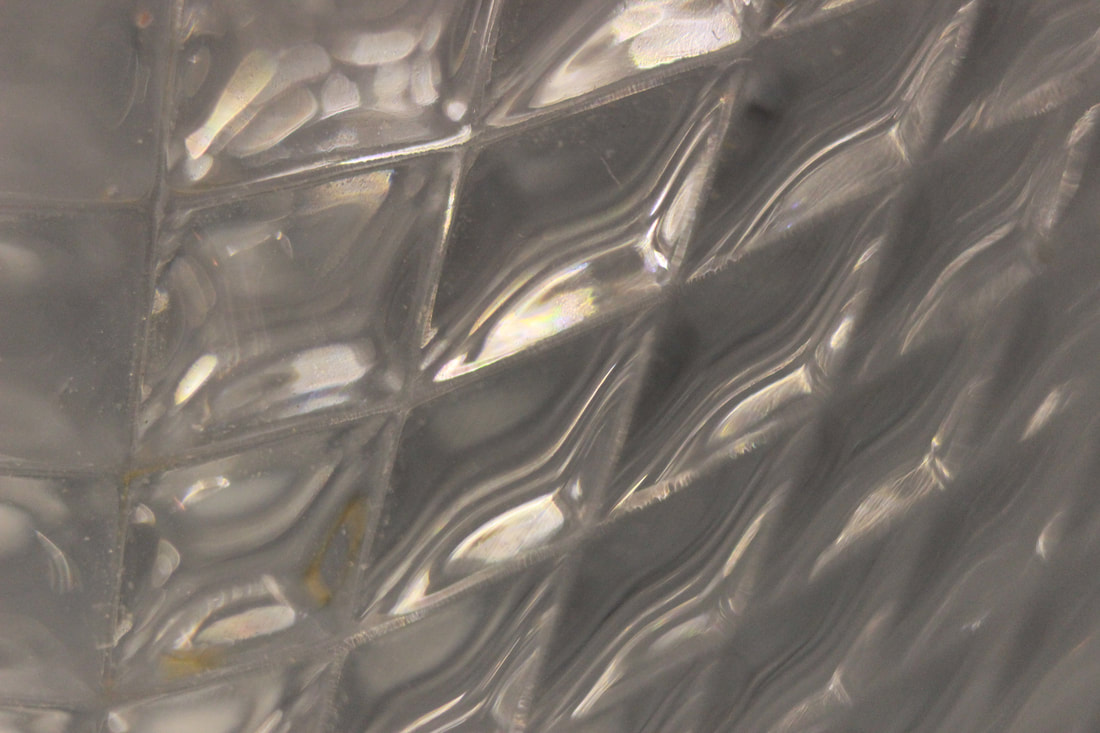
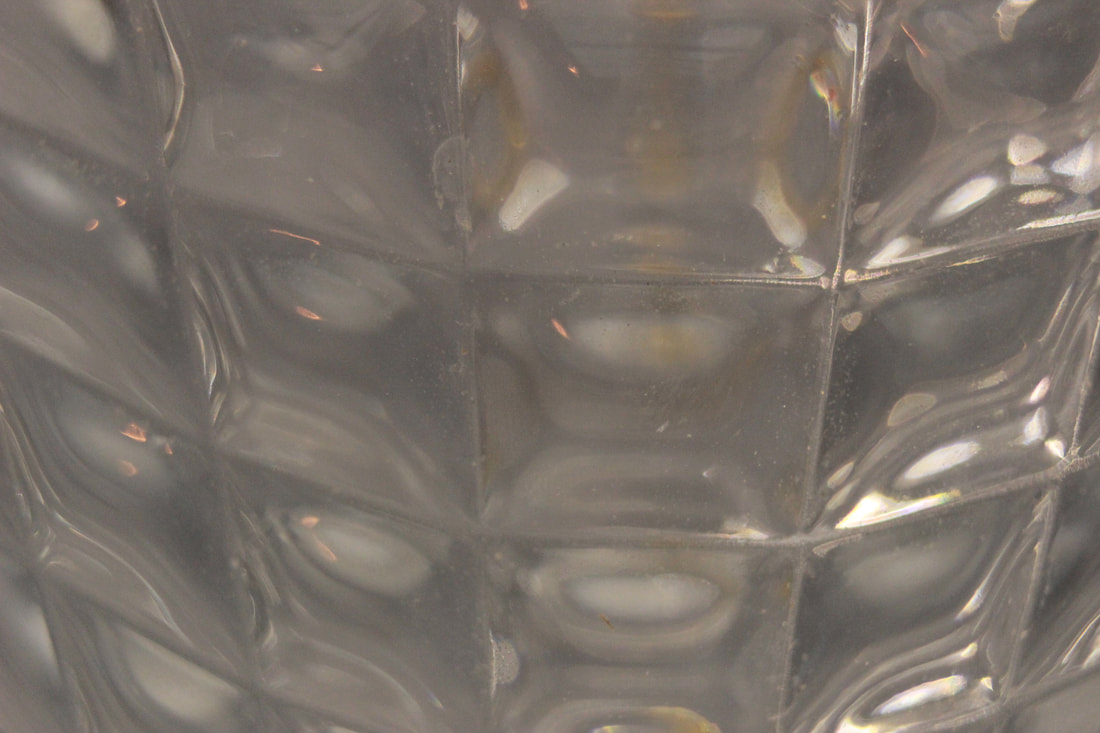
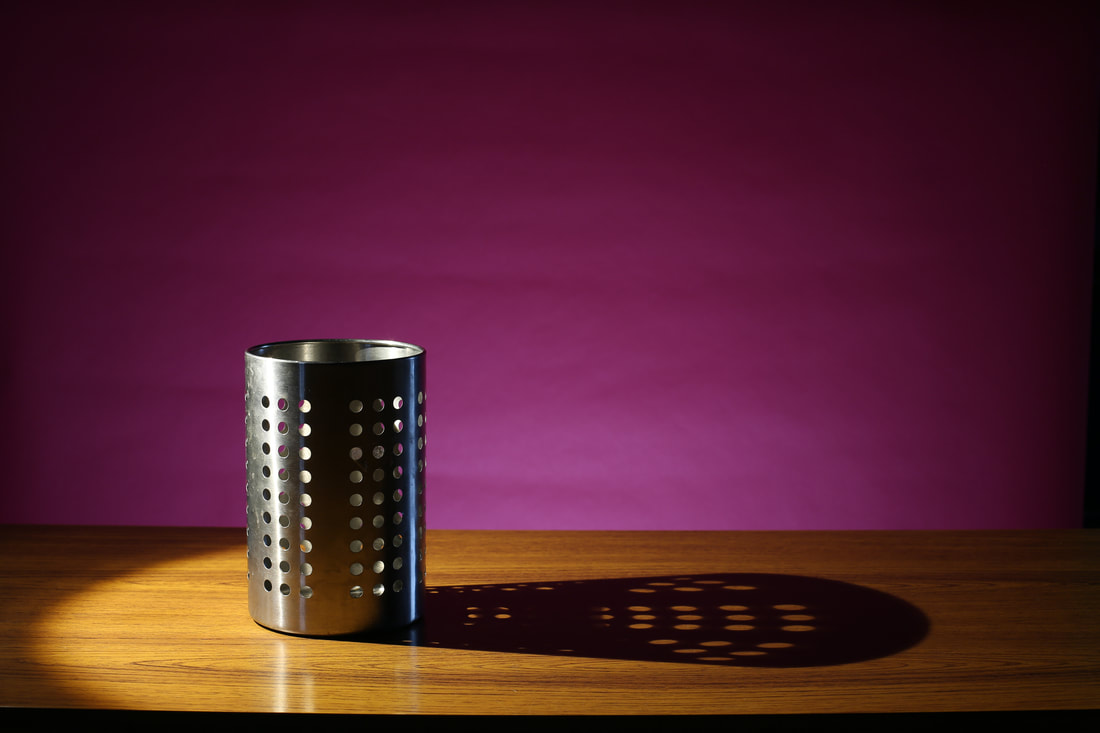
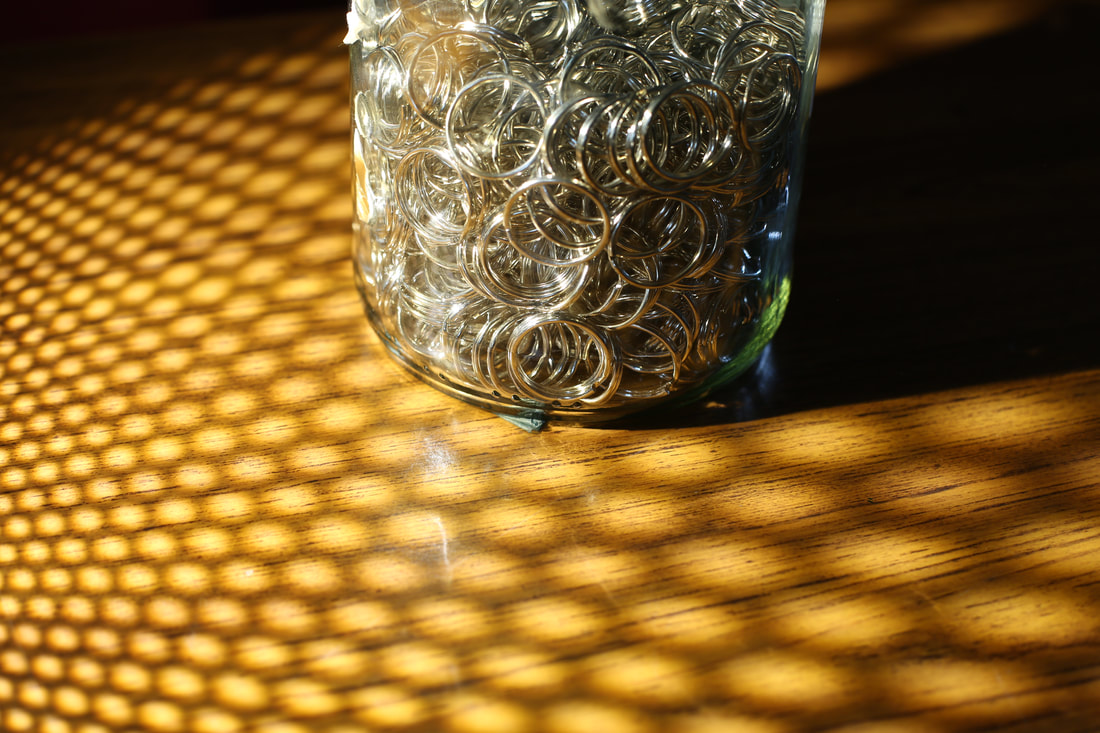
Container:

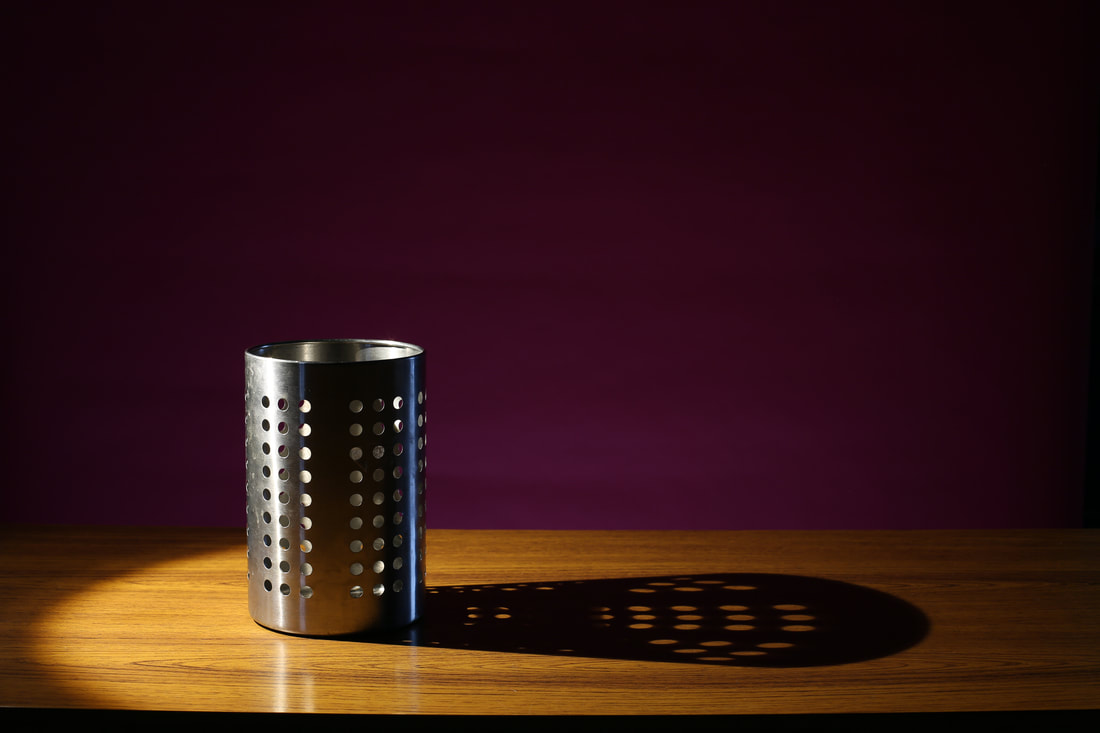
Best: |
Worst: |
|
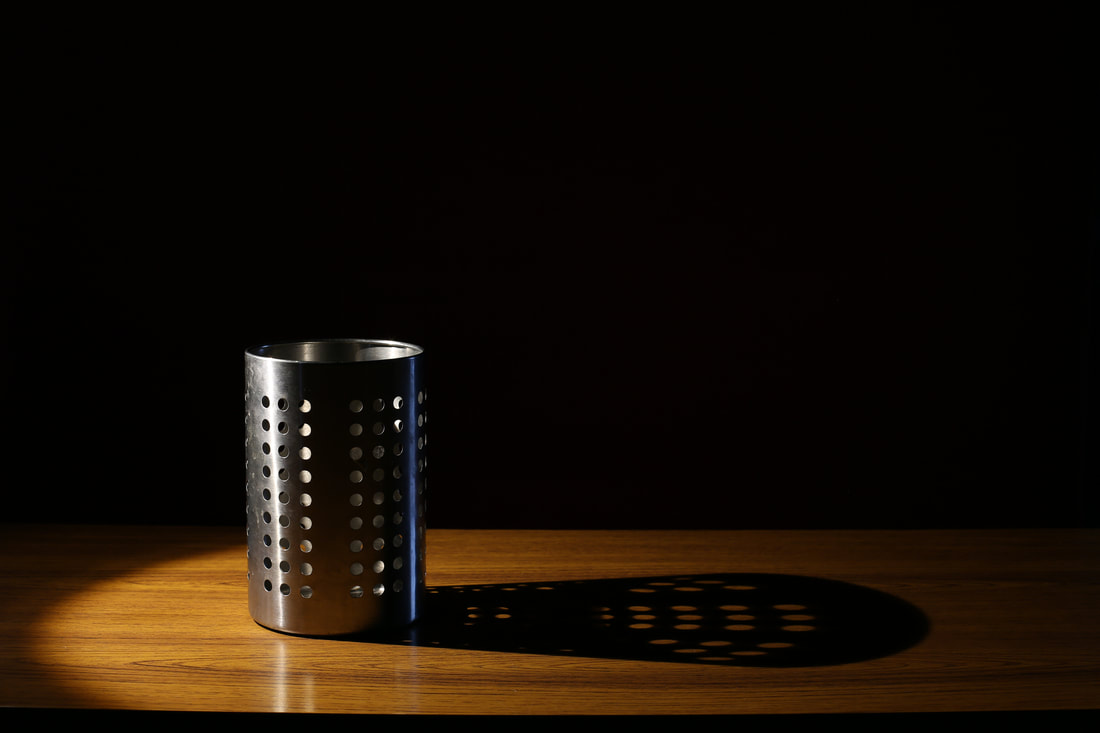
|
The left image shows the purple background which is what I was going for, the image on the right is also good however you can barely see the back.
Objects:
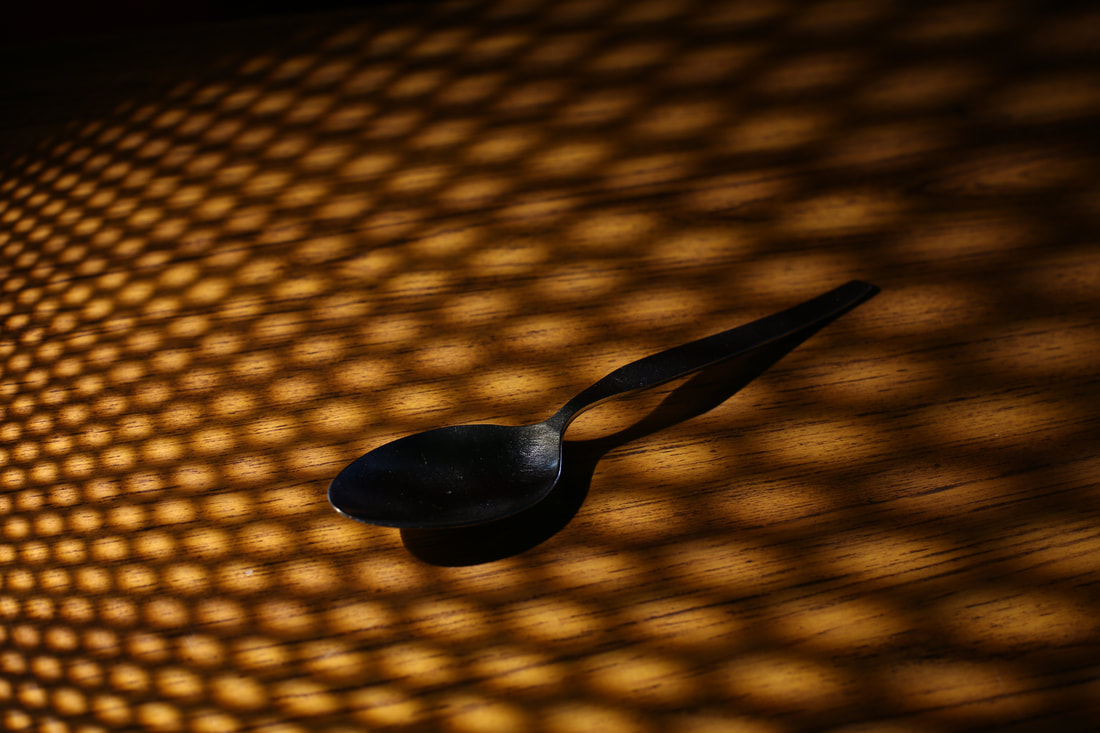
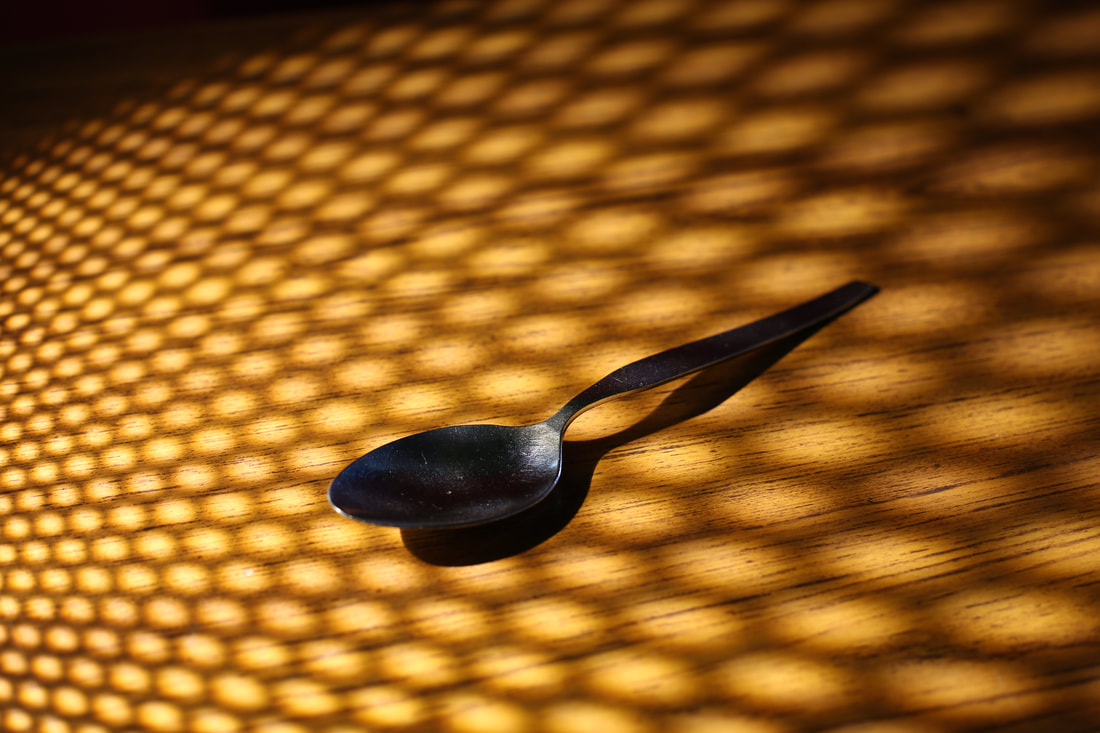
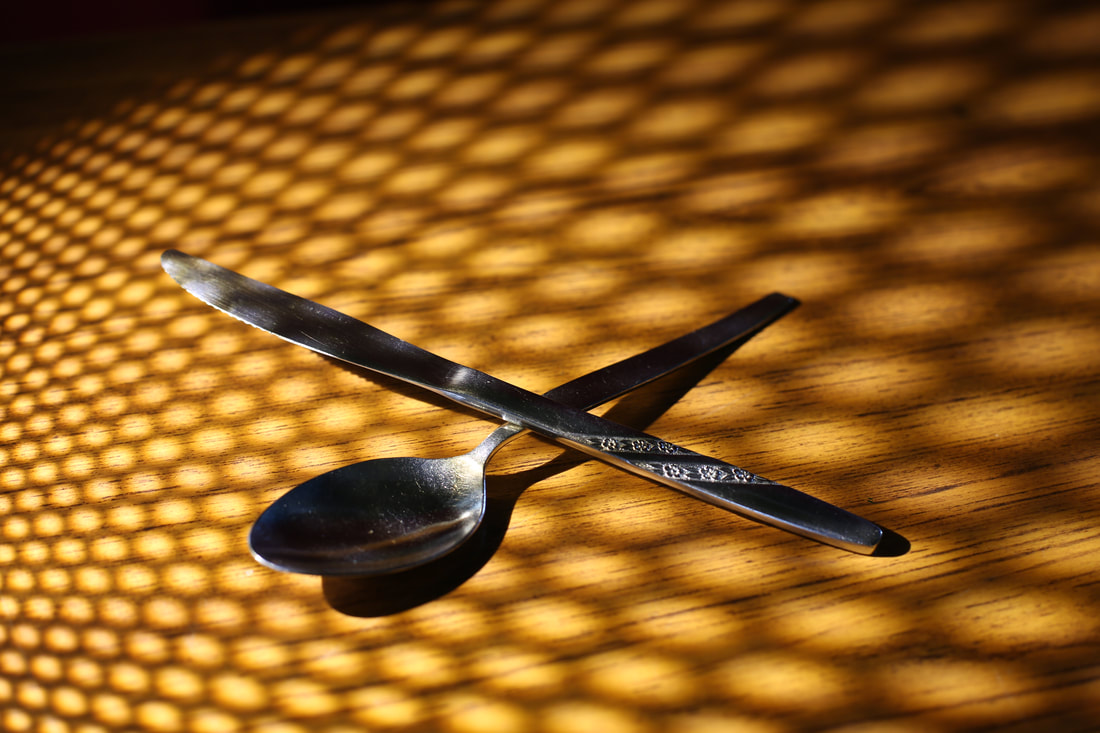
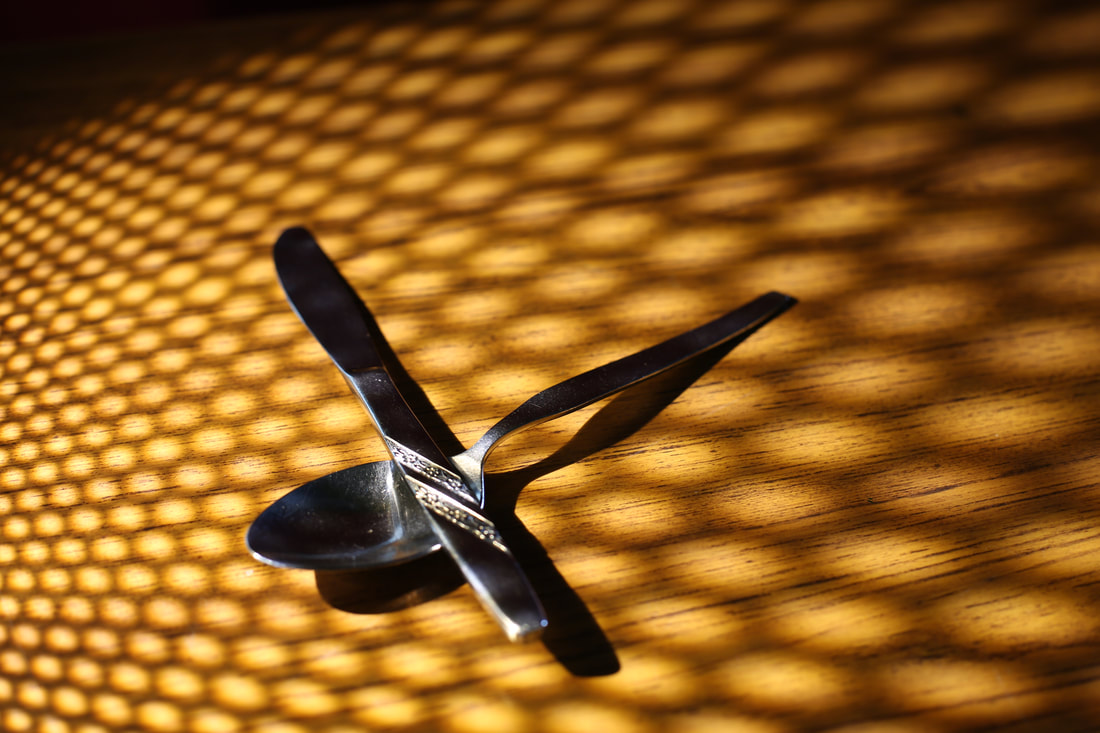
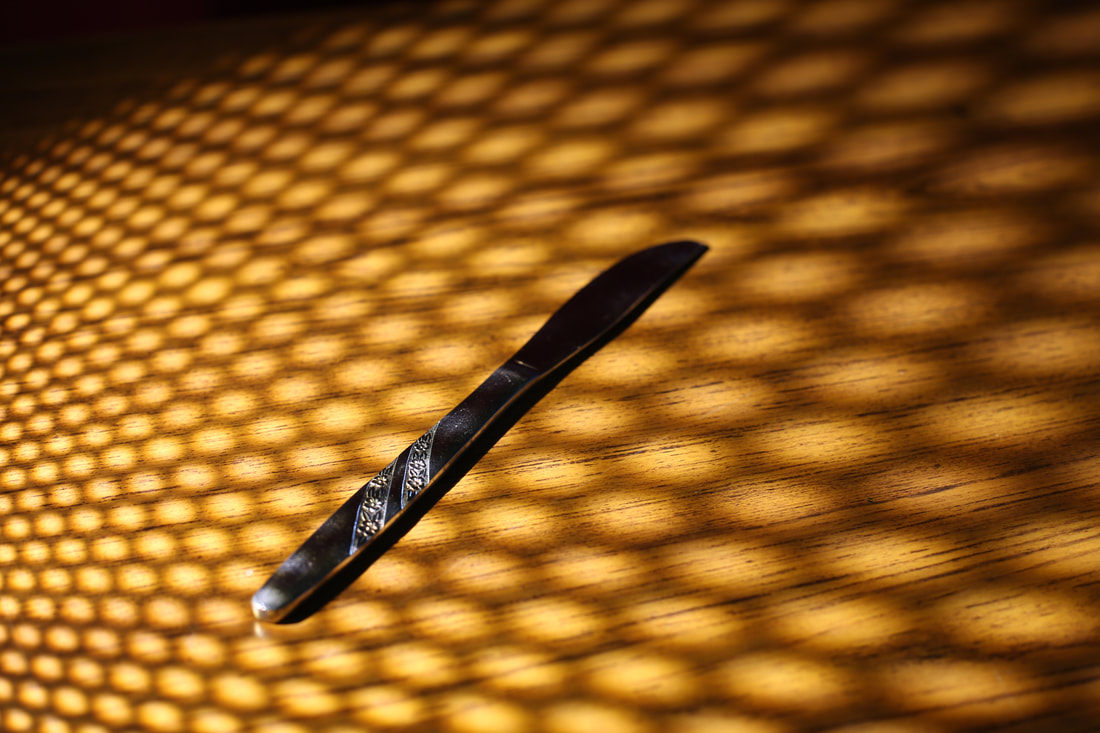
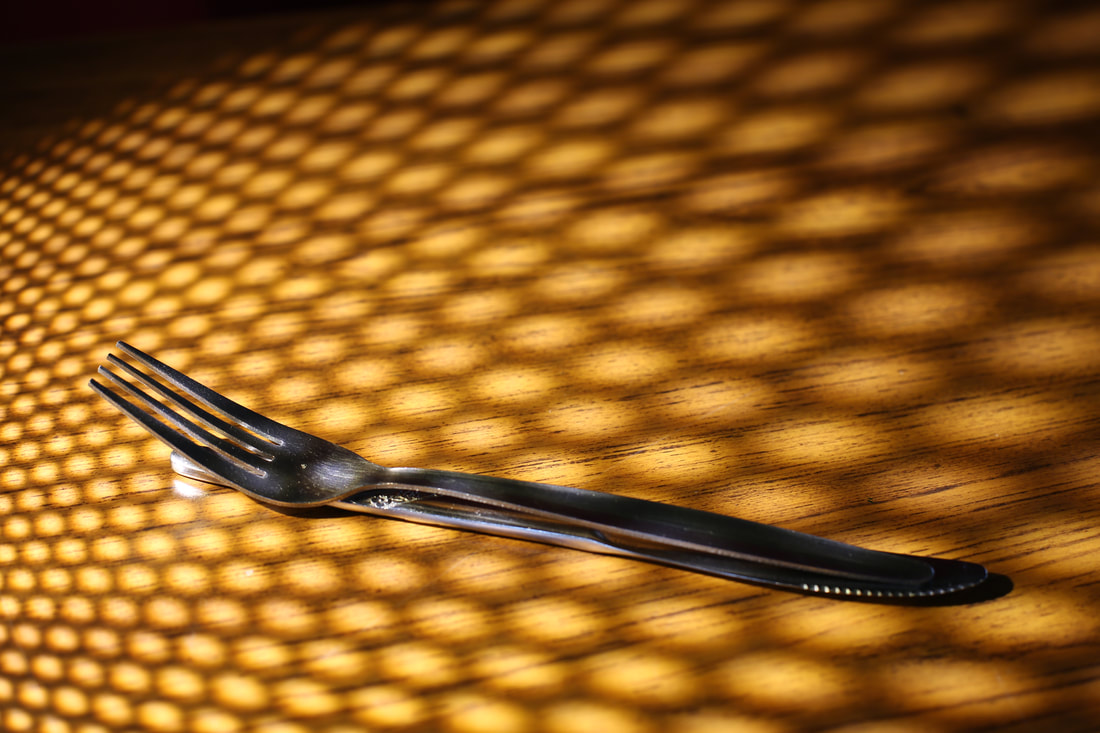
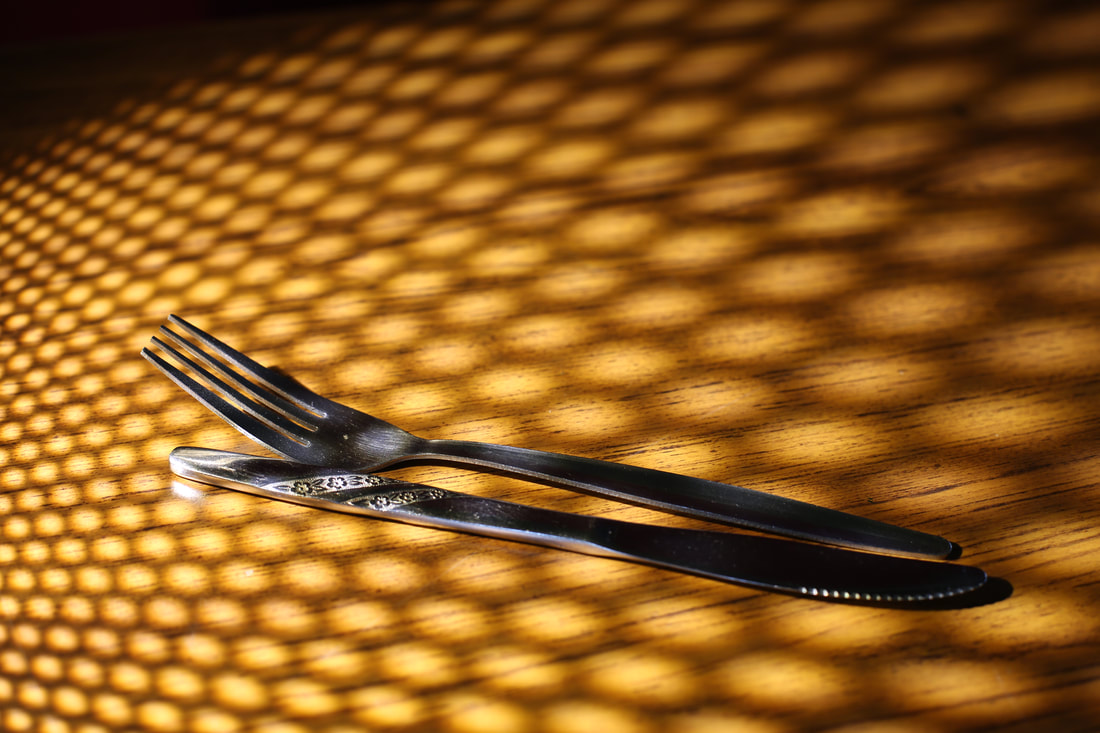

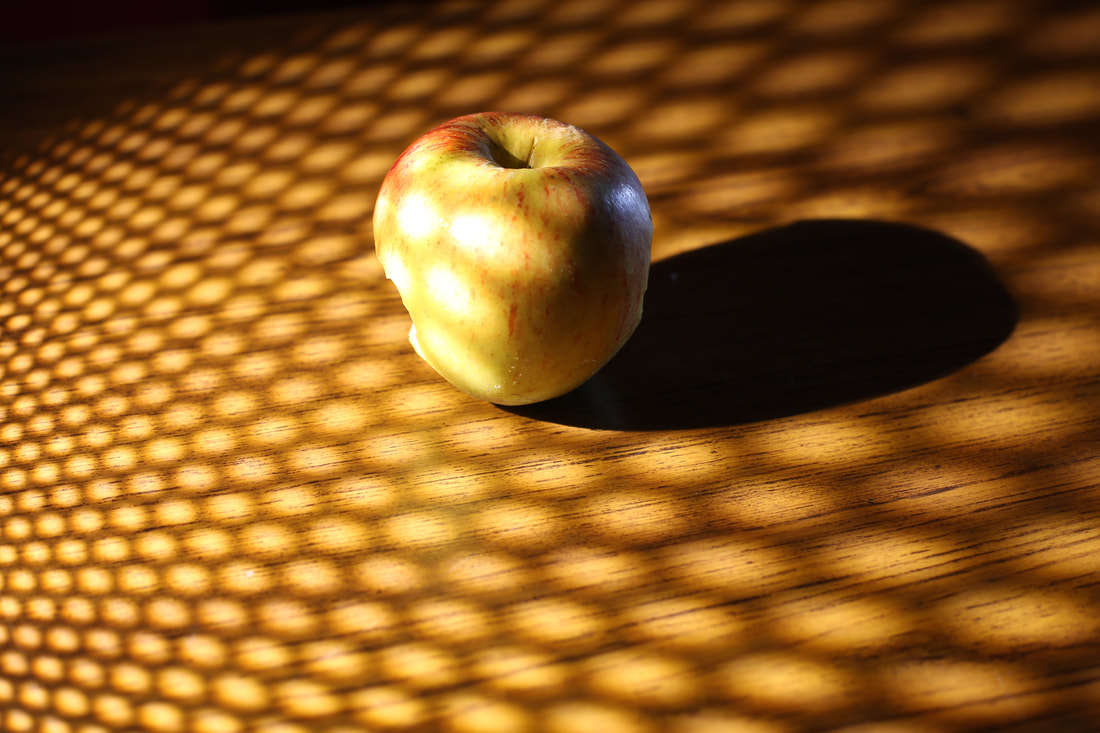
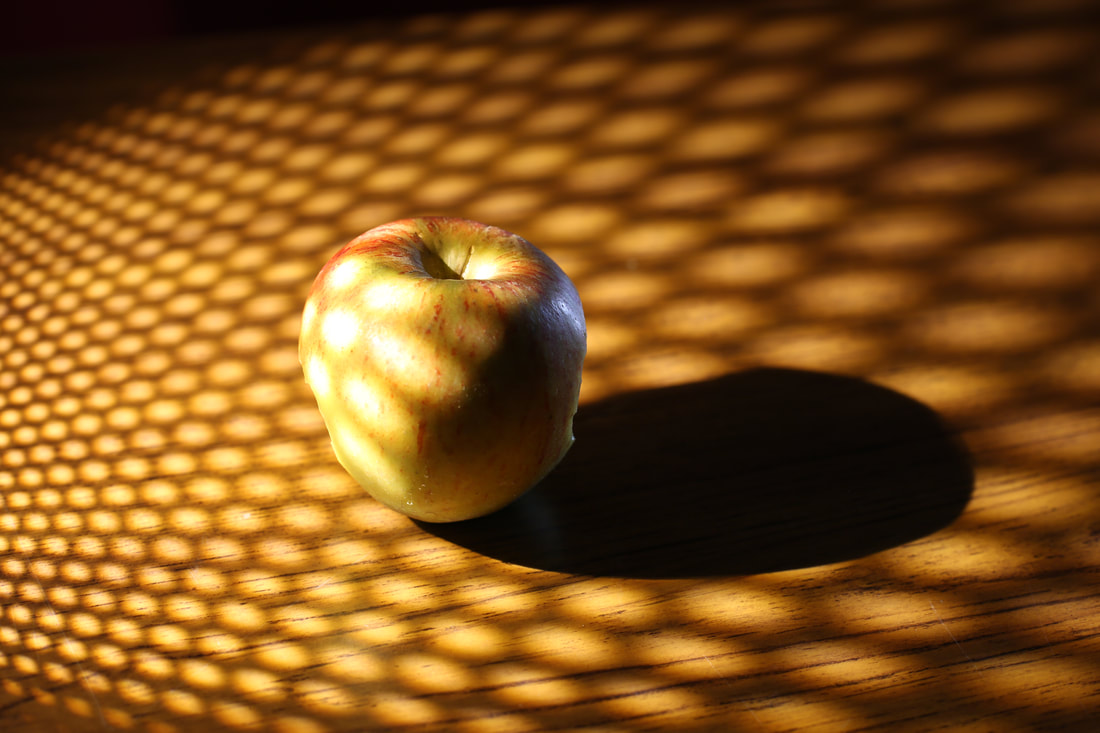
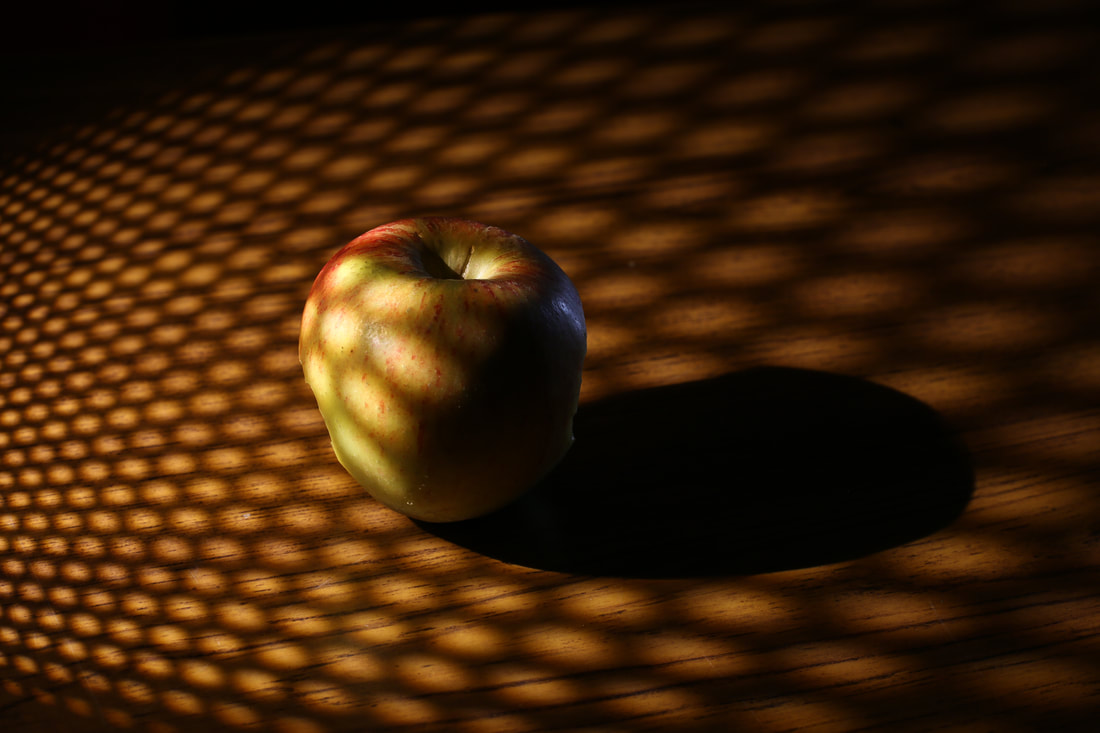
Best: |
Worst: |
|
|
The truck gives a nice reflectance whereas the fork is a little bland and boring. Also the exposure is too high on the right image, too much light is shown.
Starting to develop my ideas
Further Developing My Journey:
I have already taken pictures of Texture in October when it was Autumn, this made the background of my images foggy/cloudy as it was that time of year giving the images a good effect. We went and took pictures in school (around this buildings and outside) and sometimes at our own houses with our mobile phone camera, we tried to capture close-ups of nature and man-made textures, some of which included plants; leaves, buildings and windows. We managed to take a variety of images to insert into our galleries above however this could've been improved if we could also go on trips as our classmates previously did and take pictures away from our local area, however due to COVID-19 that was and is not possible at the moment so our teacher managed to organize a person to help us improve our work a professional was hired called Justin, we had to come in in our holidays and took photos in a professional studio with him which helped us refine our galleries massively. Also we can improve by looking at multiple different photographers who take photos of a similar theme to us (Textures) and magpie certain aspects of their work. We can use YouTube tutorials and ask the help of peers to also enhance our work. Another suggestion to revamp our work is with the use of photo-shop as we can make simple images into complex outcomes which would make it more personal and meaningful.
Trying something new with textures:

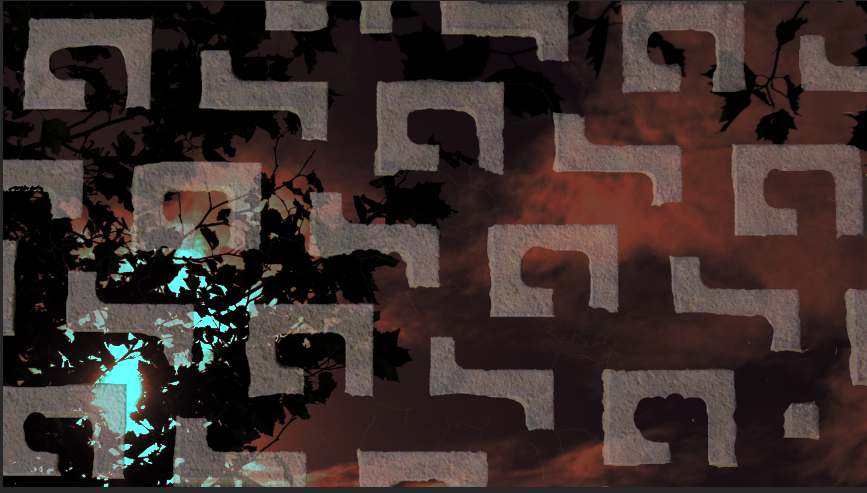
Mock Exam
Snips: (HOVER OVER IMAGE)
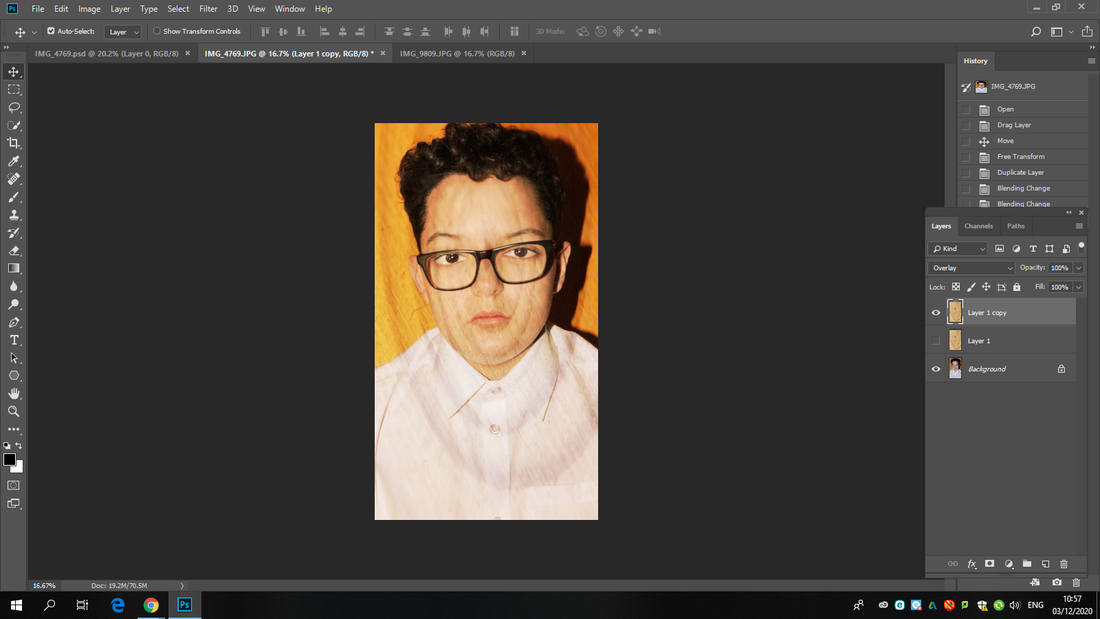
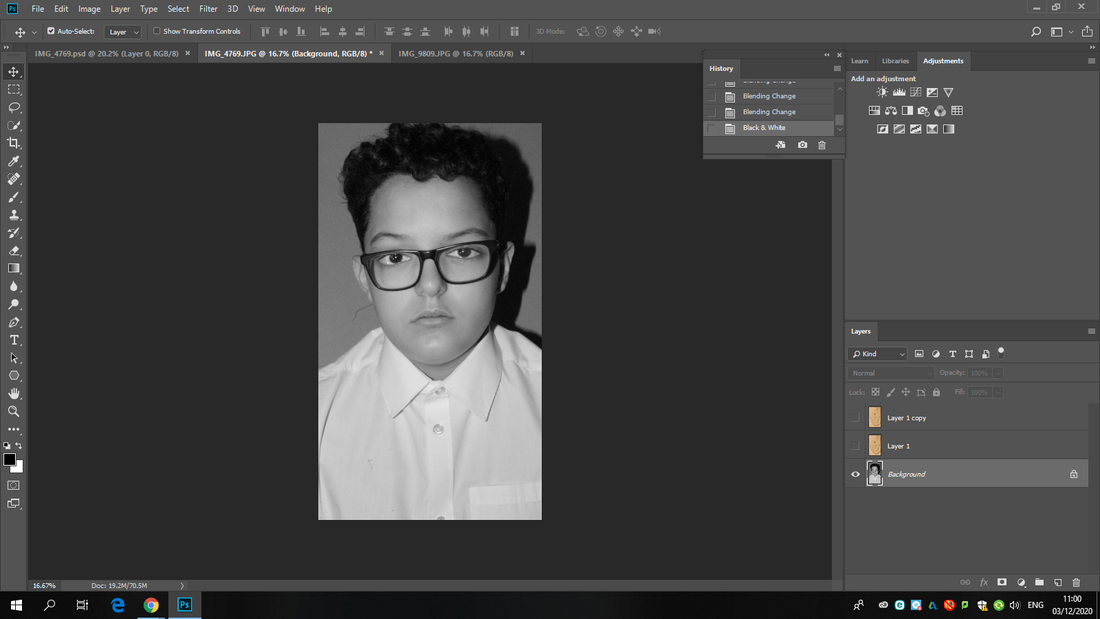


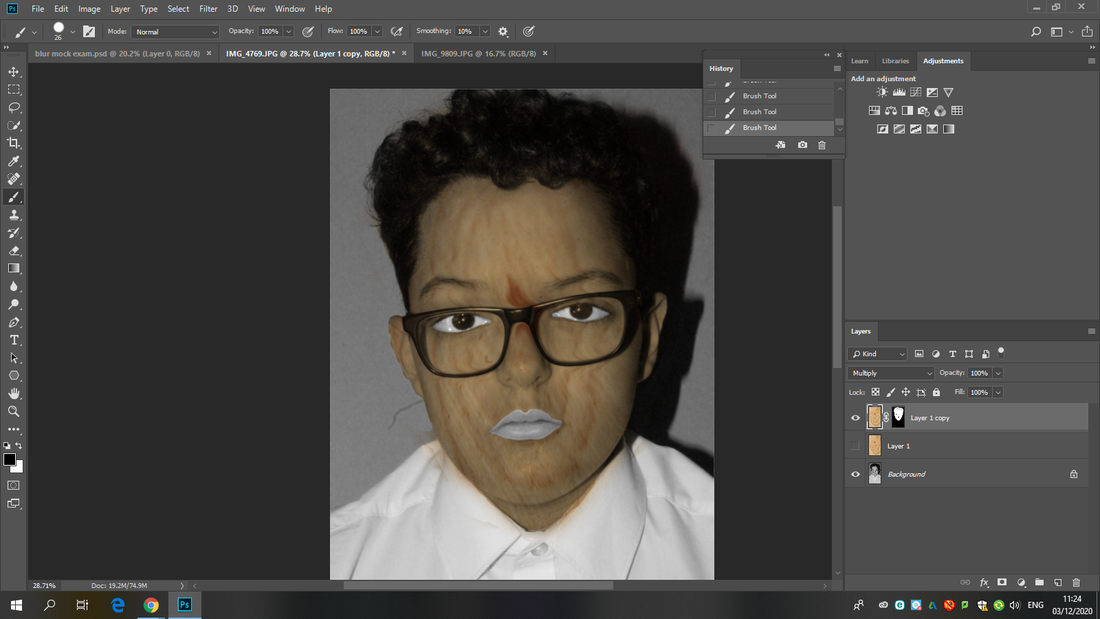
Final Outcome:
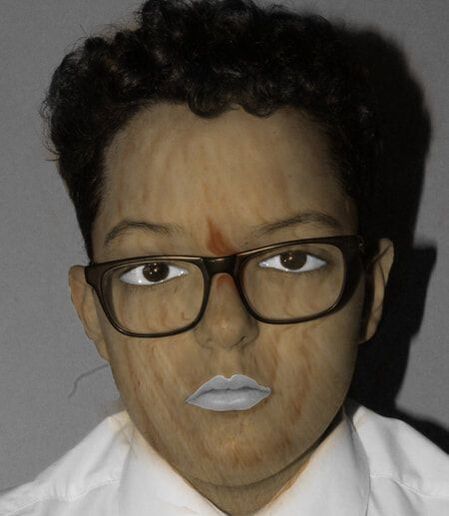
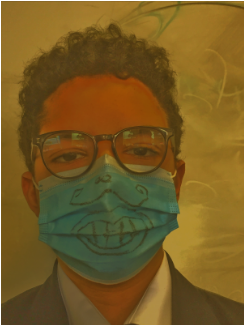
Here I did my first attempt at photo-shopping a texture image taken by myself onto a person, I have decided it does not look very effective and has a weird sight when looked at, therefore I will not be doing something similar to this in the future.
Going on a Journey:
Video Tutorial: https://www.loom.com/share/71c6bf8970134463a96bf7450db4bf7c
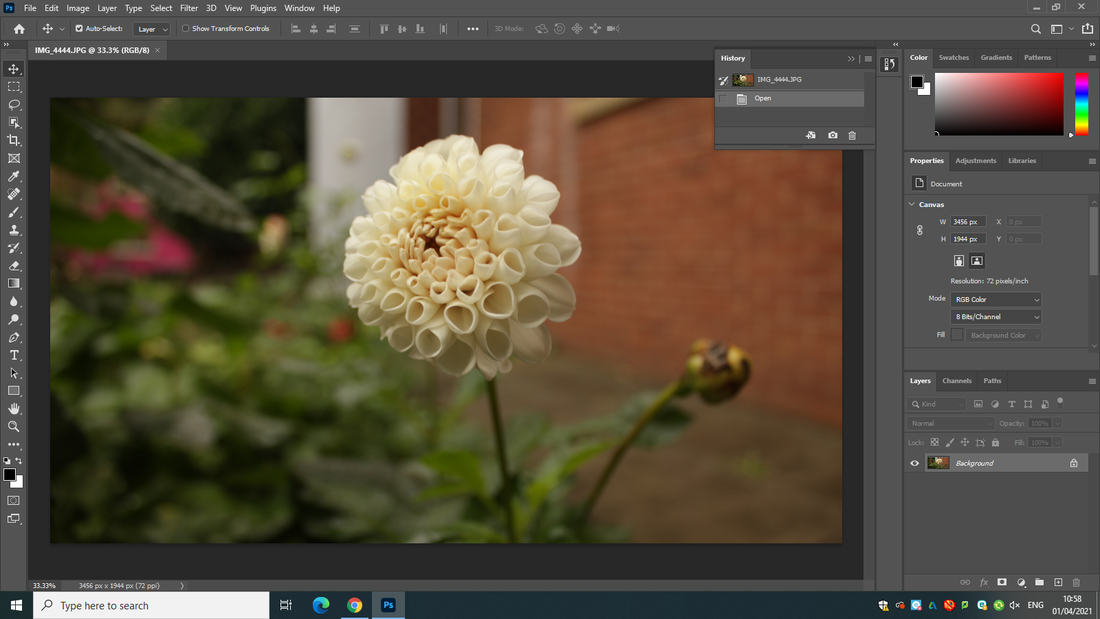
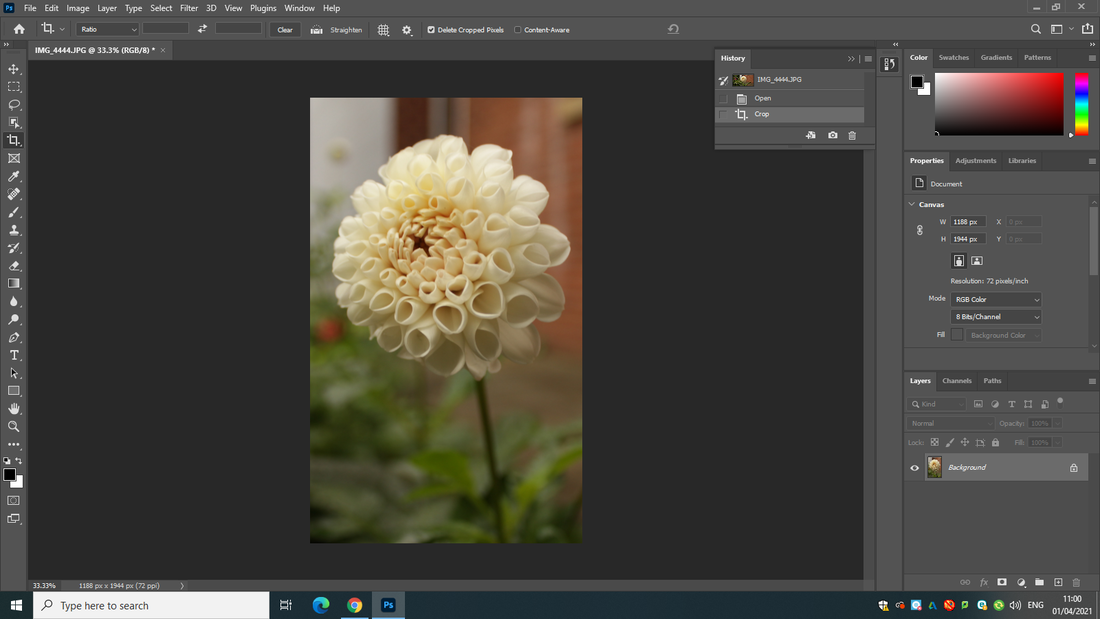
Starter Image:
Final Outcome:
Explanation:
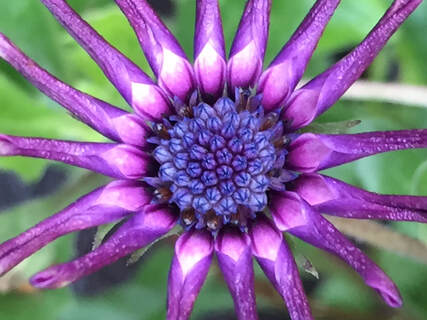
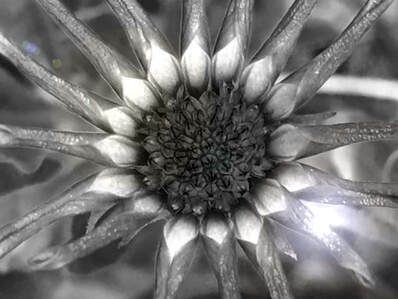
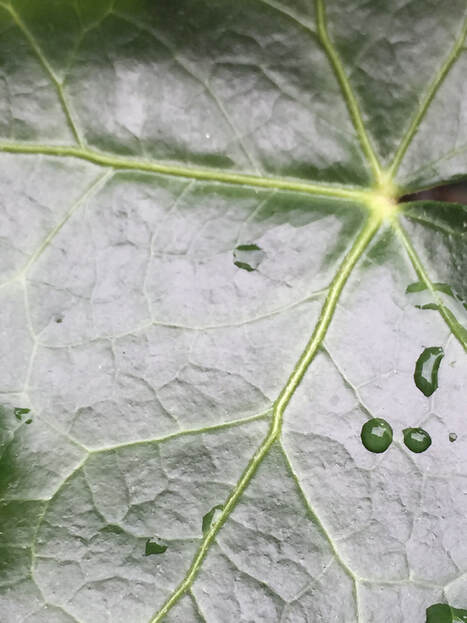
In the images above, I first started off with an image I took with my old iPhone camera, I believed this image was amazing in the first place as it was taken just in my backyard, on an iPhone 6, no special equipment whatsoever yet the detail is still intricate. Then I went on to add a black and white filter, I added LensFlare and made subtle changes to perfect the image. Which leaves me with the final outcome above which I am really pleased with.
Going on a Journey:
Video Tutorial: https://www.loom.com/share/ae221a10a3c8473d930d13587011c4db
Starter Image:
Final Outcome:
Explanation:
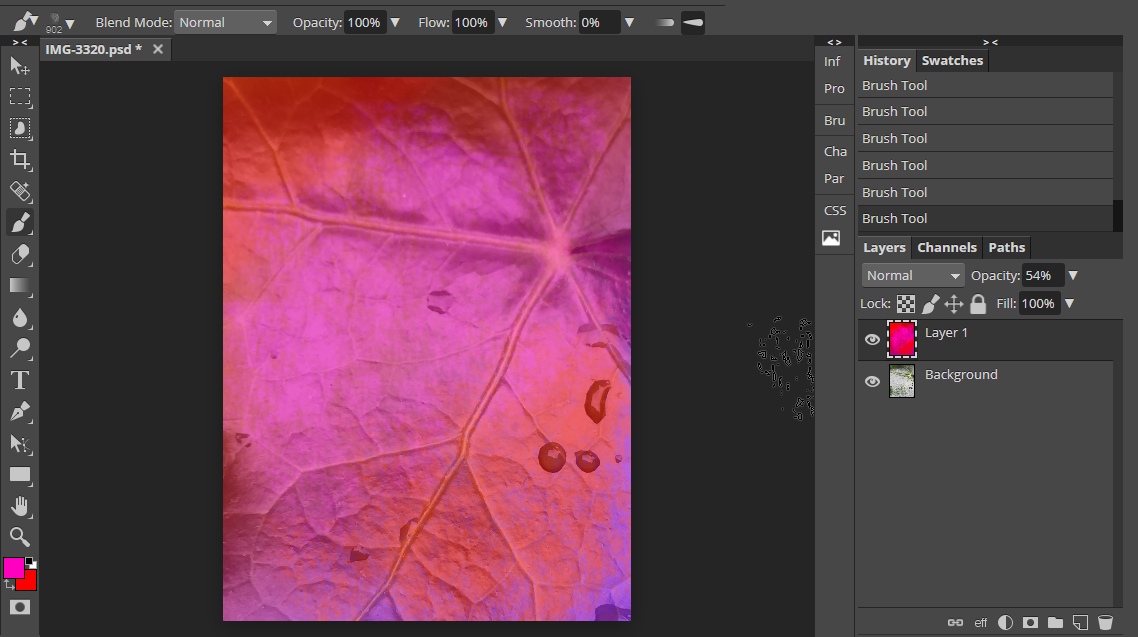
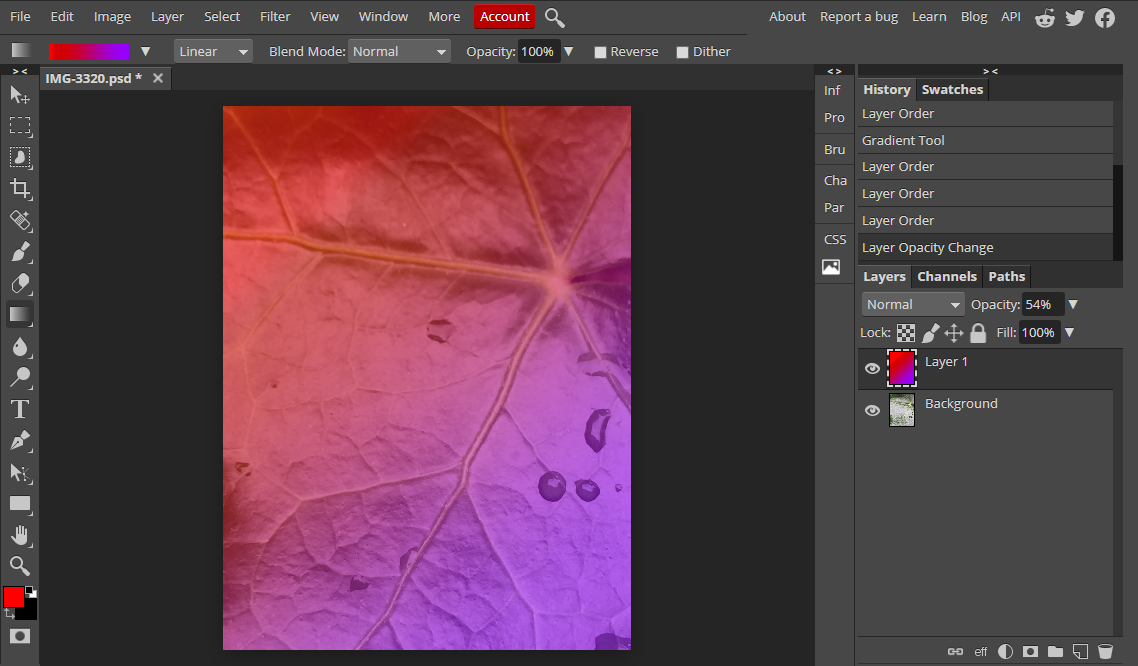
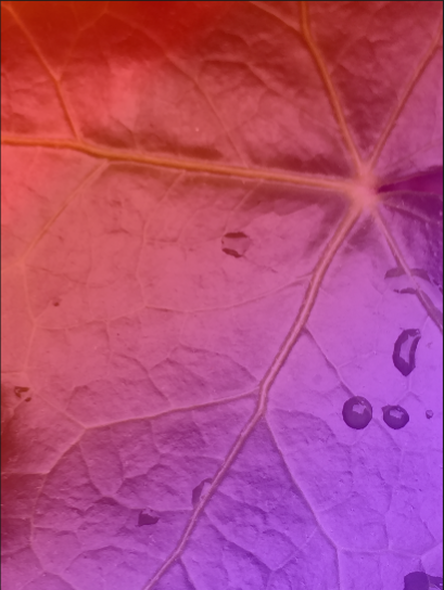
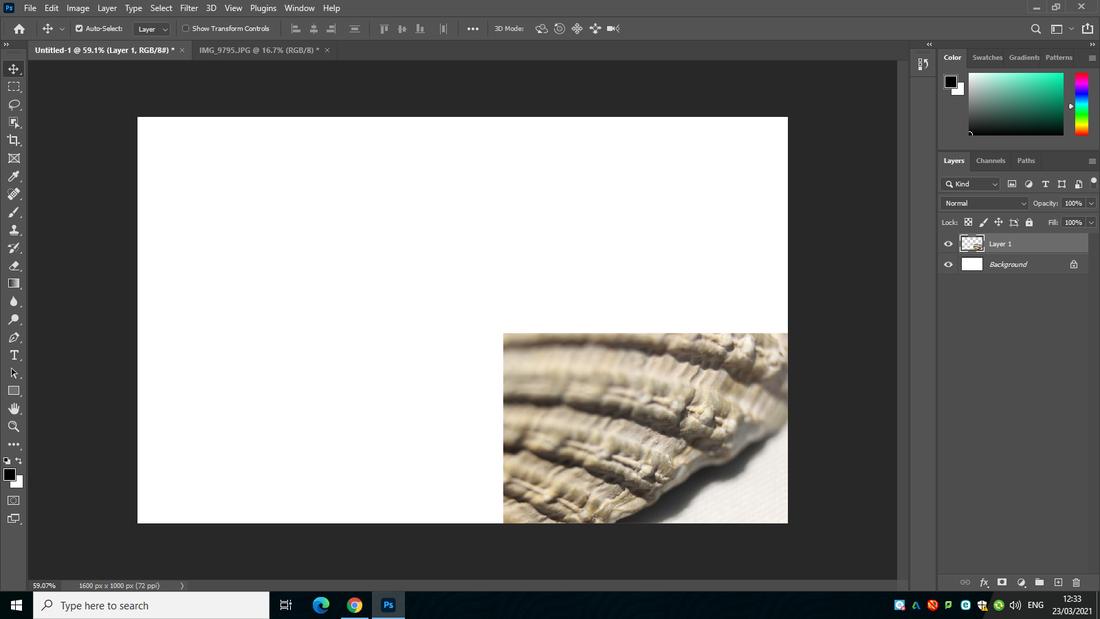
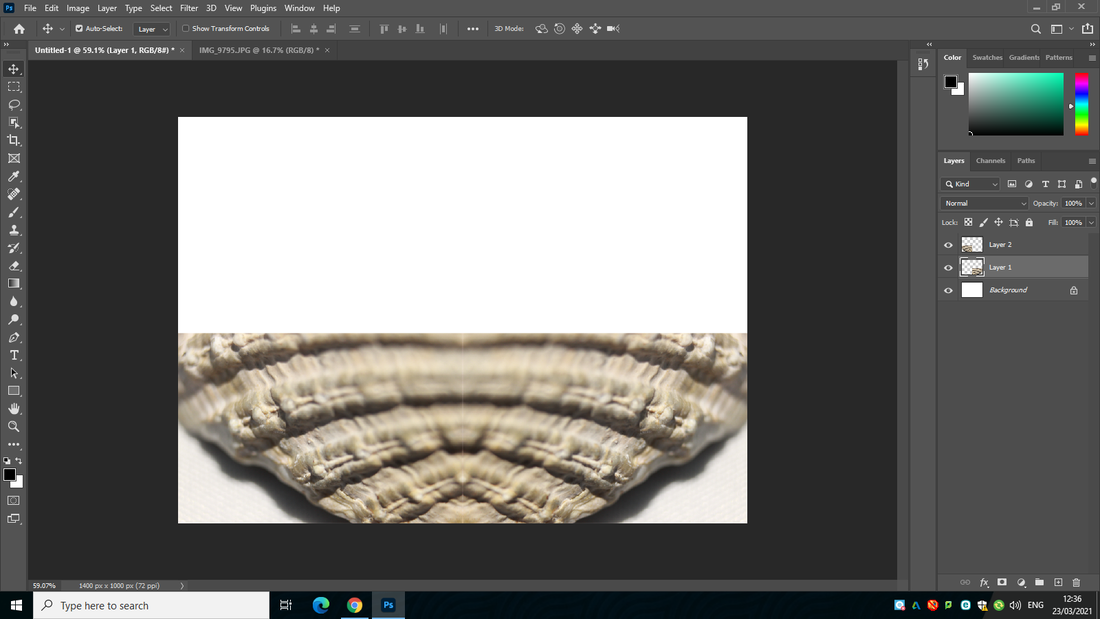
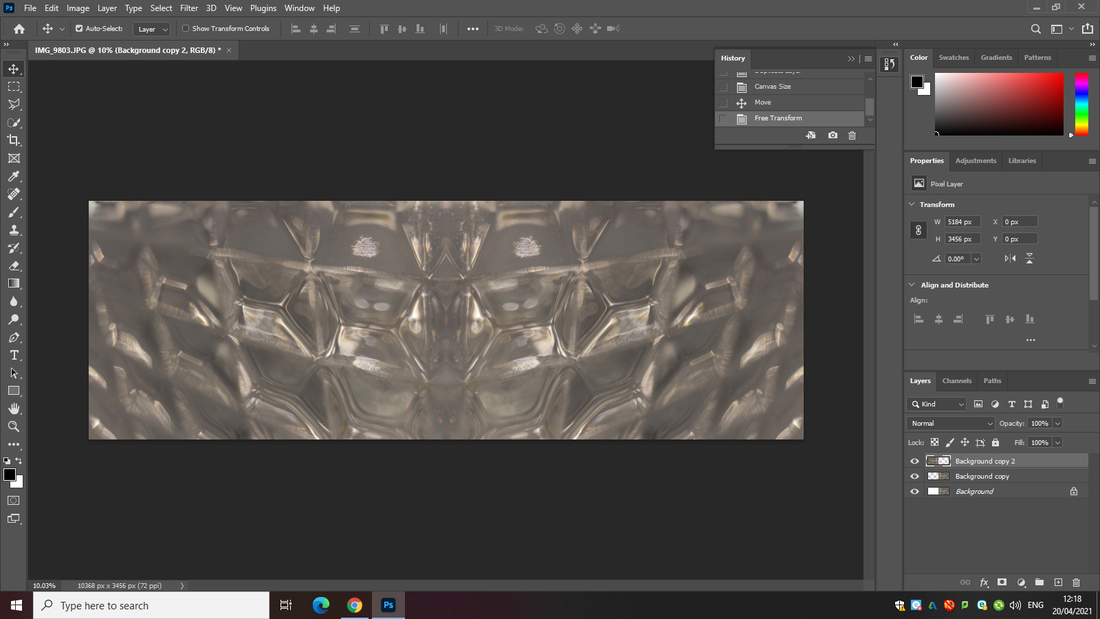
When photoshopping this image, I used the layers effect and copy and pasted multiple of the same images on top of each other, then I shifted all of them in their own way slightly giving a blurred effect. This looked unique and the design it gave off was extravagant.
Video Tutorial https://www.youtube.com/watch?v=L_FLsXz3yyQ
Starter Image:
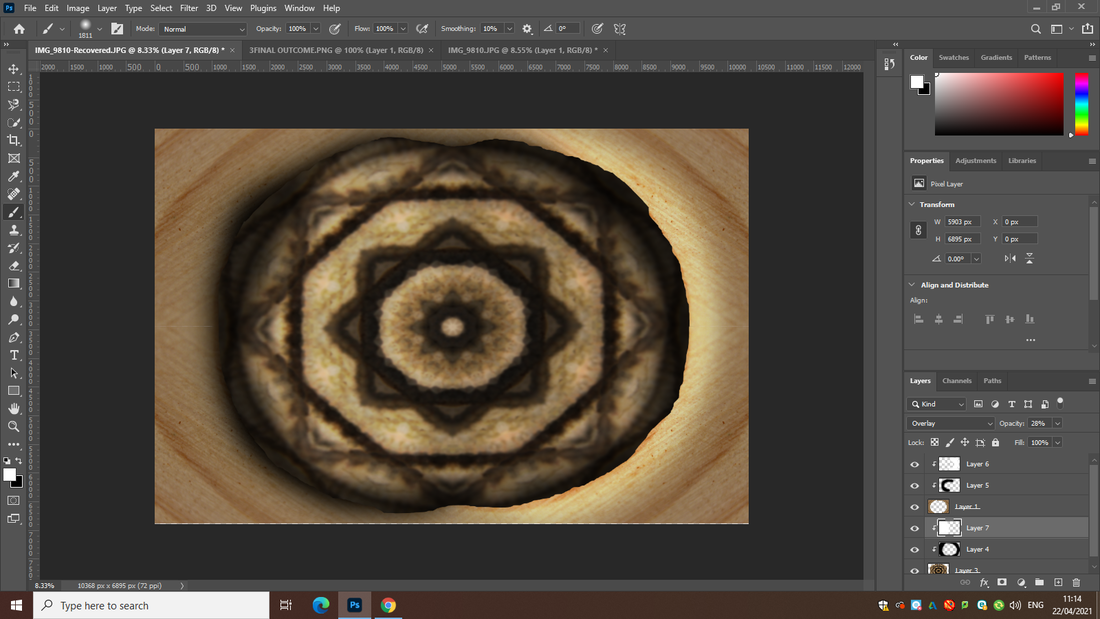
Photoshopping the image:
Final Outcome:
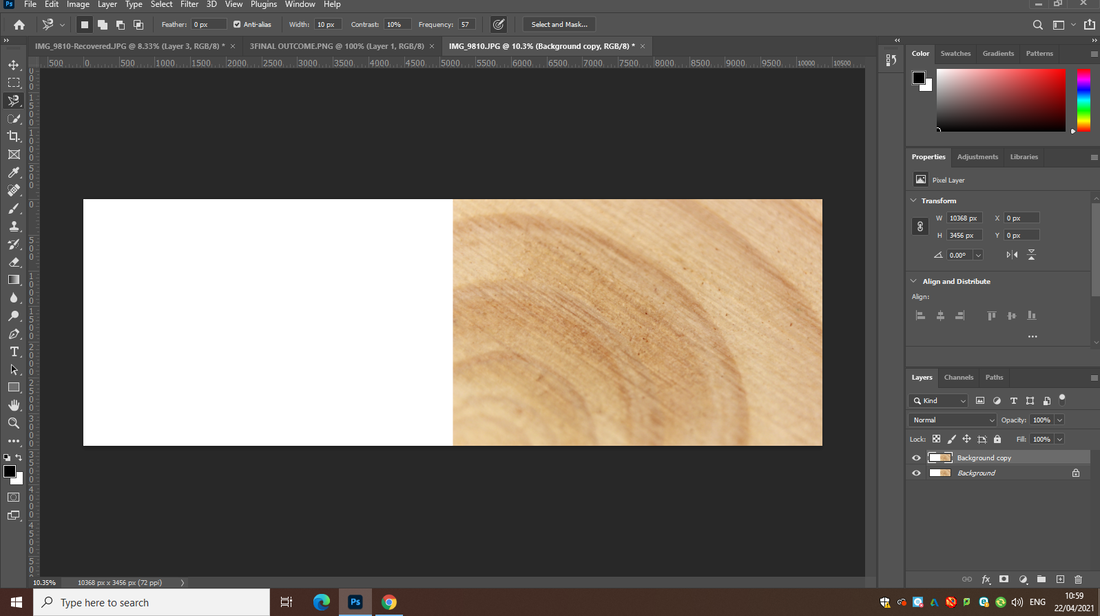
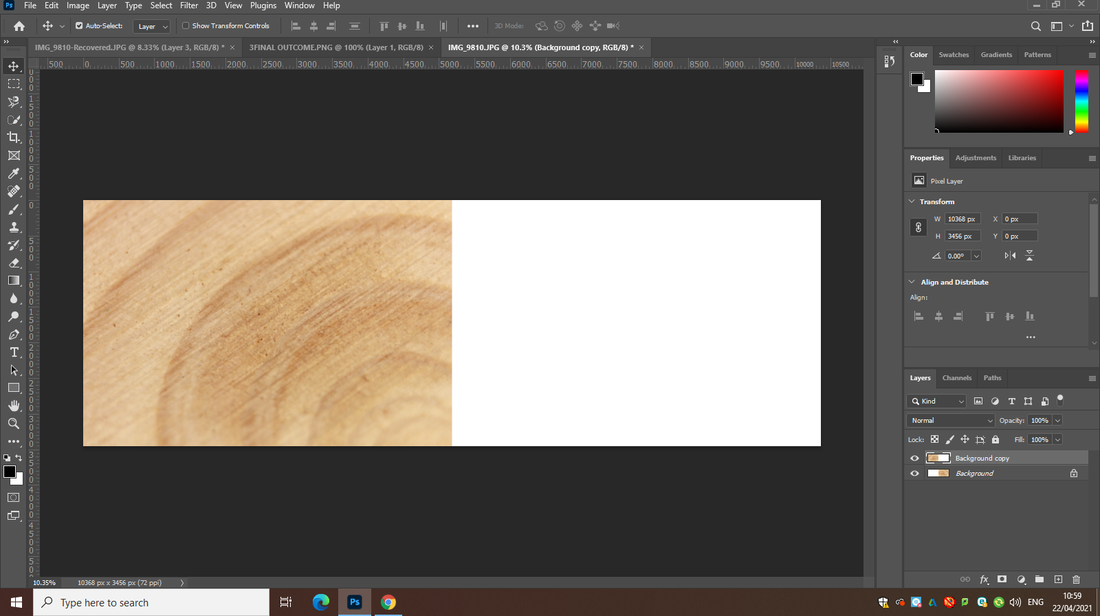
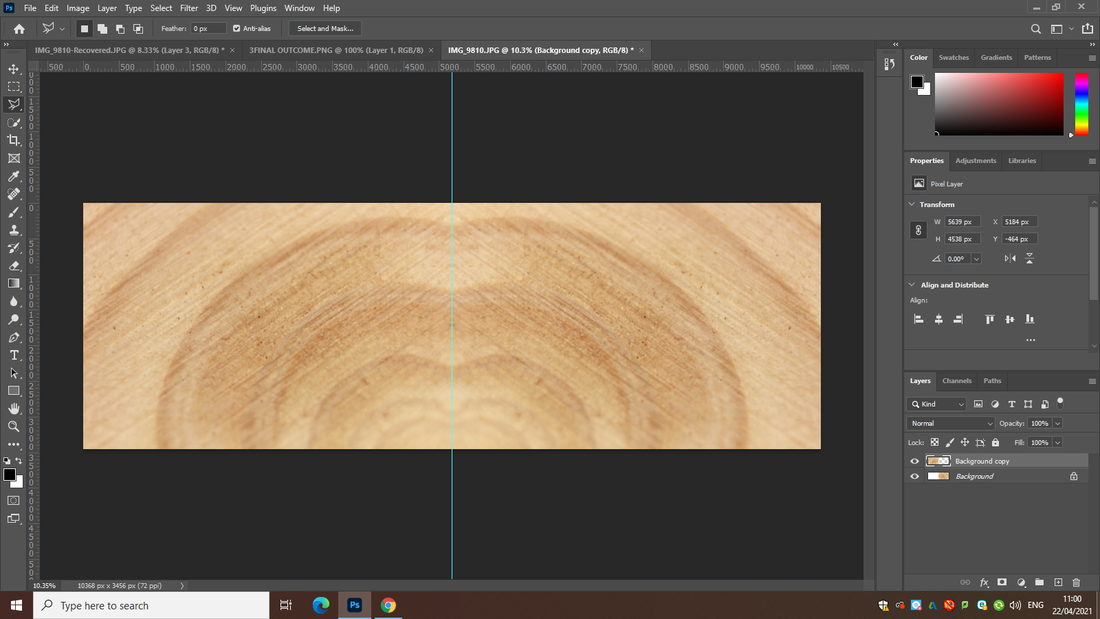
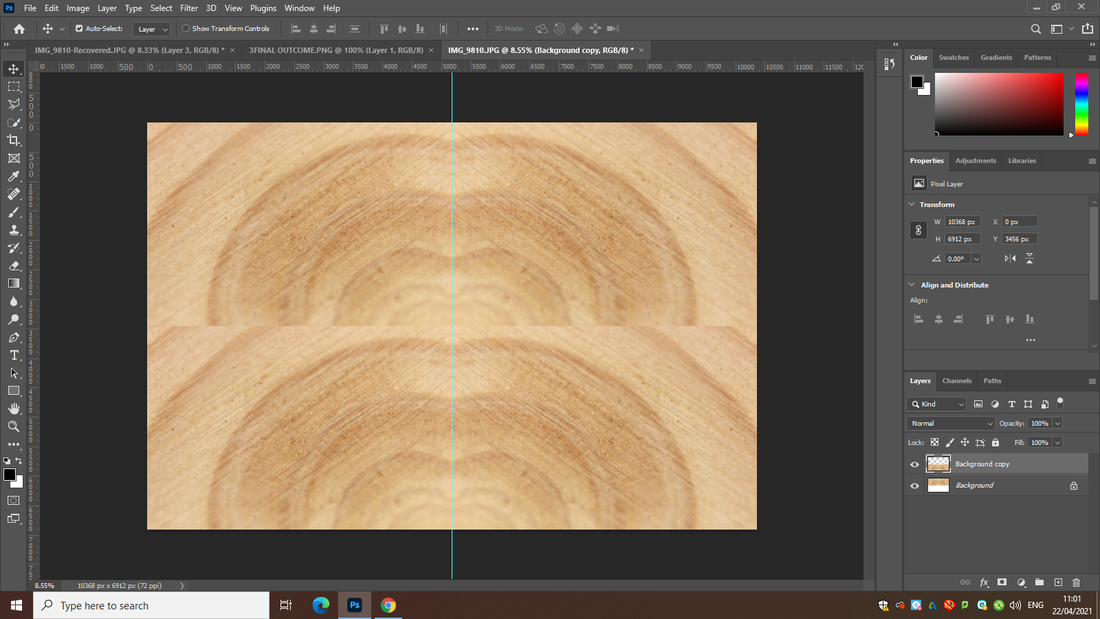
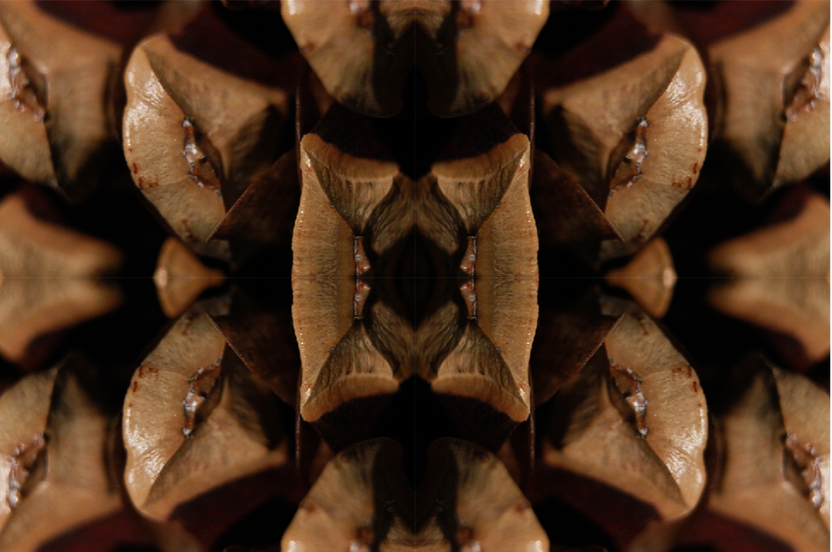
Deciding on final Outcomes:
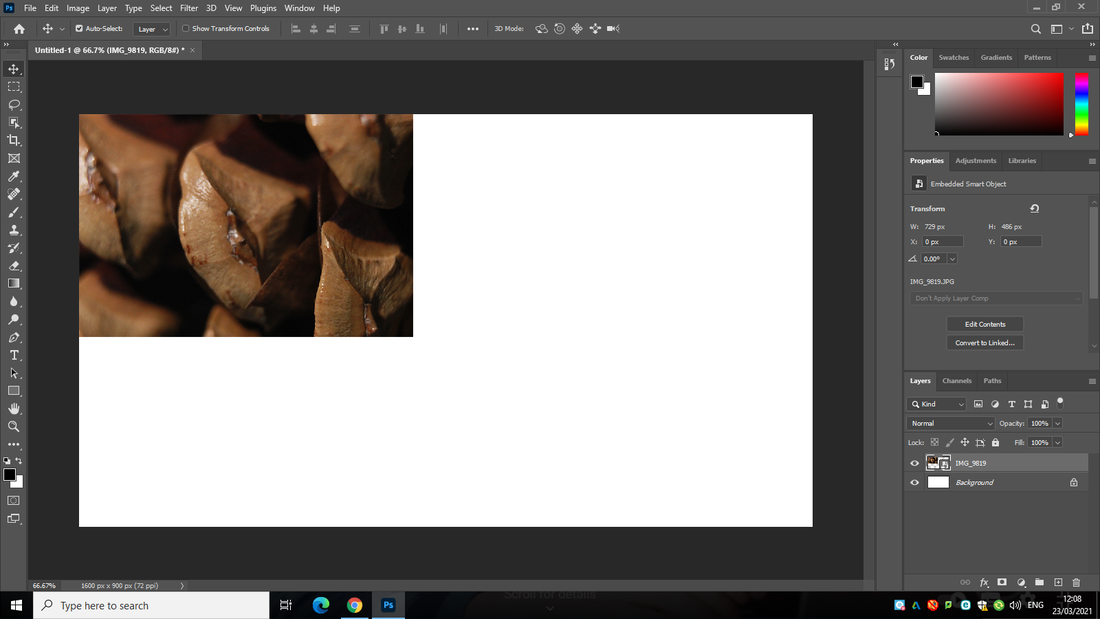
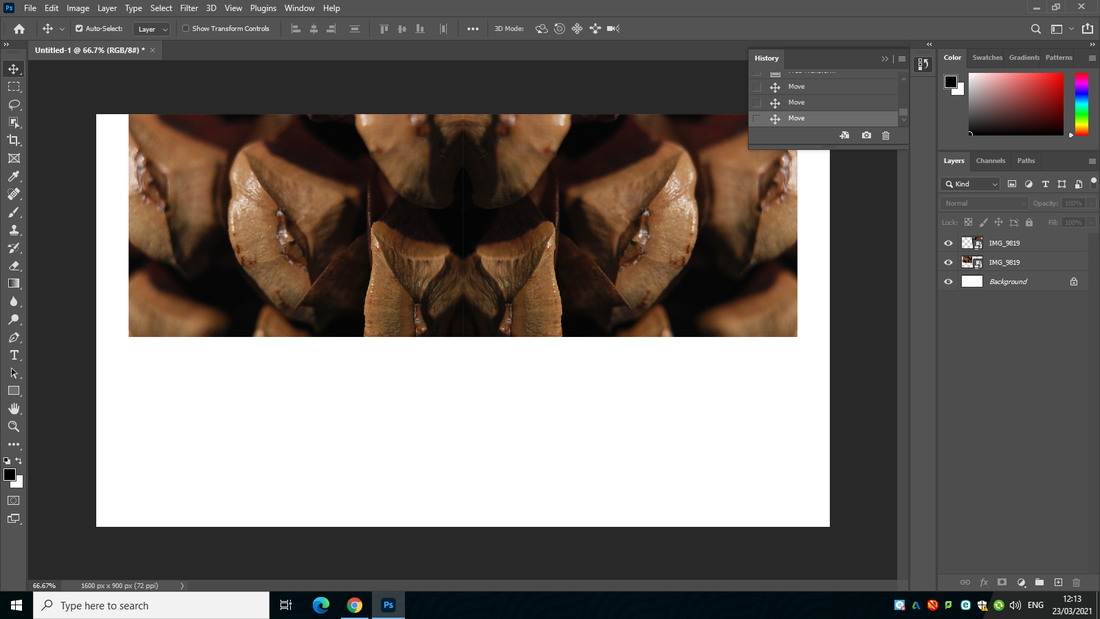
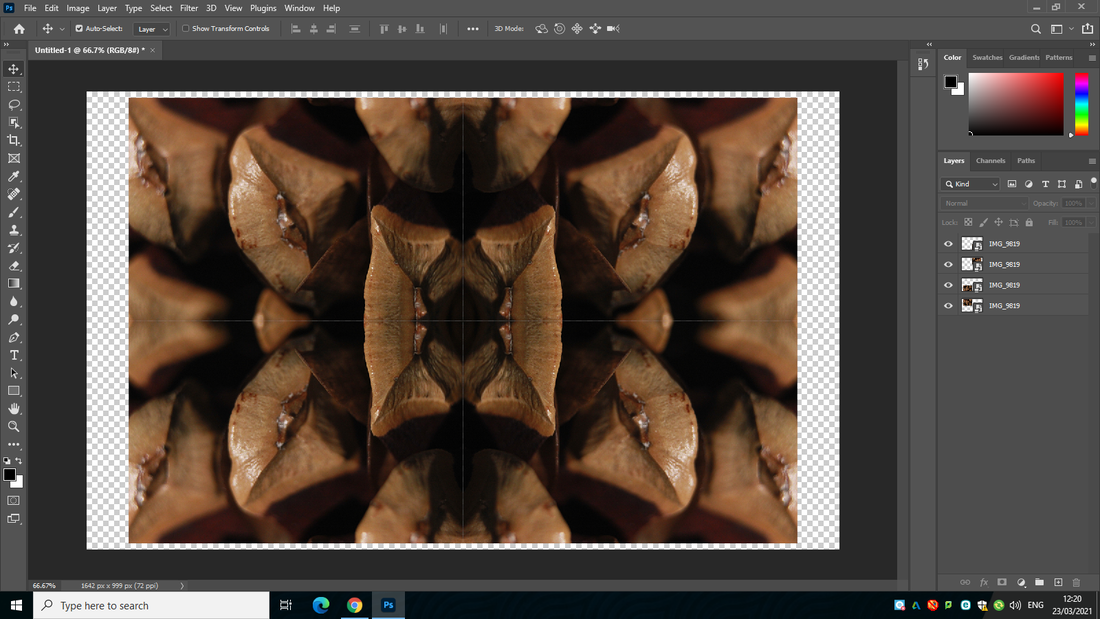
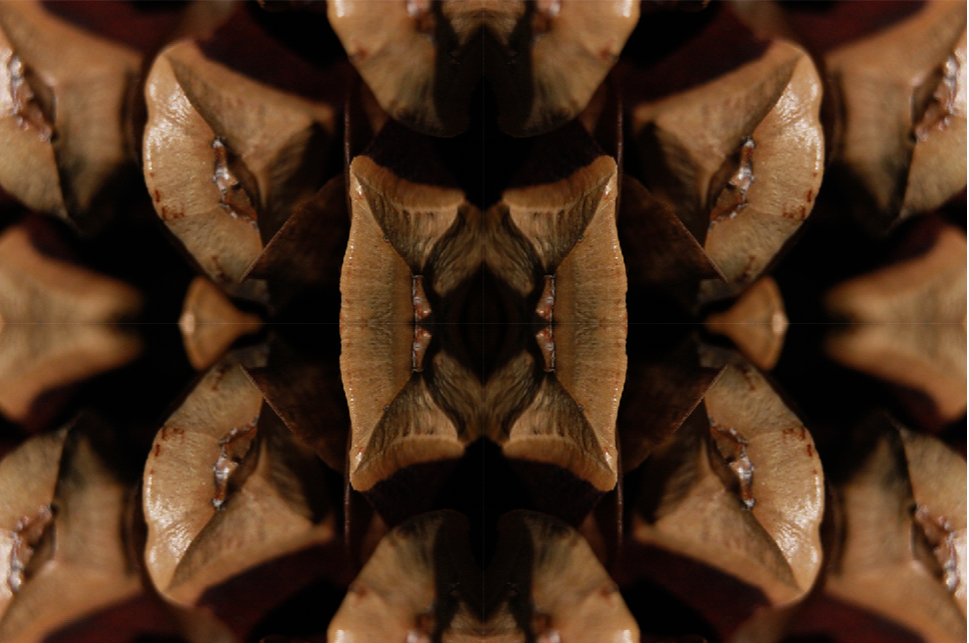
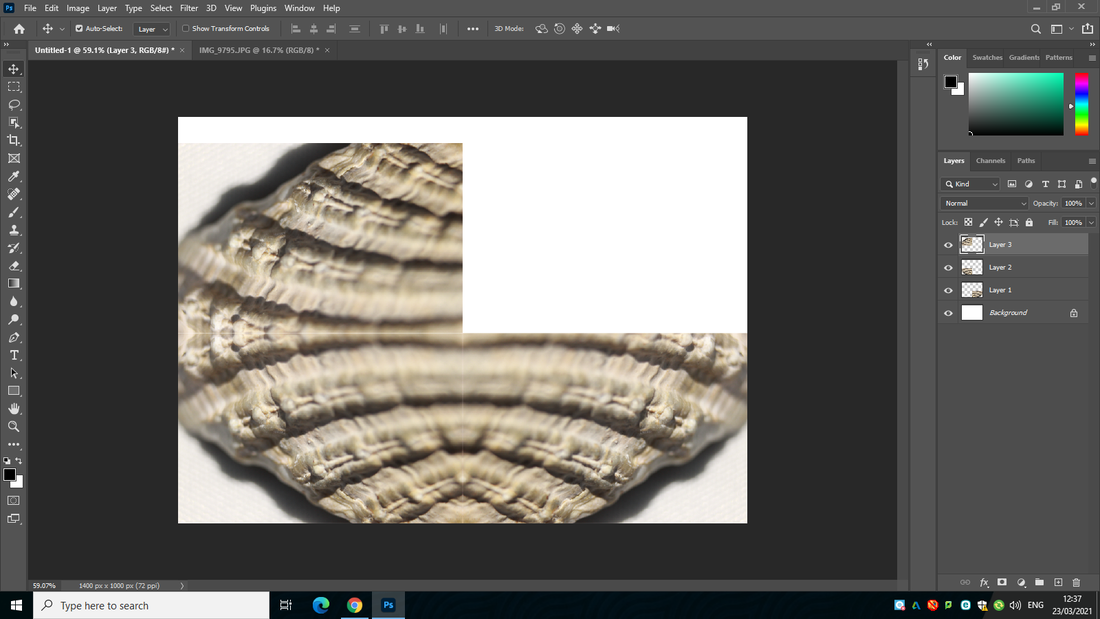
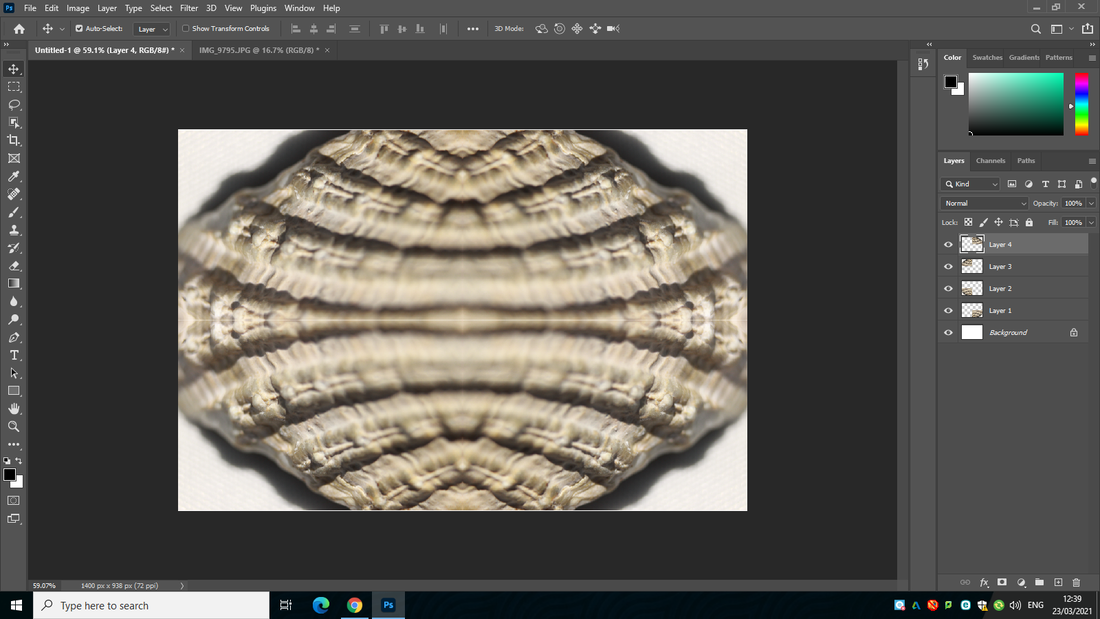
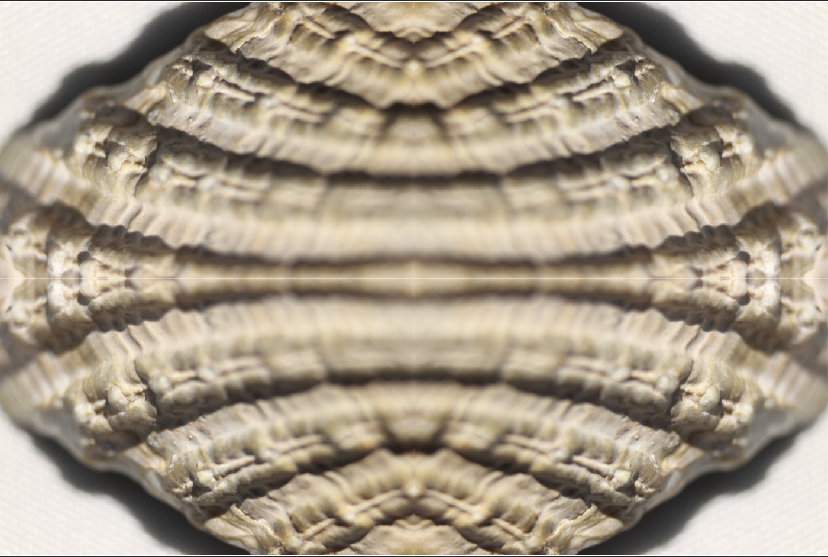
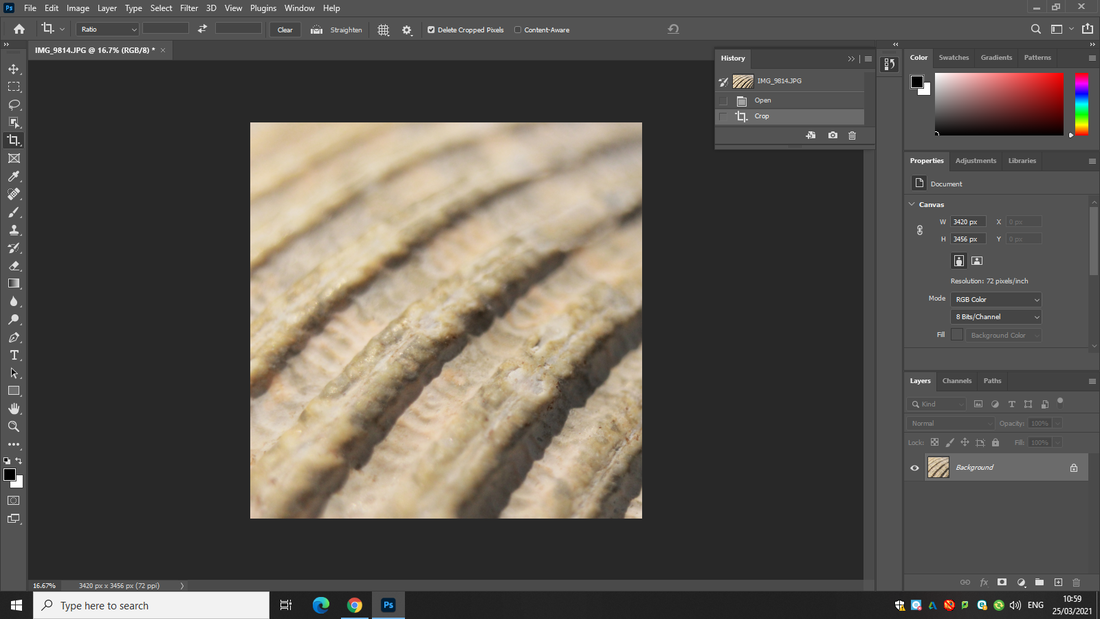
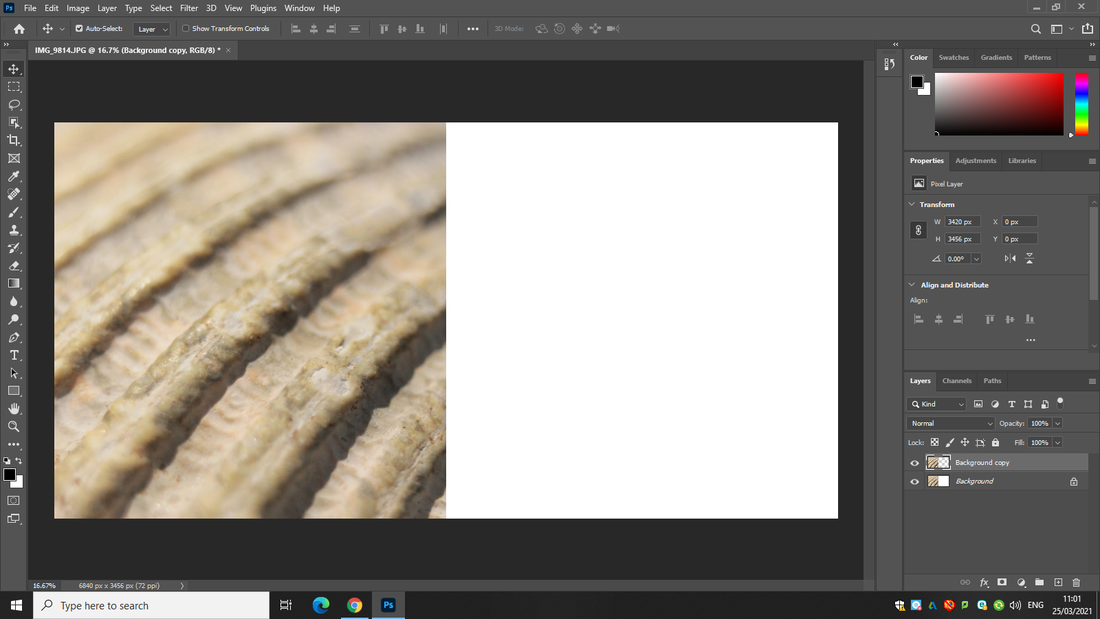
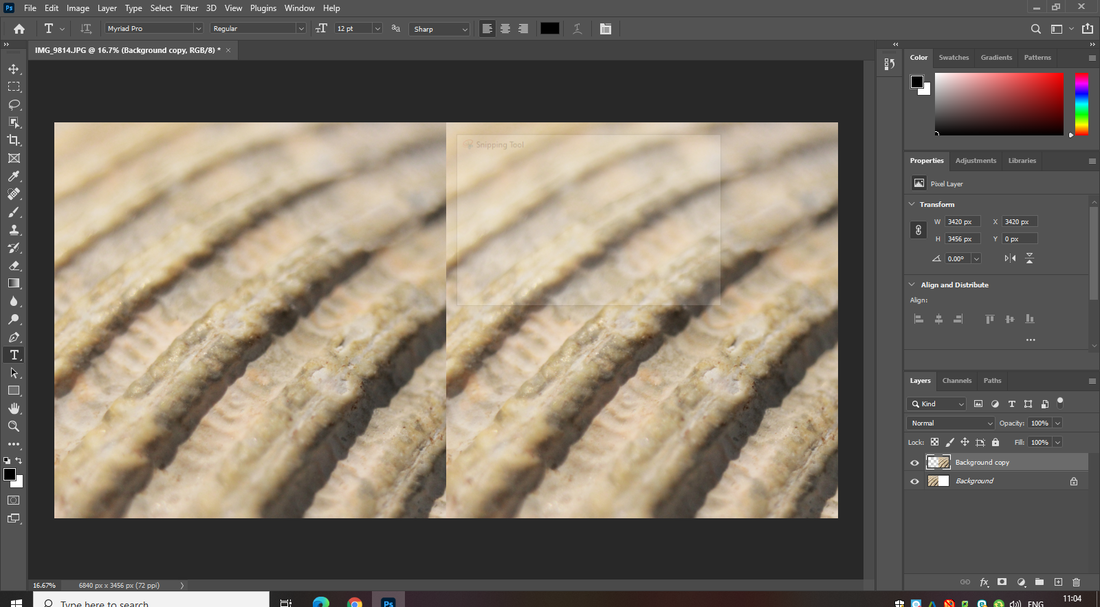
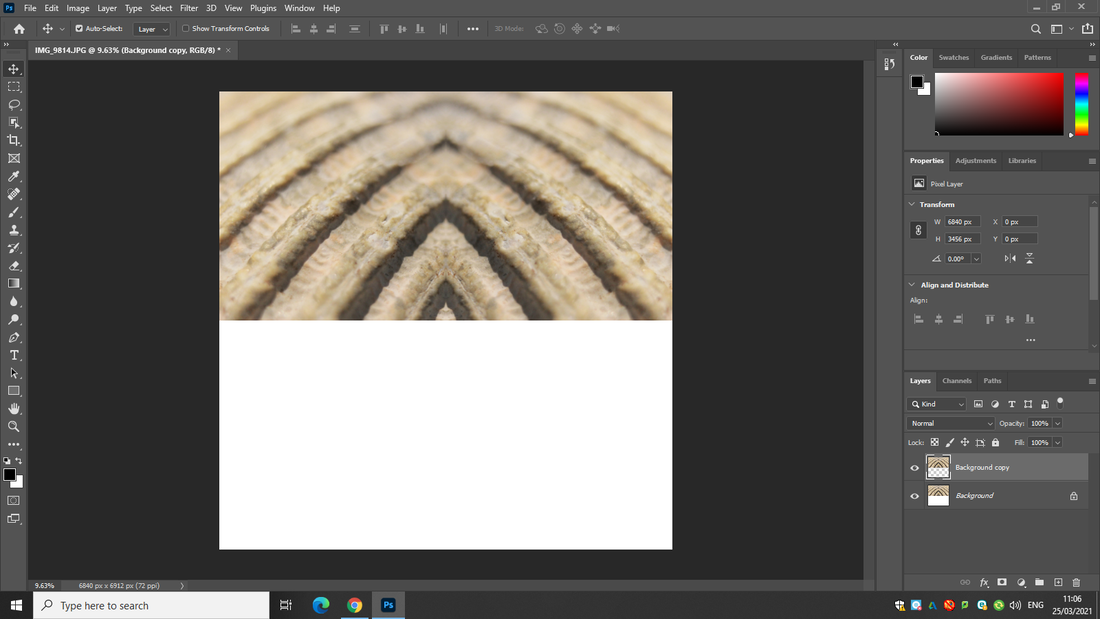
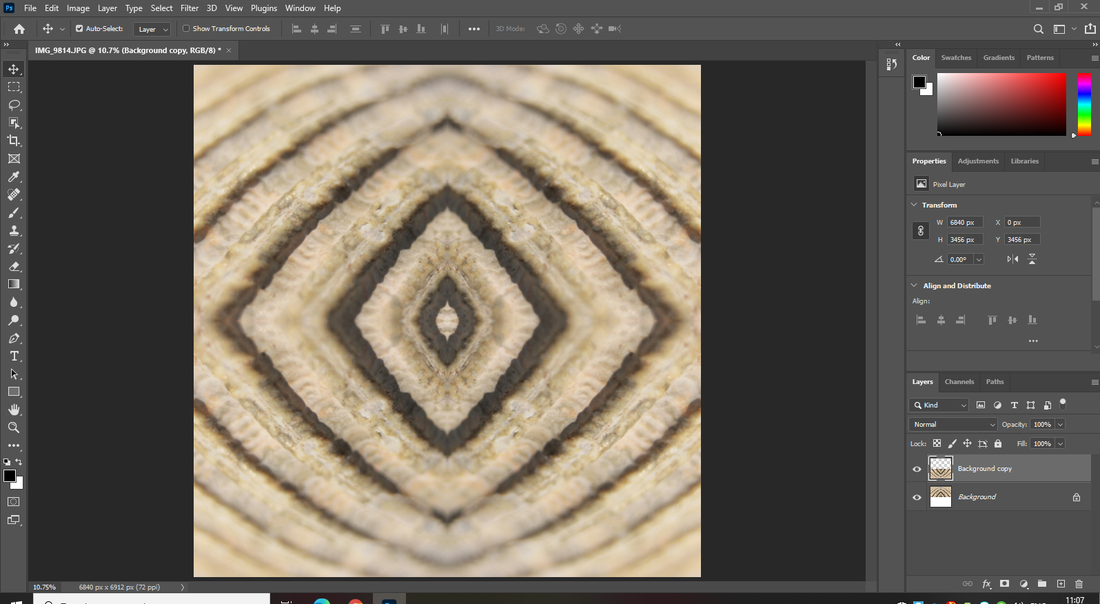
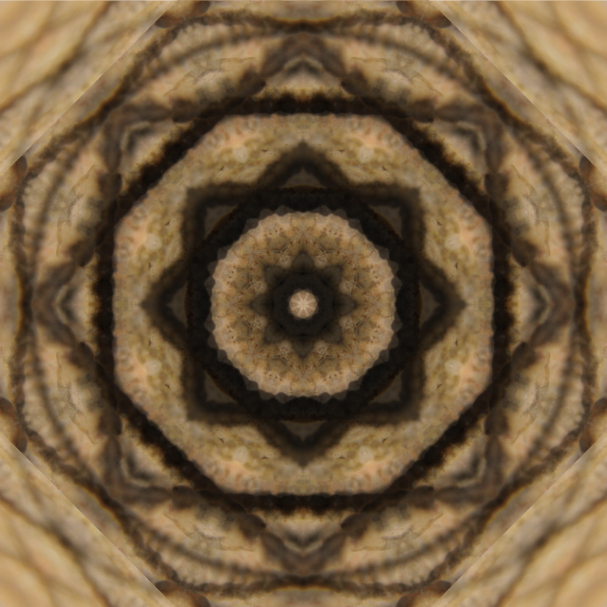
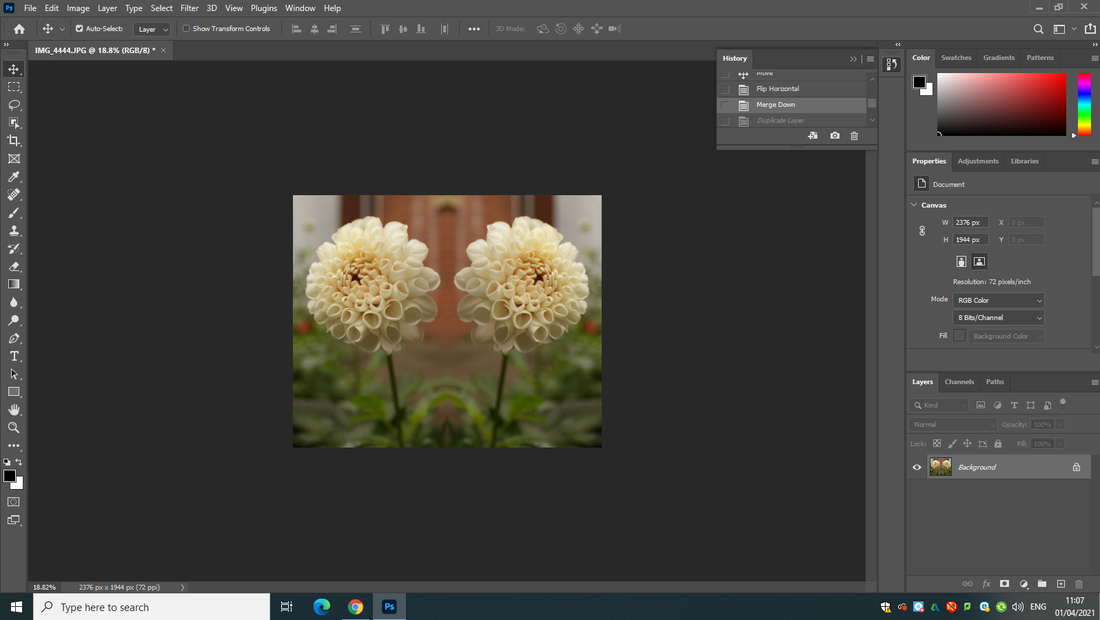
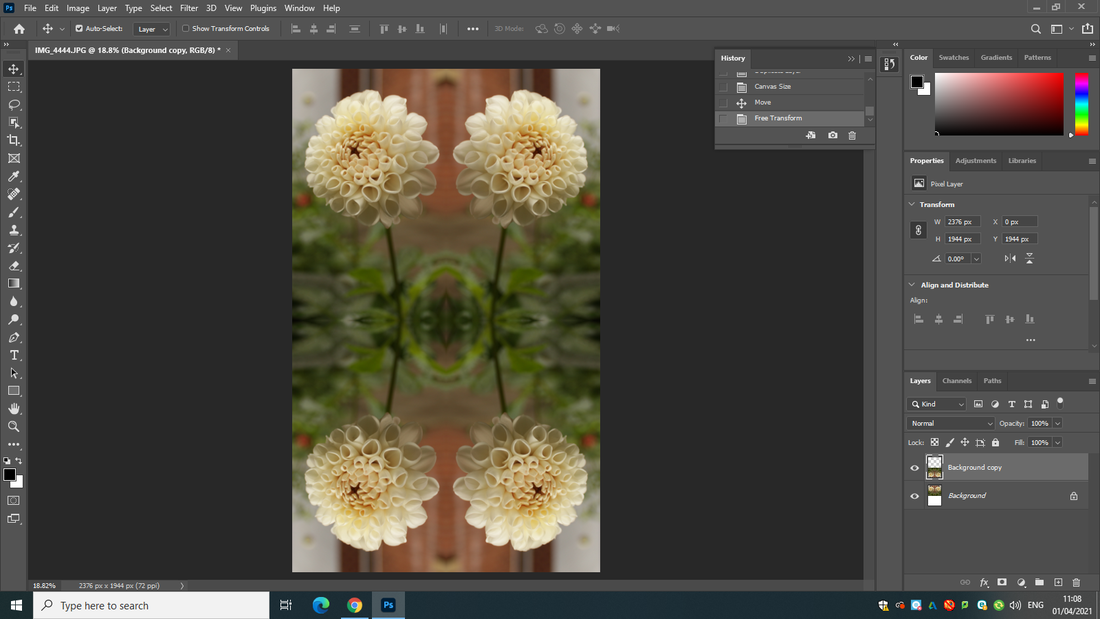
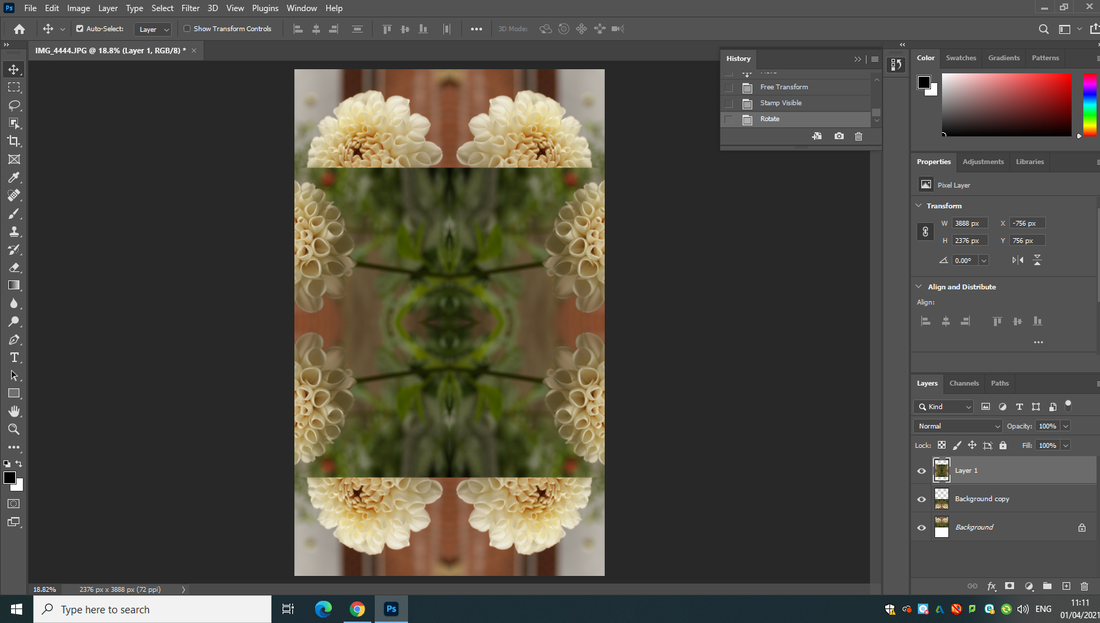
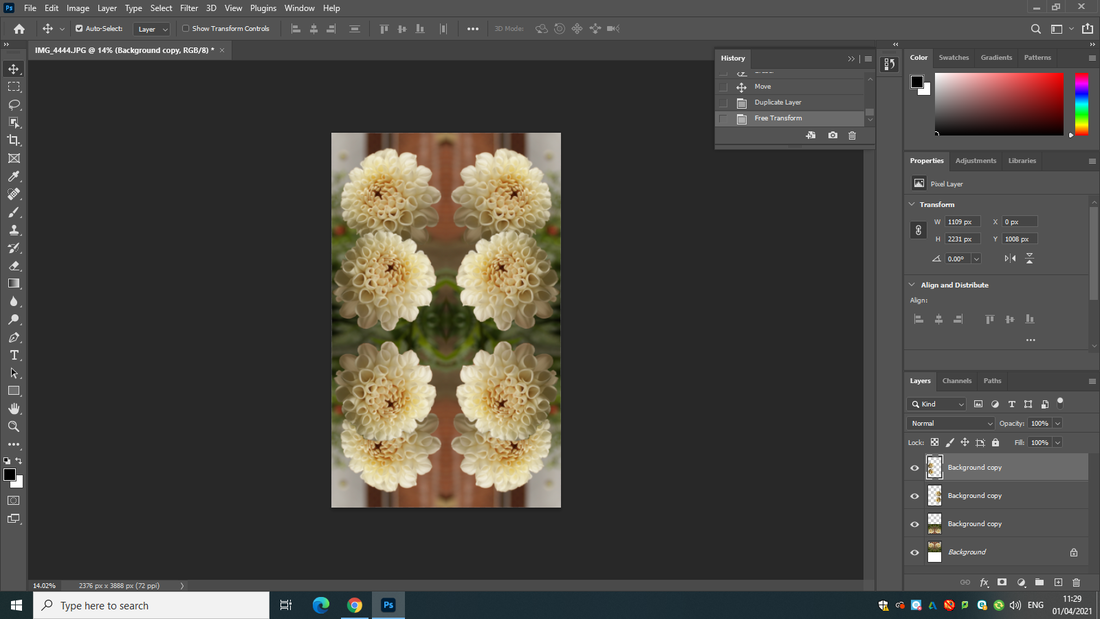
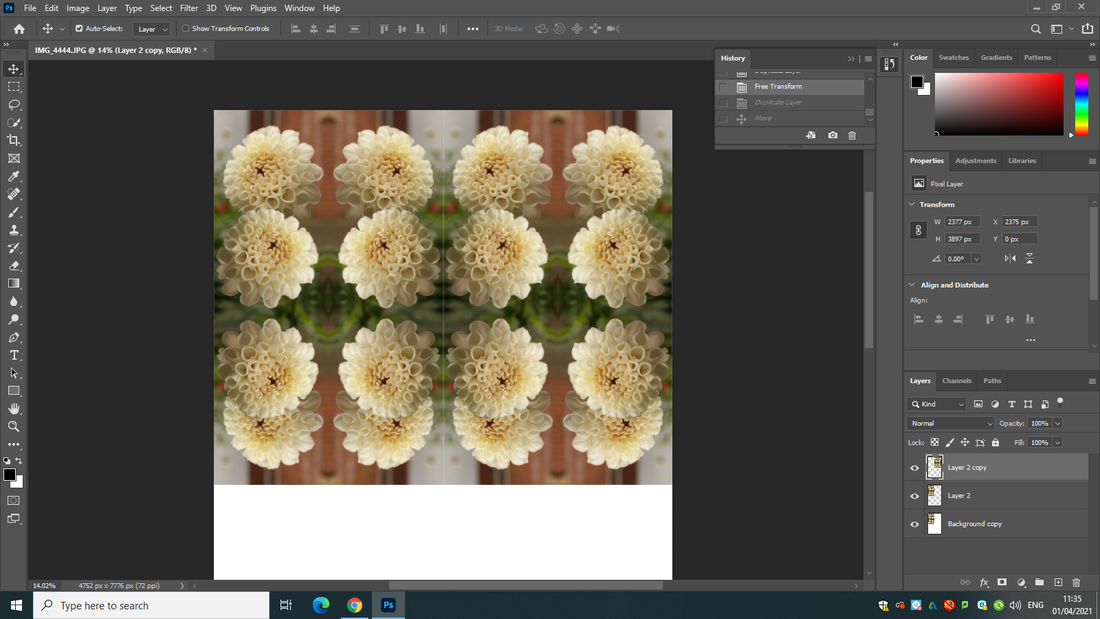
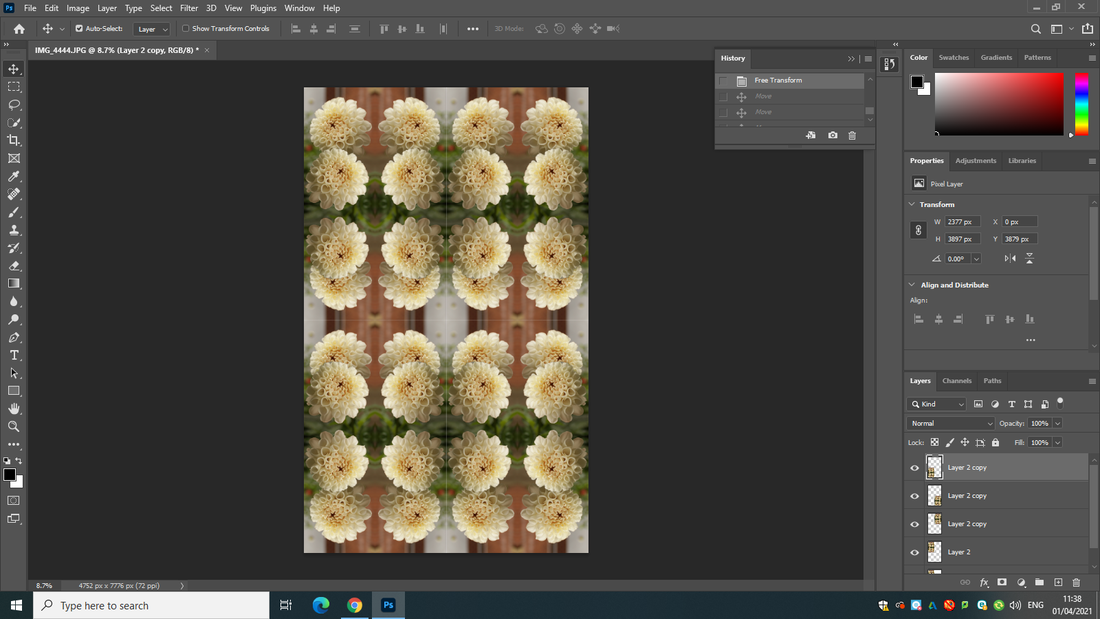
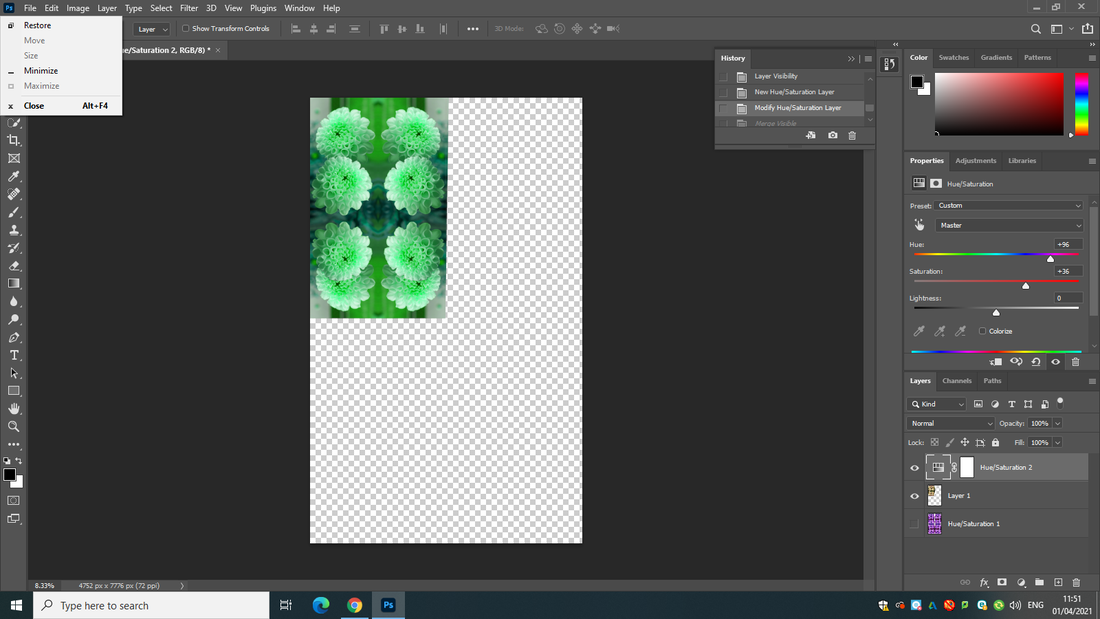
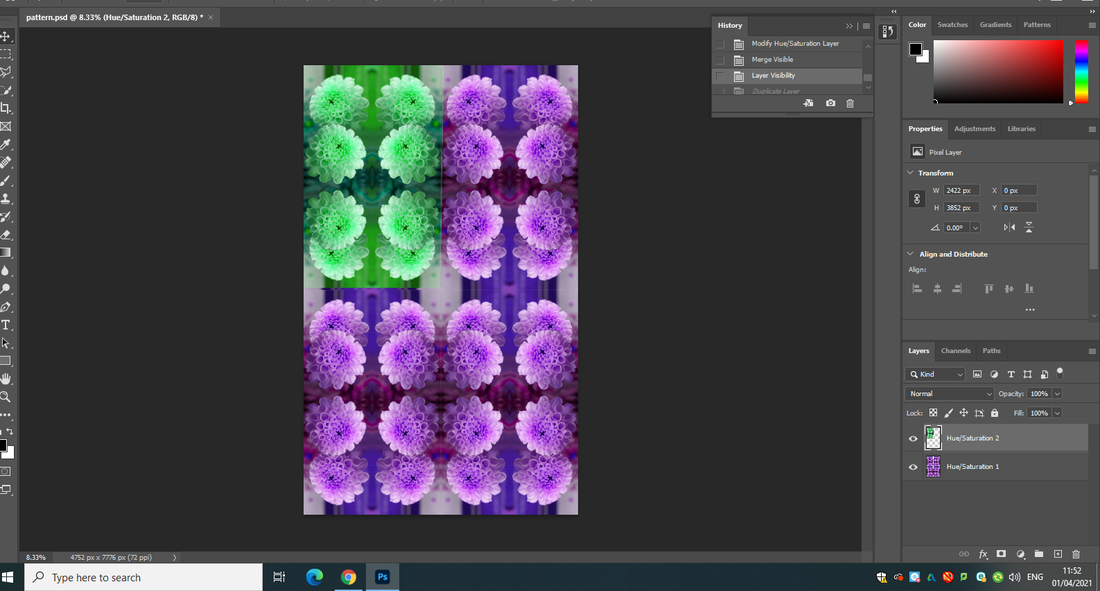
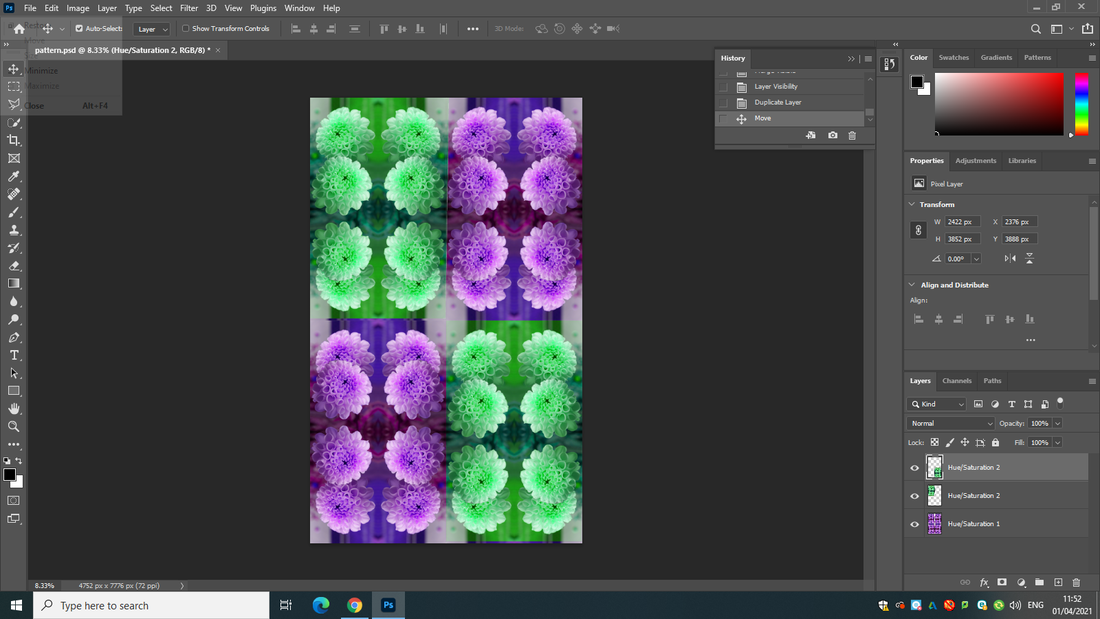
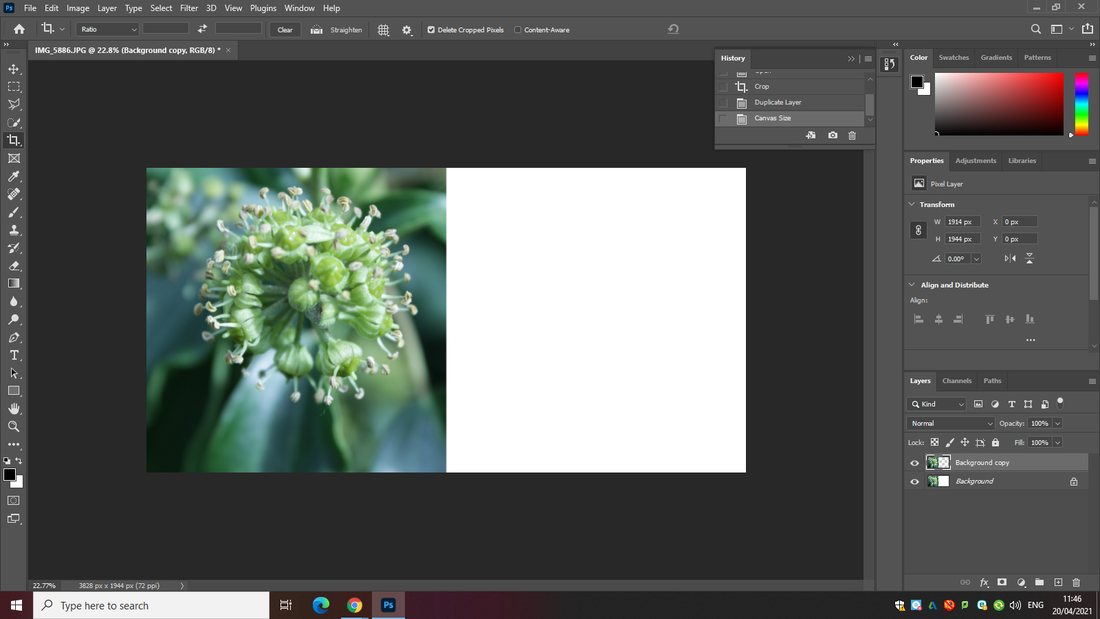
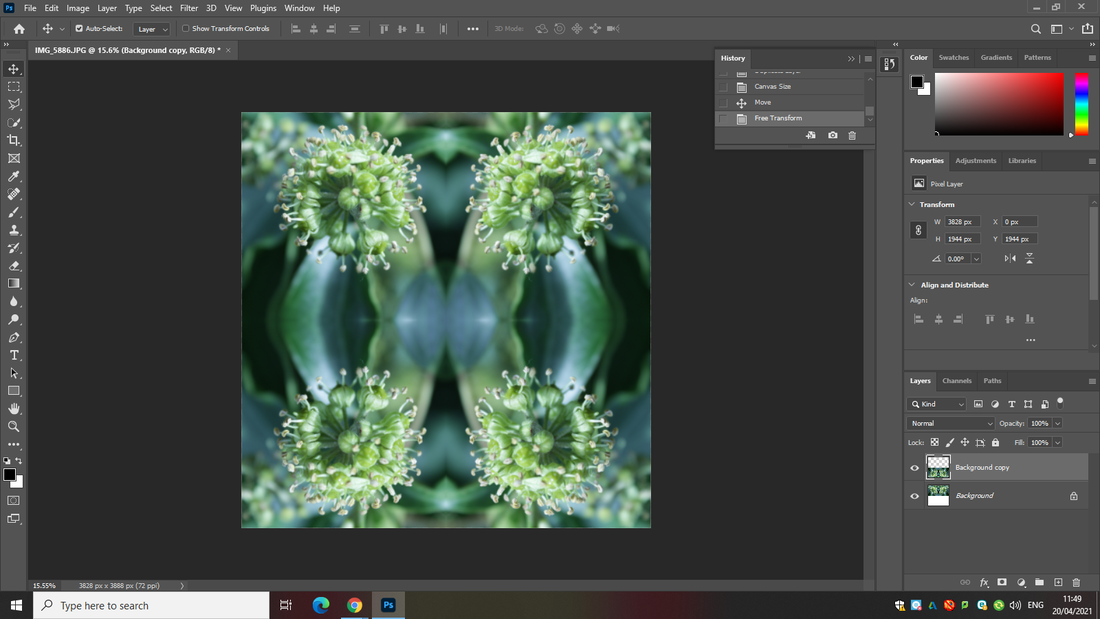
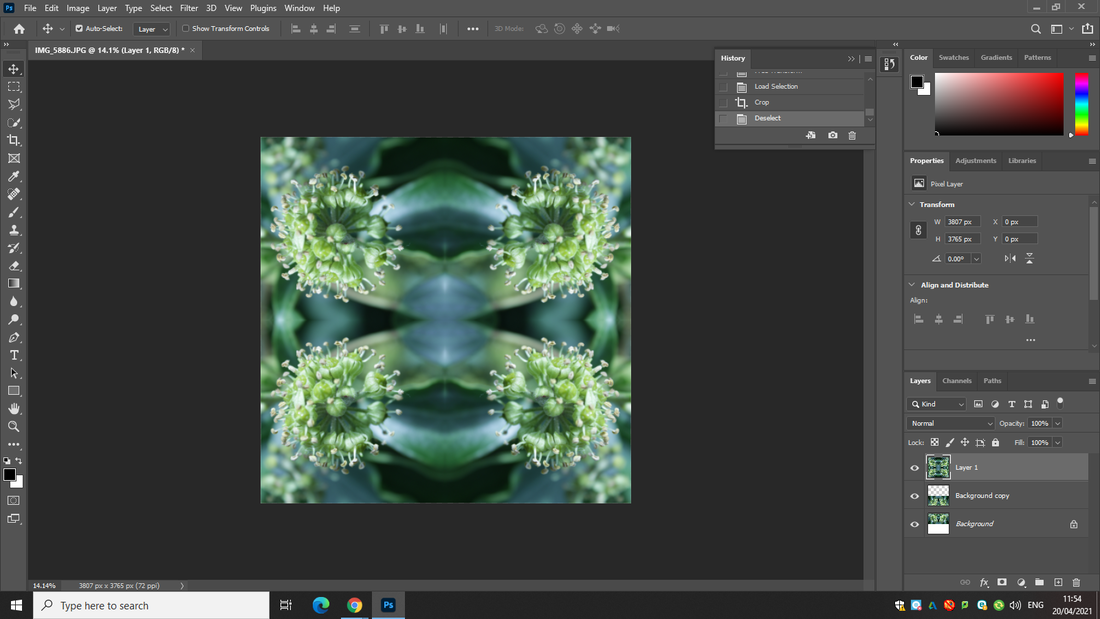
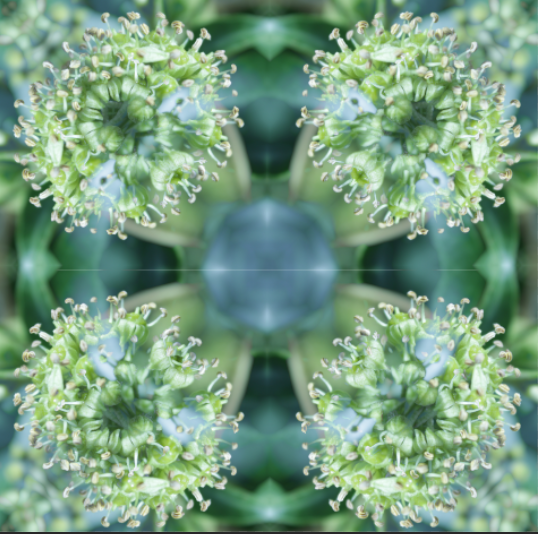
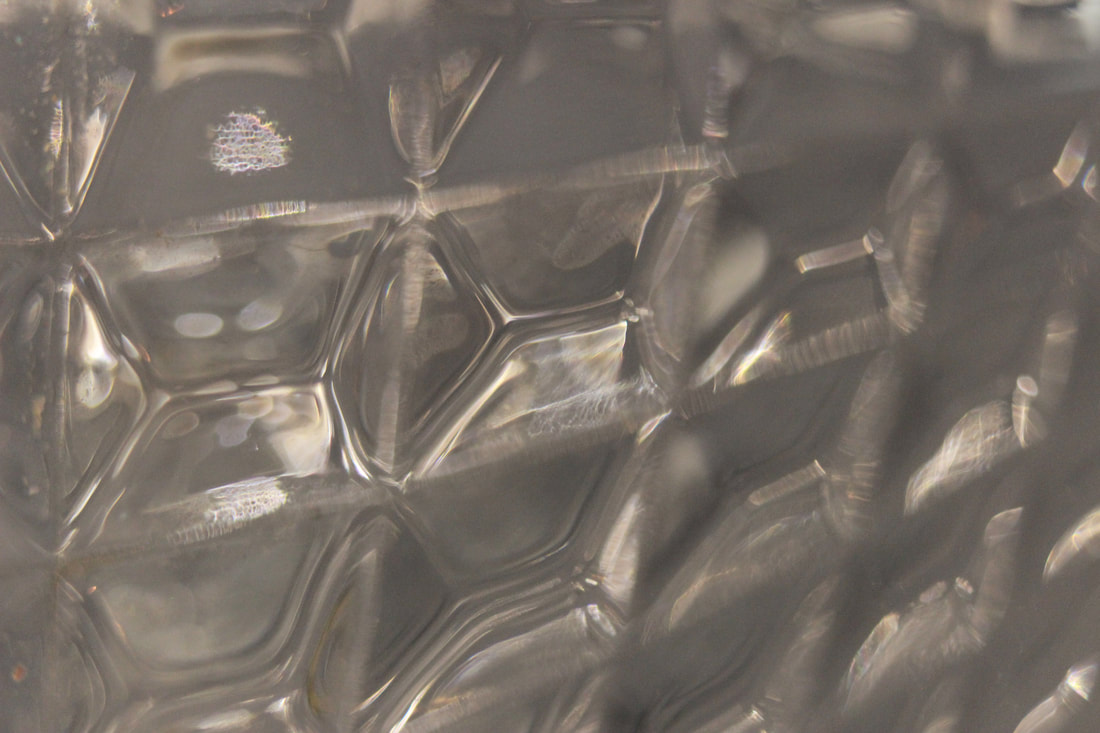
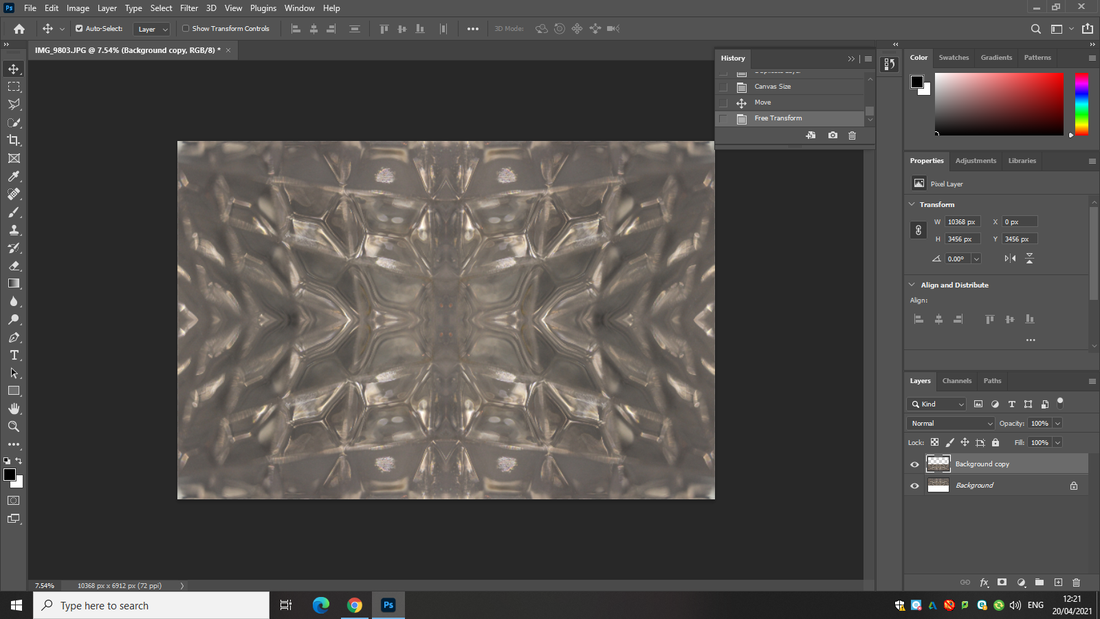
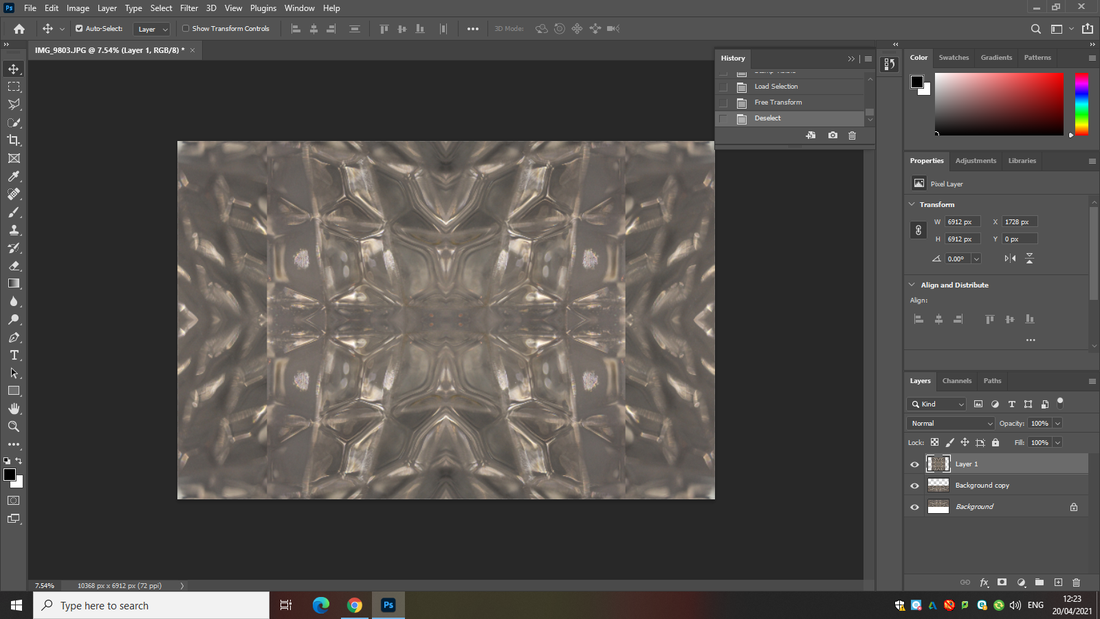
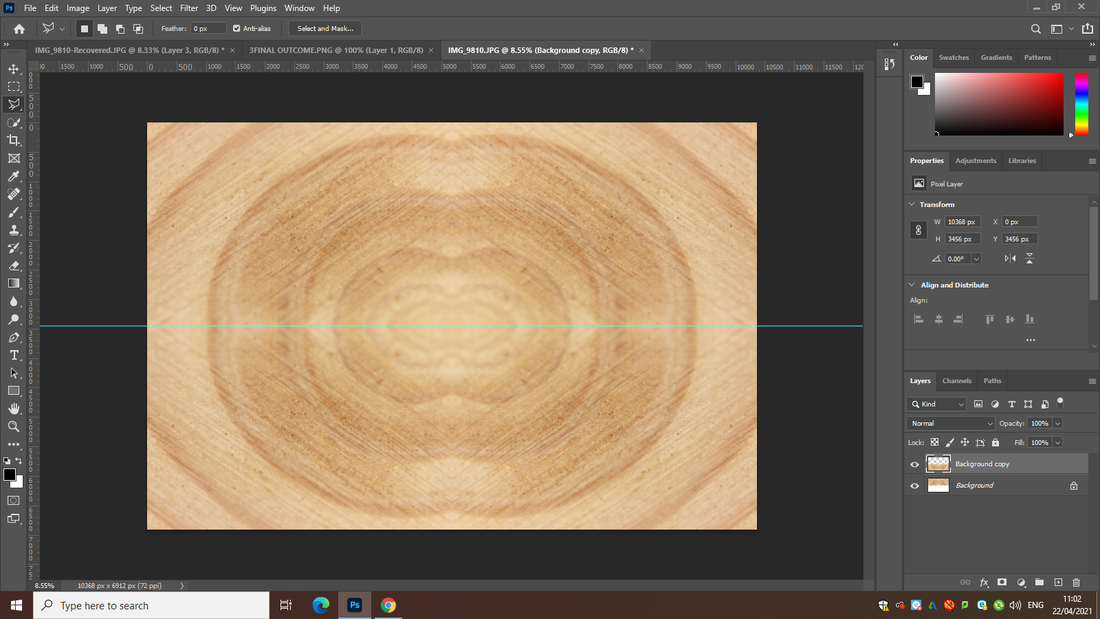
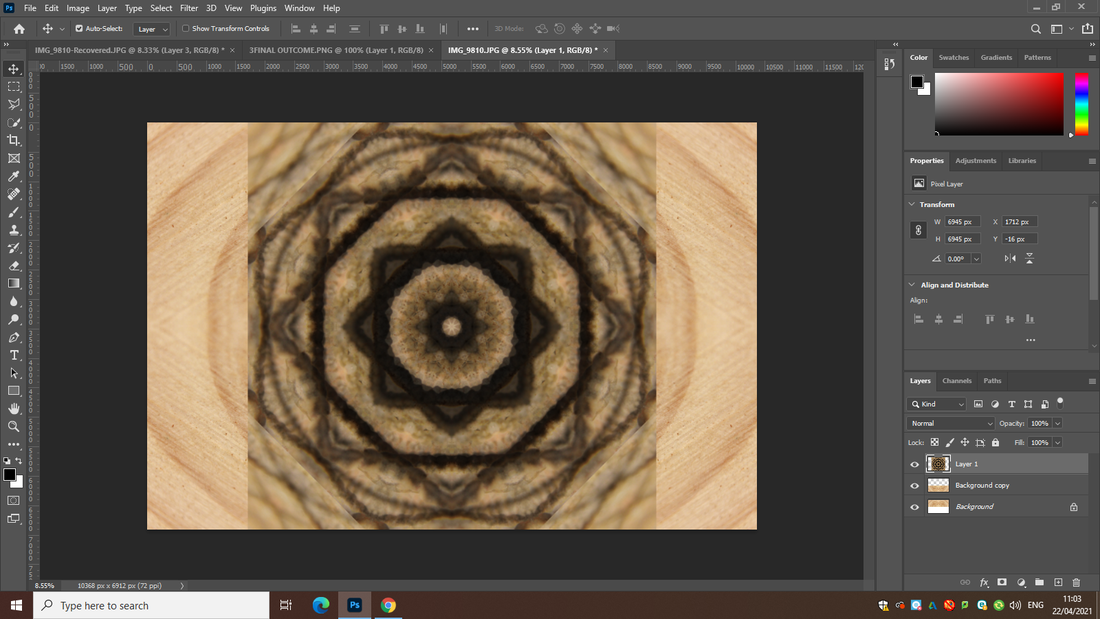
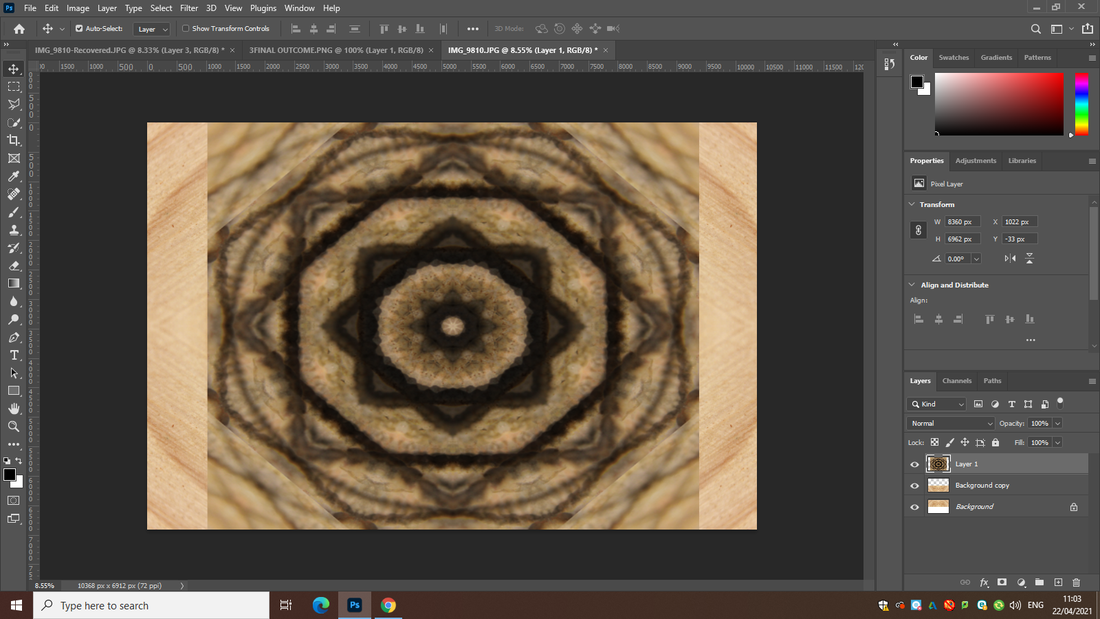
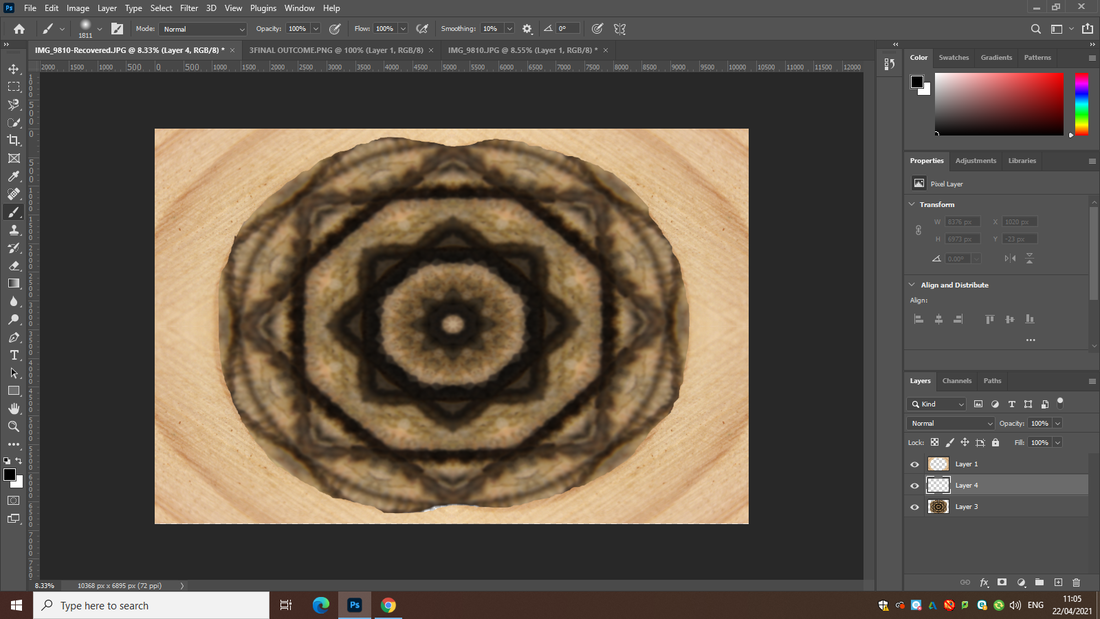
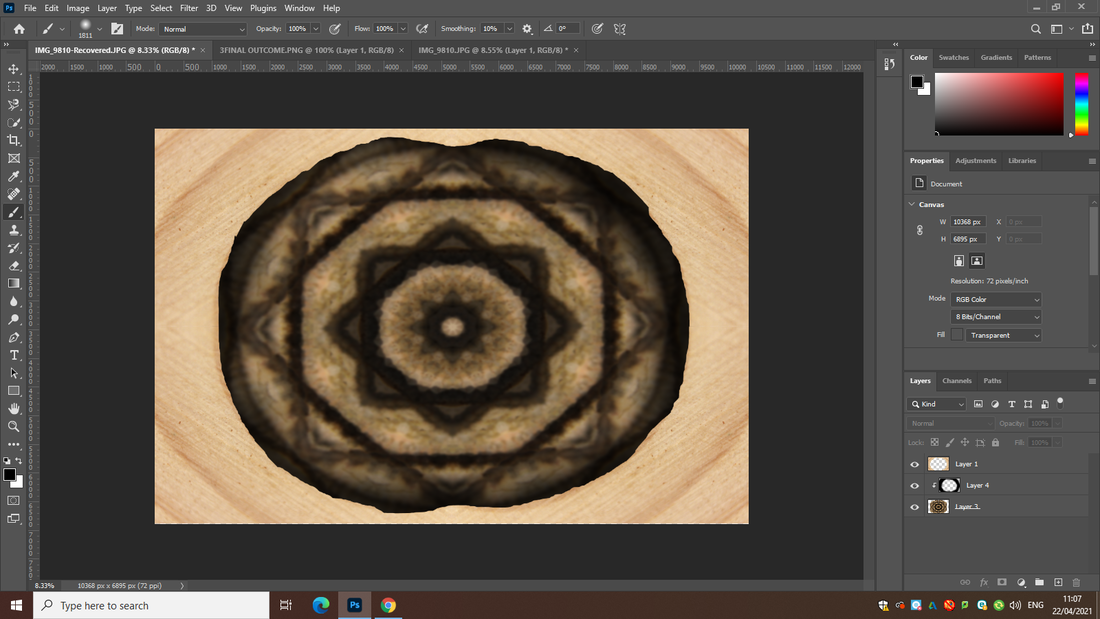
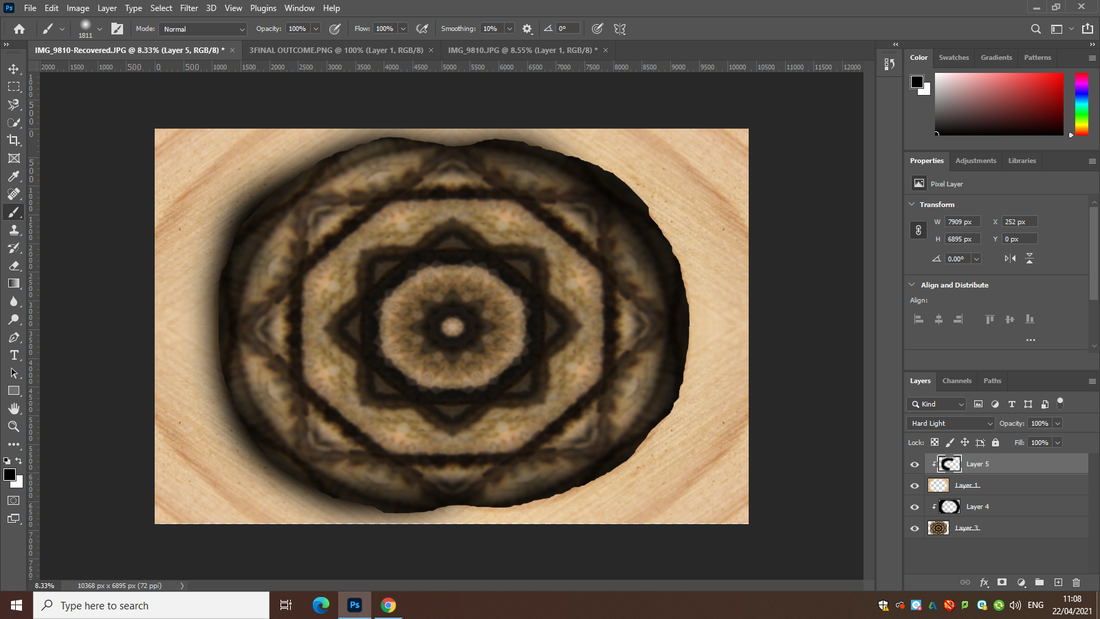
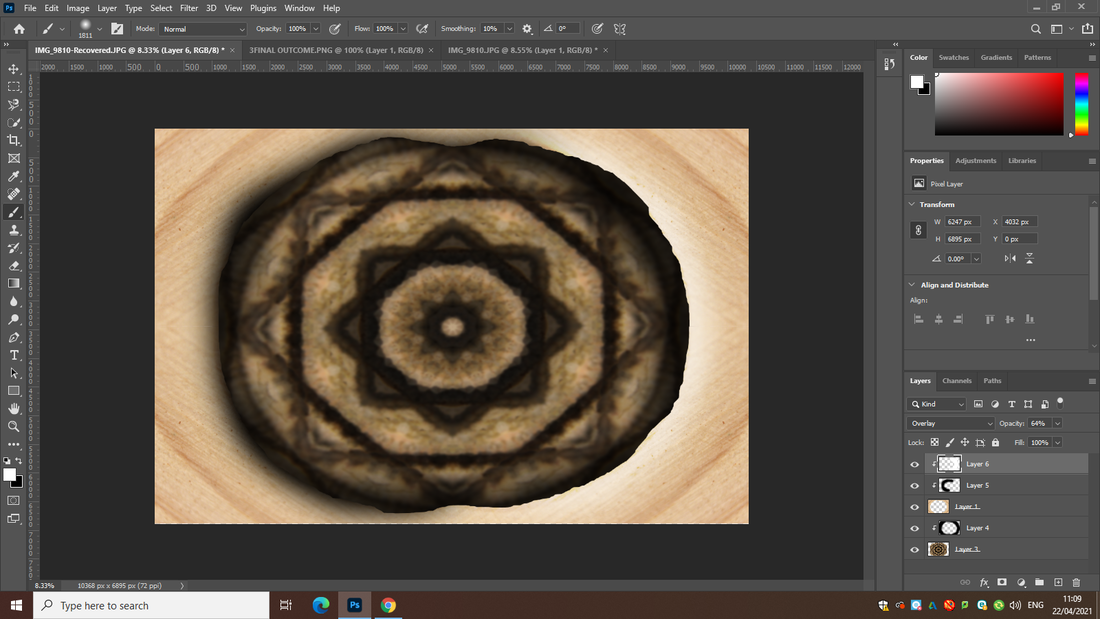
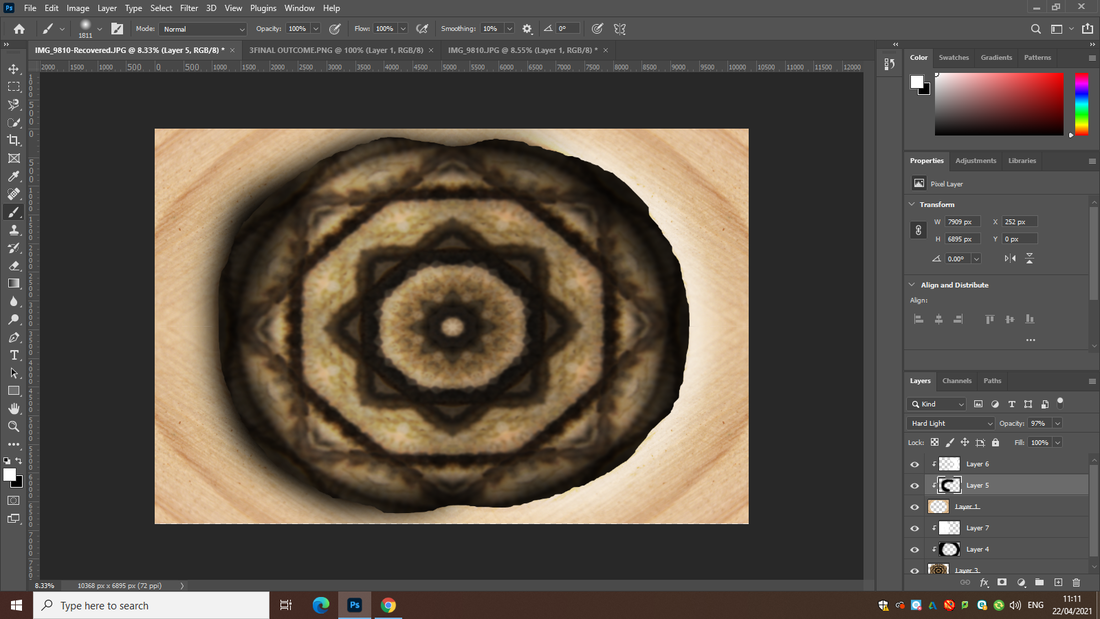
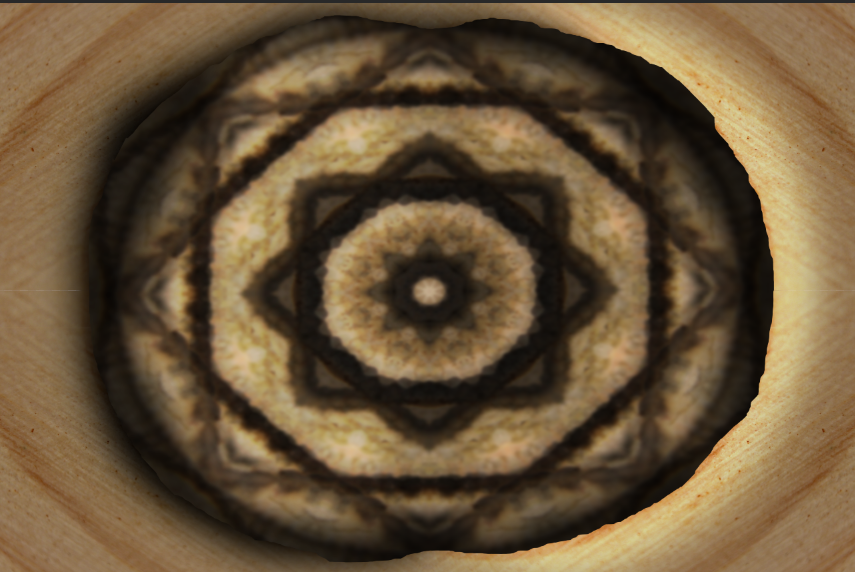
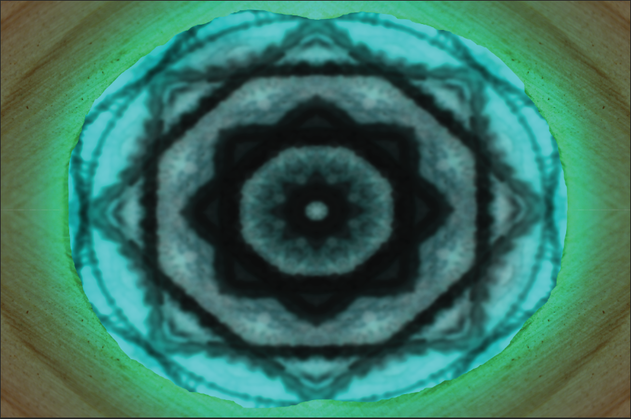
I have decided to focus on patterns/flipping images as a whole. All of my outcomes from now onwards in the "Texture" theme will be in a similar style. Patterns, I have chose this as I figured it looked amazing when put together in a certain way, as all 4 duplicated images come together in their corners, they form an amazing pattern in the middle as shown underneath this text.
Therefore I will continue doing this style as it also does not require complex photoshop. I was mainly inspired by this video I came across https://www.youtube.com/watch?v=ujyxV_tnTkc which shows how to make simple images into unique and abstract patterns.
Therefore I will continue doing this style as it also does not require complex photoshop. I was mainly inspired by this video I came across https://www.youtube.com/watch?v=ujyxV_tnTkc which shows how to make simple images into unique and abstract patterns.
Video Tutorial: https://www.youtube.com/watch?v=lEpt5aR-tF0
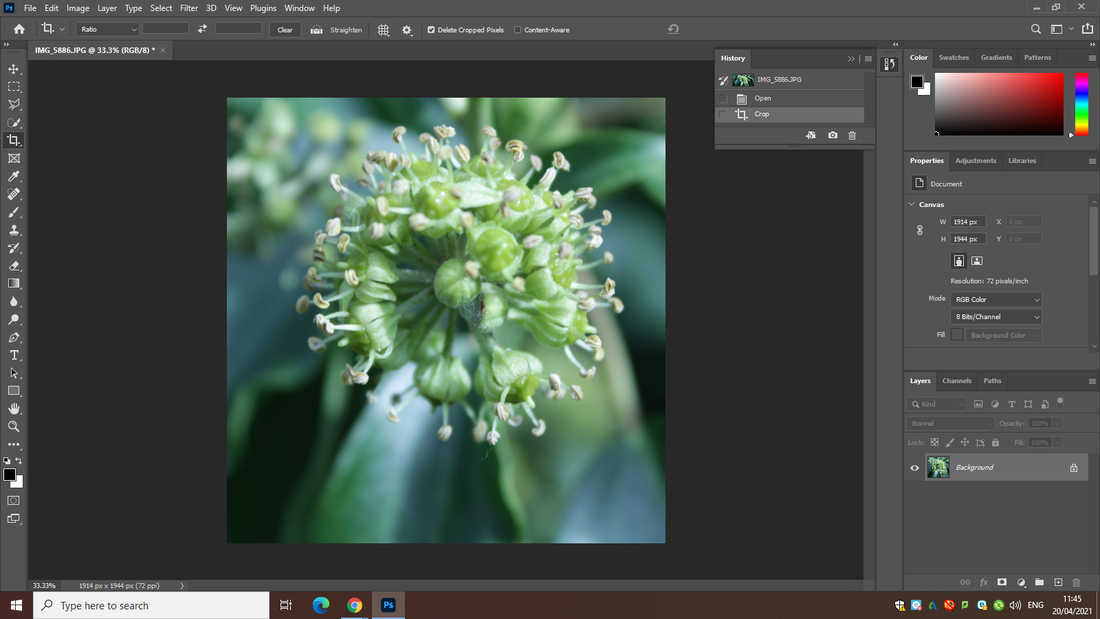
Starter Image:
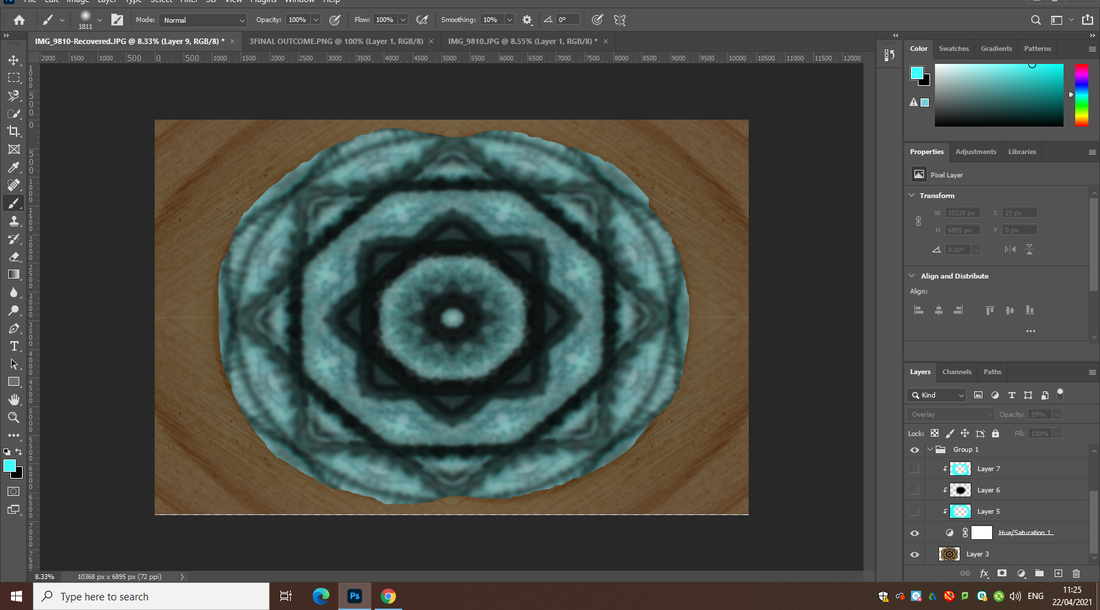
Photoshopping the image:
Final Outcome:
Video Tutorial: https://www.youtube.com/watch?v=lEpt5aR-tF0
Starter Image:

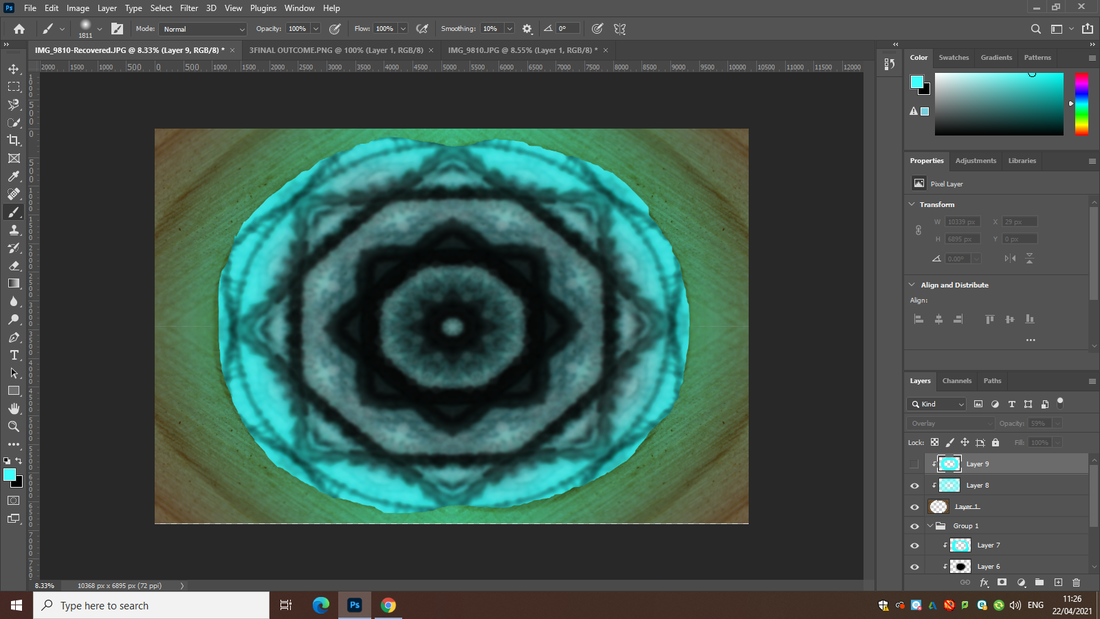
Photoshopping the image:
Final Outcome:
Video Tutorial: https://www.youtube.com/watch?v=ujyxV_tnTkc
Starter Image:

Final Outcome:
Video Tutorial: https://www.youtube.com/watch?v=ujyxV_tnTkc
Starter Image:

Final Outcome:

How I improved:

Video Tutorial: https://www.youtube.com/watch?v=ujyxV_tnTkc
Starter Image:

Final Outcome:
Video Tutorial: https://www.youtube.com/watch?v=ujyxV_tnTkc
Starter Image:

Final Outcome:

Starter Image:


Final Outcomes:
|

|
Final Gallery
Evaluation:
I began with doing close-up unique textures of plants, man made objects and natural objects. However throughout the project deep into it, I decided to take a turn and form patterns with my images to form beautiful outcomes.
My favourite part of the project was when we worked with a professional photographer, Justin Garner. We came into our school on our break for a one hour session in order to refine our work. This helped me broaden my knowledge in photography and expand on the different types of images and styles. As Justin had amazing equipment, my understanding and expertise of lighting and composition grew immensely.
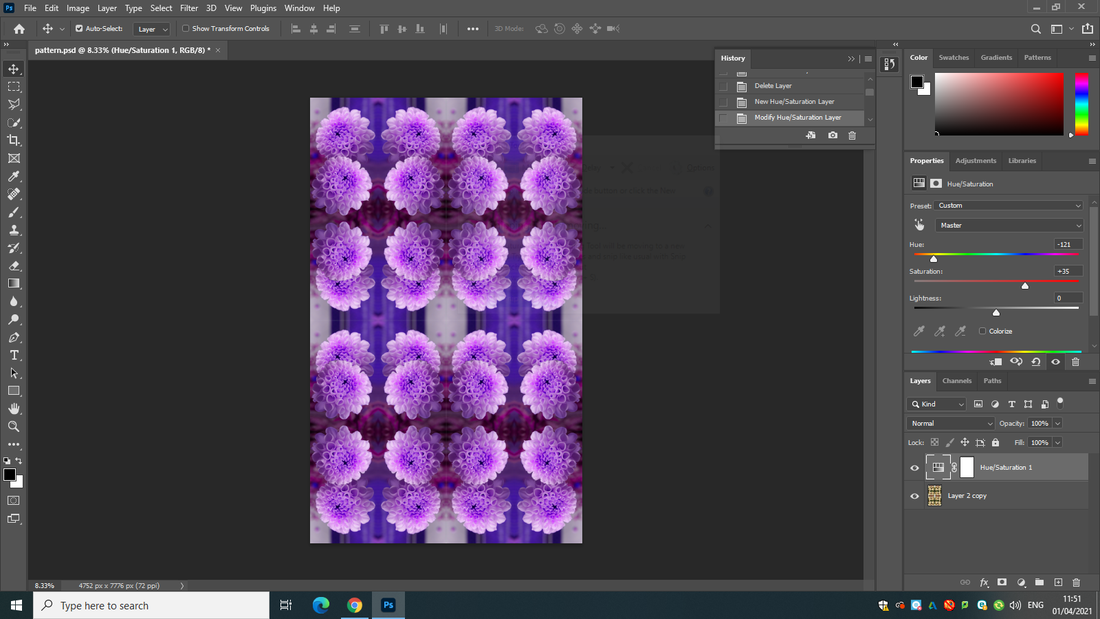
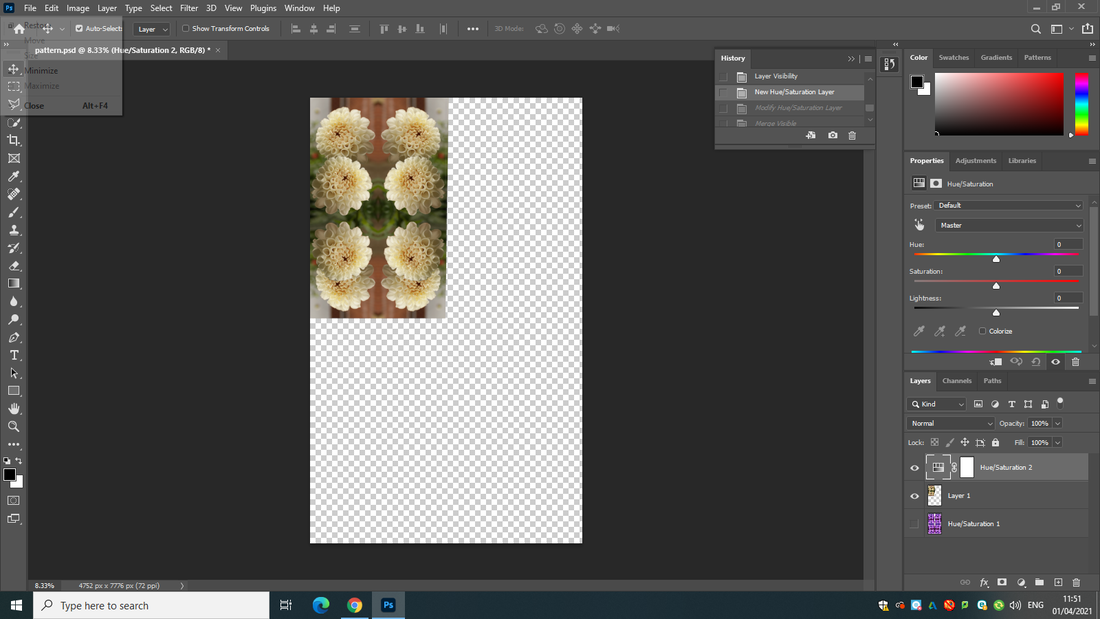
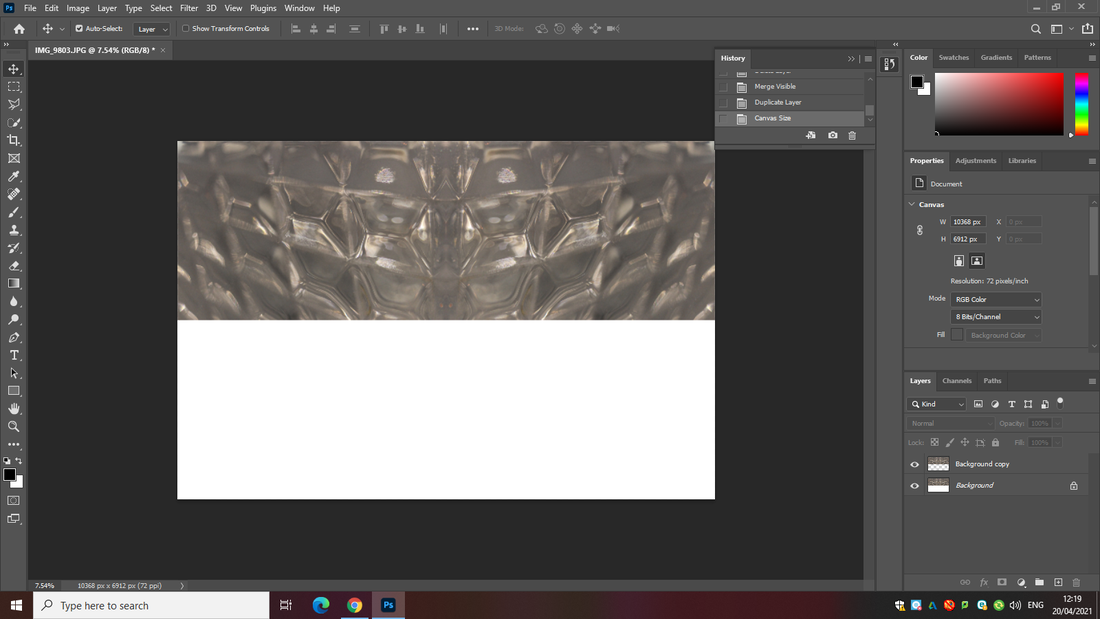
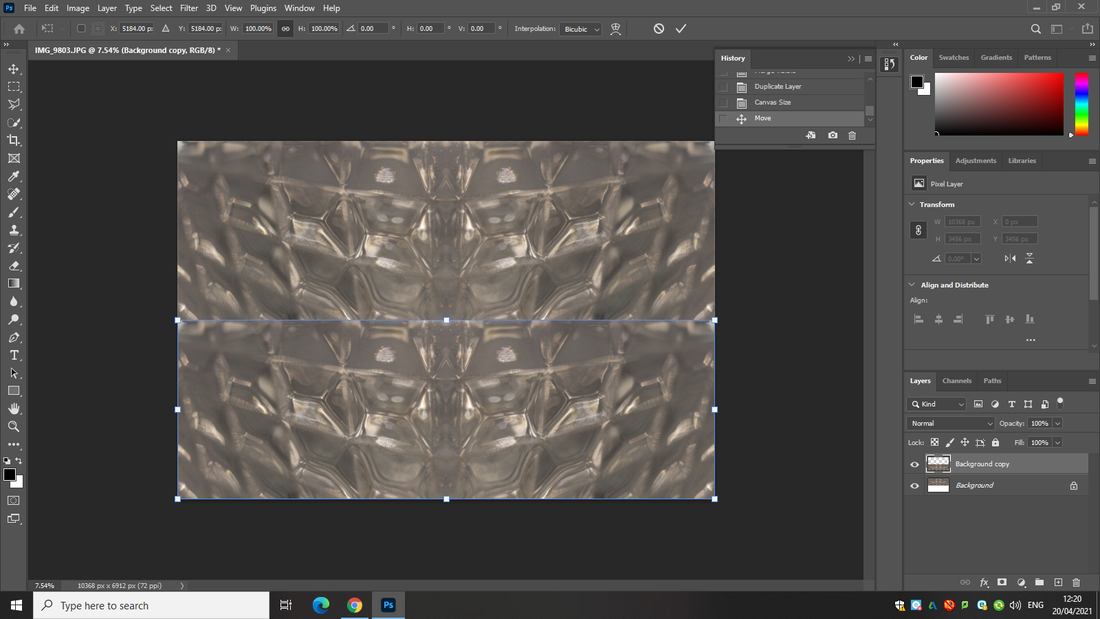
Since the start of my lessons on Photoshop, I was always fascinated when manipulating images, I have experienced how to do complex level photo shopping and simple photo shopping via YouTube tutorials and playing around on the application. From this journey of going back and forth with my ideas for a final outcome. I am now confident with my chosen themes/outcome which is patterns. By using the "Free Transform" "Layers" and "Cropping" tools, I managed to make satisfactory outcomes for my patterns.
I would personally have liked to develop on my landscape type images however, due to certain issues which denied me from going on the trip, I missed out on that opportunity.
Aaron Siskind has extraordinary outcomes which inspired me and influenced me to also have similar designs and final images. Also due to the image itself being adequate, minimum to no photo manipulation was required for my textures theme because of this. I for one part believe that the COVID-19 pandemic restricted me and didn't allow me to reach my full potential as we were not in school through it, it also stopped me from taking more and more images outdoors.
It would seem that my photoshopping was the best part of my project as textures does not require many physical photo techniques. The only problem that I encountered was (as said before) the COVID-19 pandemic setting me back. However I have adjusted to it and have done 2 projects instead of the original 4 planned, if the pandemic was not here at this time, I would have taken many more images.
My favourite part of the project was when we worked with a professional photographer, Justin Garner. We came into our school on our break for a one hour session in order to refine our work. This helped me broaden my knowledge in photography and expand on the different types of images and styles. As Justin had amazing equipment, my understanding and expertise of lighting and composition grew immensely.
Since the start of my lessons on Photoshop, I was always fascinated when manipulating images, I have experienced how to do complex level photo shopping and simple photo shopping via YouTube tutorials and playing around on the application. From this journey of going back and forth with my ideas for a final outcome. I am now confident with my chosen themes/outcome which is patterns. By using the "Free Transform" "Layers" and "Cropping" tools, I managed to make satisfactory outcomes for my patterns.
I would personally have liked to develop on my landscape type images however, due to certain issues which denied me from going on the trip, I missed out on that opportunity.
Aaron Siskind has extraordinary outcomes which inspired me and influenced me to also have similar designs and final images. Also due to the image itself being adequate, minimum to no photo manipulation was required for my textures theme because of this. I for one part believe that the COVID-19 pandemic restricted me and didn't allow me to reach my full potential as we were not in school through it, it also stopped me from taking more and more images outdoors.
It would seem that my photoshopping was the best part of my project as textures does not require many physical photo techniques. The only problem that I encountered was (as said before) the COVID-19 pandemic setting me back. However I have adjusted to it and have done 2 projects instead of the original 4 planned, if the pandemic was not here at this time, I would have taken many more images.
